Table of Contents
Advertisement
Quick Links
Advertisement
Table of Contents

Summary of Contents for XP-PEN Artist Pro 16TP
- Page 1 User Manual Artist Pro 16TP Pen Display...
-
Page 2: Table Of Contents
Contents Overview 1.1 Product Overview 1.2 Product Packing List 1.3 Specifications 1.4 Functions 1.5 Connection Get started with your pen display 2.1 Download 2.2 Installation 2.3 Introduction to Driver 2.4 Work Area 2.5 Application 2.6 Pen Settings 2.7 Shortcut Keys 2.8 Touch/Roller 2.9 Settings... -
Page 3: Overview
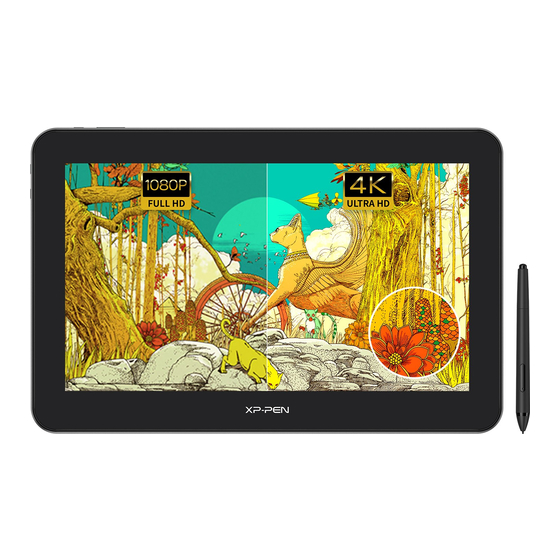
Overview 1.1 Product Instruction Thank you for choosing XP-PEN product. Artist Pro 16TP is a new generation pen display with multi-touch function, which can greatly improve users' experience of painting and creation. To give you a better understanding and using of your product, please read this user manual carefully. -
Page 4: Specifications
1.3 Specifications Product name Artist Pro 16 TP Product model MD160U Multi-touch Anti-glare General Specifications Dimensions 406.4x263.1x15.4mm Work area 345.6x194.4mm Operating power Standby power consumption (typical consumption value) Net weight 1.48kg Interfaces USB-Cx2 Operating 0-50°C, 20-80% RH Storage temperature -20°C-60°C,10-90% temperature and (non-condensing) and humidity... -
Page 5: Functions
Stylus Pen Specifications Model Eraser mode Keys 1 (customizable) Power adapter DC 5V 3A AC 110-240V Input Output DC 9V 2A 50/60HZ DC 12V 1.5A Supported systems Windows 7/8/10, Mac OS X 10.10 or later 1.4 Functions 1.4.1 Pen display 1. -
Page 6: Connection
3. Menu/Enter button a. Press the Menu button to open the OSD menu window b. Press the Menu button again after selecting a function to confirm the selection 4. +/‒ button a. In the normal mode, press the +/- buttons to adjust the screen brightness b. - Page 7 Figure 1-1 Note: Normally, to use the device, you only need a USB-C connection to a computer that supports the full-featured USB-C port. The power supply of the USB-C port varies with computer brands and models. Flickering screen means that the power supply is insufficient. At this time, you need to connect another USB-C cable from the accessories to the power adapter for power supply.
-
Page 8: Get Started With Your Pen Display
Get started with your pen display 1.1 Download Please download the corresponding driver according to your product model from the XP-PEN official website (https://www.xp-pen.com). 1.2 Installation After downloading is completed, please unzip the folder and operate the ".exe" file (Windows) or ".dmg"... -
Page 9: Work Area
Store configuration: If you need to make the changed configuration still valid when you use it next time after exiting the driver, please click the "OK" button on the left side of the driver interface to save the settings after changing the configuration. If the settings are successfully saved, the prompt "Configuration saved successfully"... - Page 10 2.4.2 Pen Tablet/Pen Display Set any part of the work area of the device to be mapped as the display area of the screen. The driver provides four modes for selection: (1) Full tablet area: Maximize the work area of the device. (2) Tablet proportion: Scale the work area of the device and your screen in equal proportions.
-
Page 11: Application
1.5 Application After selecting the application, set the function you want for this application. a. Click the "+" on the top right of the application bar to open the application selection interface. b. Select application to be added from the running program or click the "browse" button to add from the installed software;... - Page 12 Notes: When the pen is within the working range of the device, single-click the key to switch the pen or eraser mode. When other functions are switched, the current switching mode will be displayed at the bottom of your screen. Selecting "Use mouse control"...
- Page 13 Precision mode: Precision mode is to limit the work area of the device to a small area. This function may allow you to make more detailed drawings for some areas. Pressure adjustment: The sensitivity of pressure may be adjusted by adjusting the "output" and "pen pressure" curves or moving the slider on the progress bar.
-
Page 14: Shortcut Keys
1.7 Shortcut keys To use the shortcut keys of the device, set the input method to English mode. Setting to another mode may not function correctly. The shortcut key of the device is the command key of Photoshop as the default value. You can customize shortcut keys according to your personal needs, different devices have different numbers of shortcut keys. -
Page 15: Settings
2.8.2 Roller 2 The setting procedure is the same as that of the Roller 1. 1.9 Settings Disable shortcut keys: Close functions of all shortcut keys. Disable message: When the shortcut key is used, no message will be displayed at the bottom of the screen when this function is checked. -
Page 16: Faq
Disable pressure: You will not feel the pressure of the stylus when using this stylus. Disable tilt: Disable the tilt function of the stylus. Diagnostic tool: If there is any problem while using the driver, you can use a diagnostic tool. Import &... - Page 17 5. The drawing software unable to enable pen pressure a. Please check that if the drawing software supports pen pressure b. Please download the latest driver from the XP-PEN website, install it and check that whether the pen pressure is functional c.


Need help?
Do you have a question about the Artist Pro 16TP and is the answer not in the manual?
Questions and answers