
Subscribe to Our Youtube Channel
Related Manuals for Thermocold TC6

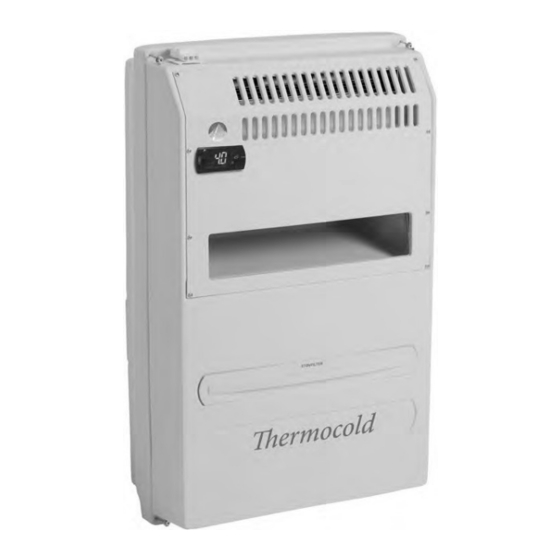
Summary of Contents for Thermocold TC6
- Page 1 ENGLISH THERMOCOLD COOLING UNIT TYPE: TC6, TC10, TC10 FLEX OPERATING AND INSTALLATION INSTRUCTION ENGLISH V.2.0 __________________________________________________________________________...
-
Page 2: Safety And Usage Advisory
It must be submitted to an appropriate collection site for recycling EE waste (electric and electronic waste) • Contact Thermocold or the nearest service partner for any inquiries and issues with the cooling unit. • Do not destroy the cooling circuit where the coolant is circulating using a drill or cutting tool. - Page 3 • Do not use mechanical equipment or other means to increase the speed of the defrosting process other than such equipment recommended by Thermocold. Make an inquiry to Thermocold or a service partner if you are in doubt. • It is dangerous to expose the product to rain, snow and wind due to electrical safety.
- Page 4 Thermocold KFD A/S’ liability does not cover: 1. Repairs / Actions taken by unauthorised personnel or non-original parts, and the assembly of the device in other installations or products Thermocold does not have control over. 2. Installation that does not comply with the local electrical safety authority's provisions and installation instructions.
-
Page 5: Table Of Contents
ENGLISH Table of contents Safety and usage advisory ......................2 Buyer’s rights ........................... 6 Read before assembling the cooling unit ..................7 Energy saving and food storage ....................8 Adjusting the temperature of the cooling unit ................9 Dimensions and technical specifications TC 6, TC 10, TC 10 FLEX ........10 Cleaning and maintenance ...................... -
Page 6: Buyer's Rights
In the event of flaws subject to sales legislation, Thermocold retains the right to repair the product within the deadline in accordance with the Sale of Goods Act. -
Page 7: Read Before Assembling The Cooling Unit
• Connect the plug and check that both the fans and the compressor are running normally. Thermocold cooling units are assembled from the refrigerated room side through the wall to the warm side. This provides much greater flexibility with regard to assembly solutions. -
Page 8: Energy Saving And Food Storage
As maintaining good hygiene in the room is important, the walls have a food-safe protective surface, reducing bacterial growth and making it easier to clean surfaces. A full overview of the storage of the most common products can be found on Thermocold’s website. -
Page 9: Adjusting The Temperature Of The Cooling Unit
ENGLISH Adjusting the temperature of the cooling unit The temperature can be set from 3 - 20 °C The operating display indicates the room’s air temperature. When setting 4°C, the displayed temperature will vary by +/- approx. 2.5°C Place a thermometer in a glass of water to measure the temperature of the food goods. -
Page 10: Dimensions And Technical Specifications Tc 6, Tc 10, Tc 10 Flex
NORW Dimensions and technical specifications TC 6, TC 10, TC 10 FLEX Exhaust 80 mm Intake Installation option 1 in example TC 10 FLEX illustration Air is led through the plastic TC 6 TC 10 TC 10 FLEX Light aperture in... -
Page 11: Cleaning And Maintenance
NORW Cleaning and maintenance The consumer is responsible for conducting cleaning and maintenance on the cooling unit. This is required to maintain warranty. Dust filter cleaning Clean the dust filter of the cooling unit every 3 months or more frequently where needed. -
Page 12: Troubleshooting And Service
- Thermocold KFD AS service department Tel. +47 69 10 24 00 - Local service partner/dealer: See the Thermocold website www.thermocold.no Have the serial number at hand. This can be found behind the dust filter drawer (point 2 under cleaning and... -
Page 13: Equipment List Installation Option 1 - 6
NORW Equipment list installation option 1 – 6 Type of Plastic cover / Metal air Ventilation Insulatin Air barrier Air barrier g strip cooling unit Plastic cover vent grates short long (240cm) for modular (55cm) Alt. 1 TC 6 / TC10 Alt. -
Page 14: Installation Option 1 - Self-Assembled Cold Room With Plastic Cover
3. Build the cold room in accordance with prevailing laws and regulations. See the Thermocold website www.thermocold.no for tips and advice for construction. 4. Fix the insulating strips around the opening on the inside of the cold room side using staples or tape. - Page 15 3. Build the cold room in accordance with prevailing laws and regulations. See the Thermocold website www.thermocold.no for tips and advice for construction. 4. Make an air vent above and below the recess in the wall on the outside of the cold room as illustrated.
- Page 16 3. Build the cold room in accordance with prevailing laws and regulations. See the Thermocold website www.thermocold.no for tips and advice for construction. 4. Make an air vent above and below the recess in the wall on the outside of the cold room as illustrated.
-
Page 17: Installation Option 4 - Modular Cold Room, Free-Standing A/B
NORW Installation option 4 – Modular cold room, free–standing A/B Detail Installation B / Plastic cover Installation A / Air vent for modular room 1. Ensure that the hole in the modular wall is 440x480 mm Distance from the ceiling to the top of the light aperture minimum 80 mm. -
Page 18: Installation Option 5 - Modular Cold Room, Free-Standing A/B
NORW Installation option 5 – Modular cold room, free–standing A/B 1. Ensure that the hole in the modular wall is 440x480 mm Distance from the ceiling to the top of the light aperture minimum 80 mm. Minimum air flow 200 cm²... -
Page 19: Installation Alternative 6 - Corner Refrigerator With Air Vent/Air Barrier
NORW Installation alternative 6 – Corner refrigerator with air vent/air barrier 1. Ensure that the hole in the modular wall is 440x480 mm Distance from the ceiling to the top of the light aperture minimum 80 mm. Minimum air flow between grates 200 cm²... -
Page 20: Installation Option 7 - Tc 10 Flex
NORW Installation option 7 – TC 10 Flex 1. Start by removing the old cooling unit out of the wall. 2. The light aperture for the TC 10 Flex should be 440 - 560 mm x 650 mm. The distance from ceiling to top of light aperture must be at least 140 mm.
Need help?
Do you have a question about the TC6 and is the answer not in the manual?
Questions and answers