Advertisement
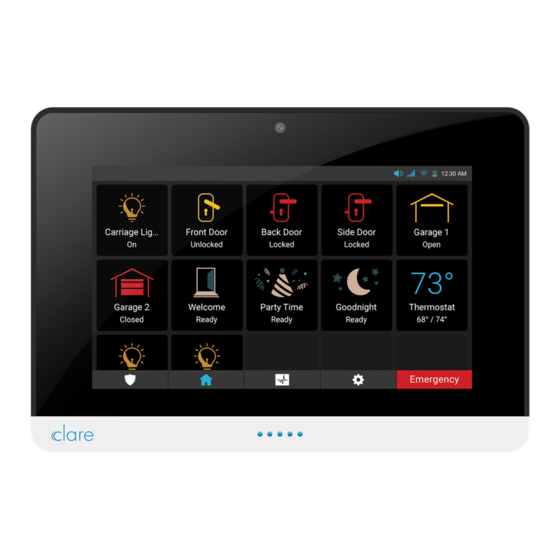
ClareHome Touch Panel
Quick Start Guide
Content
Introduction...1
Included...1
Support...7
Last modified: 01/30/19
Introduction
Thank you for choosing Clare Controls. In today's competitive marketplace, we
can appreciate that you have many choices for your home automation needs.
This document is intended as a quick-start guide, not a full product guide. For
more information, view the full
ClareHome Touch Panel Release Notes (DOC ID
1775).
Included
The following items are included with the ClareHome Touch Panel.
• 1 × Power supply
• 1 × Mounting bracket
• 1 ×Tabletop stand
• 2 × Stand grips
• 2 × Base grips
• 4 × Screws
• 4 × Wall anchors
DOC ID - 1793 • Rev 01
1 / 7
Advertisement
Table of Contents

Subscribe to Our Youtube Channel
Summary of Contents for Clare Controls ClareHome Touch Panel
- Page 1 Last modified: 01/30/19 Introduction Thank you for choosing Clare Controls. In today’s competitive marketplace, we can appreciate that you have many choices for your home automation needs. This document is intended as a quick-start guide, not a full product guide. For...
- Page 2 Installation options Select an installation option. Installation option 1: Desktop Option 1 uses the included panel tabletop stand. To desktop mount the panel: 1. Insert the kickstand to the rear of the panel. The stand pops into place, locking to the panel. Note: There are 2 options for tabletop stand orientation.
- Page 3 Setting up the ClareHome Touch Panel Once the panel is installed, connect the panel to the home’s Wi-Fi network. To setup the panel: 1. Tap the screen. – or – Press the power button on the right-side of the panel.
- Page 4 4. Tap Change to select your time zone. 5. Select your time zone. 6. Tap Select WiFi Network, and then select the Wi-Fi from the drop-down. DOC ID - 1793 • Rev 01 4 / 7...
- Page 5 7. Enter your Wi-Fi network’s password, and then tap OK. 8. Once you have selected your time zone and configured your Wi-Fi settings, tap the X in the top-left corner. Note: If there is a firmware update available, a popup displays. Tap Ok, and then the panel automatically updates.
- Page 6 9. Tap your home’s project name. 10. Enter your ClareHome project’s PIN, and then tap Done. Note: The default PIN is 1234. You now have access to your project. DOC ID - 1793 • Rev 01 6 / 7...
- Page 7 ClareHome Touch Panel Release Notes (DOC ID 1775). Warranty Information Clare Controls offers a two (2) year limited warranty on original Clare Controls components, from the date of shipment form Clares Controls. Support Dealer Support – contact Clare Technical Services at: claresupport@clarecontrols.com...

Need help?
Do you have a question about the ClareHome Touch Panel and is the answer not in the manual?
Questions and answers