Advertisement
MX250 Installation Guide
This document describes how to install and set up the MX250 security appliance. Additional reference documents are
available online at: www.meraki.com/library/products.
MX250 Overview
The Meraki MX250 is an enterprise security appliance designed for distributed networks that require remote
administration. It is ideal for network administrators who demand both ease of deployment and a state-of-the-art feature
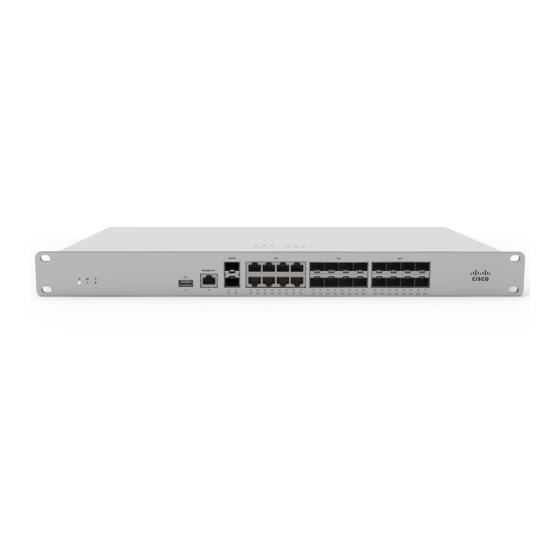
set. The MX250 appliance provides the following new features:
• Two dedicated uplink SFP+10GbE ports
• Support for eight configurable GbE(RJ45), eight GbE SFP and eight 10GbE SFP+ connections
• USB port, to support approved 3G/4G cards for failover to cellular networks
• 128GB (SSD) cache storage
• Dedicated management port
• Front-panel rack mounts
Package Contents
In addition to the MX250, the following are provided:
MX250 Front Panel
1
Advertisement
Table of Contents

Related Manuals for Cisco MERAKI MX250


Summary of Contents for Cisco MERAKI MX250
- Page 1 MX250 Installation Guide This document describes how to install and set up the MX250 security appliance. Additional reference documents are available online at: www.meraki.com/library/products. MX250 Overview The Meraki MX250 is an enterprise security appliance designed for distributed networks that require remote administration.
-
Page 2: Ports And Status Indicators
Ports and Status Indicators The MX250 uses LEDs to inform the user of the device's status. When the device powers on, all the Internet LEDs flash twice. Additional functions are described below, from left to right. Item Function LED Status... -
Page 3: Mounting Hardware
Mounting Hardware The mounting hardware includes four sets of standard slot-head rack screws and nuts. The additional screws and nuts are for use with optional rear brackets if rear support is required. When installing the appliance, make sure that there is sufficient space between the rear of the rack and other obstacles to ensure adequate airflow. -
Page 4: Setting Up A Dhcp Ip Address
4. Choose Static for the IP Assignment option. 5. Enter the IP address, subnet mask, default gateway IP and DNS server information. Setting up a DHCP IP Address By default all MX devices are configured to DHCP from upstream WAN / ISP servers. Simply plug the MX's WAN / Internet port to your upstream circuit and wait a few minutes for the unit to negotiate a DHCP address. -
Page 5: Configuring Physical Link Settings
Configuring Physical link settings To configure physical link settings on the Ethernet ports, click Local status > Ethernet configuration. You can enable half duplex, full duplex, and autonegotiation, as well as set 10 or 100-Mbps data rates.
Need help?
Do you have a question about the MX250 and is the answer not in the manual?
Questions and answers