Table of Contents
Advertisement
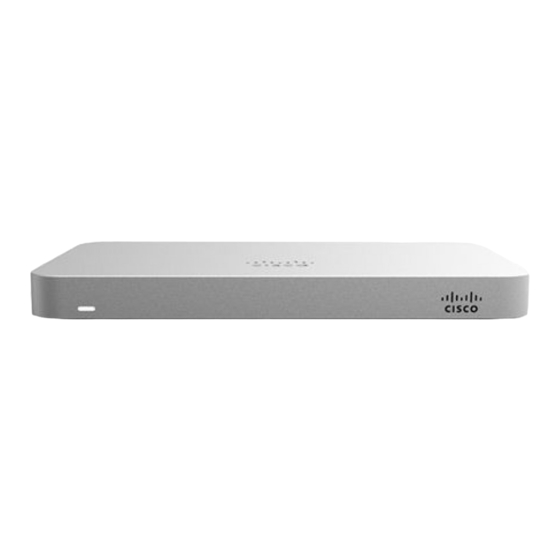
MX65 Installation Guide
This document describes how to install and set up the MX65 security
appliance. Additional reference documents are available online at:
www.meraki.com/library/products.
MX65 Overview
The Meraki MX65 is an enterprise security appliance designed for
distributed deployments that require remote administration. It is ideal for
network administrators who demand both ease of deployment and a
state-of-the-art feature set. This appliance provides the following new
features:
• USB port, to support approved 3G/4G cards for failover to cellular
networks.
• Support for eight LAN connections
• Support for two additional PoE+ LAN ports
• Wall screws and anchors for mounting drywall surface, either
vertically or horizontally
Package contents
In addition to the MX65, the following are provided.
1
Advertisement
Table of Contents

Summary of Contents for Cisco MERAKI MX65
-
Page 1: Package Contents
MX65 Installation Guide This document describes how to install and set up the MX65 security appliance. Additional reference documents are available online at: www.meraki.com/library/products. MX65 Overview The Meraki MX65 is an enterprise security appliance designed for distributed deployments that require remote administration. It is ideal for network administrators who demand both ease of deployment and a state-of-the-art feature set. - Page 2 The MX65 front panel Status Indicator The MX65 uses an LED to inform the user of the device's status. LED patterns and their meanings are described below. LED Status Meaning Power is applied but the appliance is not connected to...
- Page 3 Power input Designed for use only with the unit’s power supply. The MX65 side panel Additional functions on the back panel are described below, from left to right. Insert a paper clip if a reset is required.
- Page 4 USB LED. The MX65 bottom panel Please note that the serial number is located on the product label at the bottom panel of MX65 Mounting hardware The supplied wall screws and anchors allow you to mount the appliance on a drywall surface, either vertically or horizontally.
- Page 5 Connecting to WAN All Meraki MX devices must have an IP address. This section describes how to configure your local area network before you deploy it. A local management web service, running on the appliance, is accessed through a browser running on a client PC.
- Page 6 Setting up secondary WAN interface (dual WAN) The MX65 comes with two dedicated Internet ports, which are both configured through the Uplink configuration under the Local status tab. Setting PPPoE PPPoE authentication may be required if you are connecting MX device to a DSL circuit. You need to know your authentication option and credentials (supplied by your ISP) in order to complete these steps.


Need help?
Do you have a question about the MX65 and is the answer not in the manual?
Questions and answers