Advertisement
Please be sure and remove all parts from your box and assemble your new furniture on a blanket so
you don't damage your new furniture while assembling. Do not over tighten!!! Over tightening of
hardware can cause damage to the item.
HARDWARE
Glider Arms
A
x4
1/4" x 2 1/2"
Wafer Head Bolts
D
x2
TOOLS
For assembling this product, you need the following tools:
Allen Wrench
STEP 1
Glider Base Assembly
a. Locate the Left Glider Base (5) and Right Glider base (6) as well as 2pcs. 14 1/4" Stretcher Boards (7).
b. Place Stretcher Boards in the the small incuts located on the Glider Base.
c. Use 6pcs. 2 1/2" Polybuster Screws (F) to fasten each side (small pilot holes) - repeat on the other side.
F
3/8" x 2 3/4" Carriage Bolts
1/4" x 2 1/2"
Wafer Head Lag
E
x2
#2 Square Tip Bit with Drill
F
F
F
5
Questions in regards to your product email support@daybreakoutdoor.com
A S S E M B L Y I N S T R U C T I O N S
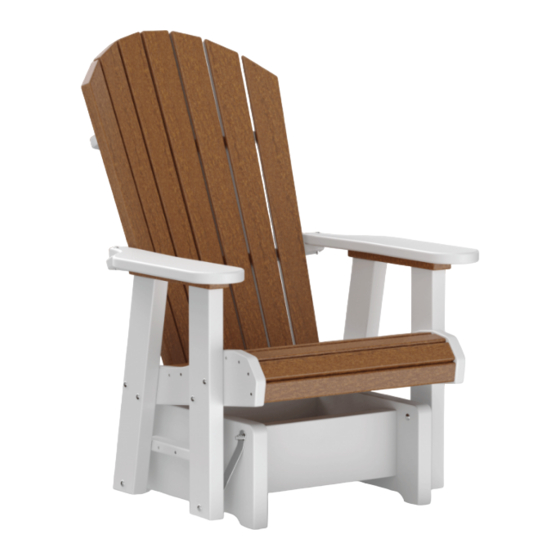
PRODUCT NAME: #1204 Fanback Glider
3
5
B
x4
2 1/2"
Polybuster Screws
F
x12
Wrench 7/16" and 9/16"
7
5
F
F
F
1
2
7
7
1/4" x 3" Carriage Bolts
C
3/8"
3/8"
Flange Nut
Lock Nut
G
H
x4
x8
Assembly time: 20 min
Soft Rubber Mallet
F
6
F
F
7
4
6
x8
1/4"
Flange Nut
I
x10
F
F
F
Page 1/2
Advertisement
Table of Contents

Related Manuals for Daybreak Fanback Glider 1204


Summary of Contents for Daybreak Fanback Glider 1204
- Page 1 A S S E M B L Y I N S T R U C T I O N S PRODUCT NAME: #1204 Fanback Glider Please be sure and remove all parts from your box and assemble your new furniture on a blanket so you don’t damage your new furniture while assembling.
- Page 2 STEP 2 Mounting Legs to Seat a. Locate Seat (2), Right Arm (3) and Left Arm (4) assemblies. b. Lay seat on the side and use 4pcs. 3” Carriage Bolts (C) to fasten the legs to the seat (use a soft mallet to pound the carriage bolts in).
Need help?
Do you have a question about the Fanback Glider 1204 and is the answer not in the manual?
Questions and answers