Advertisement
Quick Links
Advertisement

Subscribe to Our Youtube Channel
Related Manuals for Optiview AP58GV3

Summary of Contents for Optiview AP58GV3
- Page 1 AP58GV3 Wireless Bridge Last edited: Jim B 1/14/2019 Created: jim b...
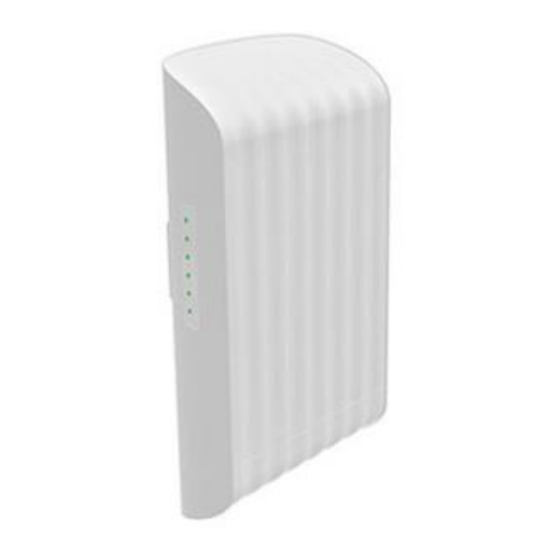
- Page 2 Maximum 1.2 miles (2 Km )Wireless Data Transmission Point to point stable wireless transmission mode with clear line of sight. AP58GV3 allows you to easily deploy IP surveillance cameras and other CCTV equipment across multiple locations for day or night surveillance, indoors or outdoors.
-
Page 3: Product Specification
Product Specification Industrial Chipset Flash 8 Mbyte 64MB DDR2 Frequency 5.15~5.25GHz、5.735~5.835GHz Wireless Standards 802.11a/n/ac Wireless Speeds Up to 900Mbps Transmission Power MAX 20dBm Maximum 1.2 miles or 2 Km.(point to point) with clear line of sight transmission distance environment Multi-port Support 2 network ports;... - Page 4 Quick Setup Guide 1. Package contents Wireless bridge………………….. 2 pieces(a pair) POE 24Vdc power adapter……… 2 pieces Stainless steel retainer…………... 2 pieces Quick Installation Guide………... 1 piece 2. Installation notes Installer/technician should pay attention to the following two points: ...
- Page 5 2.2 Connection diagram for preliminary setup The PoE port from the DC power adapter is connected to the RJ45 port of the wireless bridge (LAN1 POE), and the LAN2 port of the power adapter is connected to terminal devices such as PC or any IP device such as IP camera or DVR/NVR.
- Page 6 Each set of AP58GV3 in a box were already pre-configured and paired together to communicate. Once a correct and valid LAN address has been assigned to each access point, they are ready to be deployed in the field.
- Page 7 3.4 Assign a local IP address to the WiFi access point. Consult your local IP staff (if any) to find out what network address can be used and assigned to your access point. a. Click on LAN menu b. Configure LAN IP address: c.
-
Page 8: Advanced Configuration Settings
Advanced Configuration Settings Warning! It is advisable to have an advanced networking skills and knowledge before making changes to the following menu. By default, the pair is already configured in Bridge mode, and there is no need to make changes on the LAN IP address of the access points, as long as IP devices on the AP client side have static IP address (based on the existing private LAN IP address scheme). - Page 9 2. Disable DHCP by turning OFF the function labeled as “Get IP Automatically”. Enter your own local IP address and subnet mask for access point as illustrated below then click “Next” for the next menu screen. 3. Enter your password (default password: admin). Last edited: Jim B 1/14/2019 Created: jim b...
- Page 10 3. Enter Wireless Access configuration and customize according to your local preference or application. 4.1 Radio Channel – should match later on with the partner access point; 4.2 SSID – you may customize your SSID name for later WiFi identification; 4.3 Wireless Mode –...
- Page 11 5. Review settings and click “Completed” to finish quick setup. 6. Click “Wireless 5GHz” and set the pairing ID for the access point. IMPORTANT! Pairing ID must match with the partner access point Important Wireless Bridge Notes: Master and slave's pairing ID must be the same; ...
Need help?
Do you have a question about the AP58GV3 and is the answer not in the manual?
Questions and answers