Advertisement
Quick Links
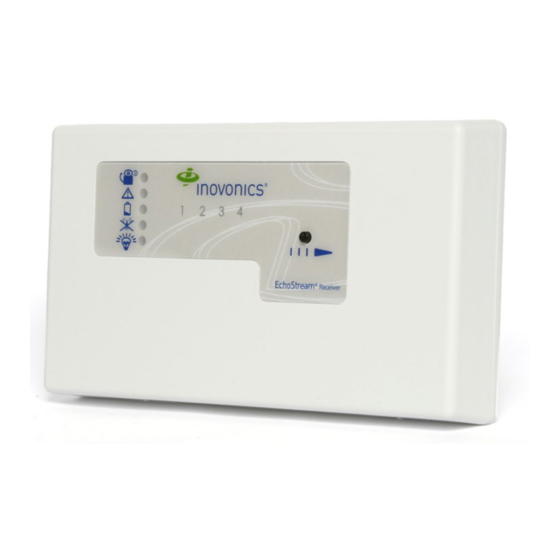
EE4204/R EchoStream
Installation Instructions - 05426E
1 Overview
The EE4204/R receiver allows you to add up to four transmitters to any
application. With diversity reception and advanced signal processing,
Inovonics Wireless EchoStream technology is designed to minimize dead
spots in transmission areas.
1.1 Inovonics Wireless Contact Information
If you have any problems with this procedure, contact Inovonics Wireless
technical services:
• E-mail: support@inovonics.com
• Phone: (800) 782-2709; (303) 939-9336
1.2 EE4204/R LEDs and Buttons
A
B
C
D
E
H
I
Figure 1 Receiver LEDs and Buttons
A Alarm LED
B Tamper Fault LED
D Inactive Fault LED E Power LED
G Advance Button
H Decode LED
Most of the LEDs and buttons perform different function depending on
which mode the the EE4204/R is in.
Normal Operation Mode
Alarm LED: Lights when any transmitter is sending an alarm transmission.
Tamper Fault LED: Lights when any transmitter is sending a tamper
transmission.
Low Battery Fault LED: Lit when any transmitter has a low battery.
Inactive Fault LED: Lit when any transmitter is inactive.
Power LED: Lit when receiving power.
Transmitter Number LEDs: Lit when the transmitter is in alarm.
Advance Button: Press the Advance button to enter status review mode.
Decode LED: Flashes when any recognizable transmission is received.
This LED is only visible when the pry-out door or cover is removed.
Reset Button: Clears the current status for all points and resets all outputs
and LEDs. Resets the supervision window timers. This button is only
accessible when the pry-out door or cover is removed.
Status Review Mode
Alarm LED: Lights when the selected transmitter is sending an alarm
transmission.
Tamper Fault LED: Lights when the selected transmitter is sending a
tamper transmission.
Low Battery Fault LED: Lit when the selected transmitter has a low
battery.
Inactive Fault LED: Lit when the selected transmitter is inactive.
Power LED: Lit when receiving power.
Transmitter Number LEDs: Shows status of the transmitter assigned to
that number when lit. Use the advance button to scroll through transmitters.
Advance Button: Scrolls through transmitters to display status.
Decode LED: Flashes when any recognizable transmission is received.
This LED is only visible when the pry-out door or cover is removed.
Reset Button: Clears the current status for all points and resets all outputs
and LEDs. Resets the supervision window timers. This button is only
accessible when the pry-out door or cover is removed.
© Inovonics, 2009 - www.inovonics.com
®
Receiver
F
G
C Low Battery Fault LED
F Transmitter Number LEDs
I Reset Button
1.3 EE4204 Internal Components
B
C
D
E
I
G
M
A
Figure 2 EE4204 Components
A Housing release
B Power (11-14
tabs
VDC)
D Output terminals
E Fault output
G Reset button
H Reset input
J Tamper output
K Program button
M Decode LED
1.4 EE4204R Internal Components
B
C
D
M
I
G
E
A
Figure 3 EE4204R Components
A Housing release
B Power (11-14
tabs
VDC)
D Output terminals
E Fault output
G Reset button
H Reset input
J Tamper output
K Program button
M Decode LED
2 Installation and Startup
2.1 Connect Power Cabling
Before beginning startup, you will have to connect power to the receiver. To
connect power to the receiver:
1. Connect power cabling to the Power and GND connections.
• Power source should be 11-14 VDC. Power supply must be
unswitched, uninterrupted, and regulated.
A
F
H
K
J
L
A
C Ground connection
F Advance button
I Jam output
L EchoStream Select
compatibility selection pins
A
F
H
J
K
L
A
C GND connection
F Advance button
I Jam output
L EchoStream Select
compatibility selection pins
Advertisement

Subscribe to Our Youtube Channel
Related Manuals for Inovonics EchoStream EE4204


Summary of Contents for Inovonics EchoStream EE4204
- Page 1 Inovonics Wireless EchoStream technology is designed to minimize dead spots in transmission areas. 1.1 Inovonics Wireless Contact Information If you have any problems with this procedure, contact Inovonics Wireless technical services: • E-mail: support@inovonics.com • Phone: (800) 782-2709; (303) 939-9336 1.2 EE4204/R LEDs and Buttons...
- Page 2 6. Use the Advance button to select the output type (Fig. 7). There are four output types: To meet ETSI requirements, Inovonics has developed a new line of EE Follower: The output reflects the transmitter’s alarm status. 868MHz-only products. These new 868MHz-only products are compatible Momentary: The output turns on for seven seconds, then turns off, with older systems that include EchoStream Select (ES) products.
- Page 3 Figure 9 EE4204 Terminals thirty-six (36) months from the date of manufacture. Within the warranty period, Inovonics will repair or replace, at its option, all or any part of the warranted Product. Inovonics will not be responsible for dismantling and/or reinstallation charges.
Need help?
Do you have a question about the EchoStream EE4204 and is the answer not in the manual?
Questions and answers