Advertisement
Quick Links
DEM15D335
Installation manual for thermal printer
[ For Control PCB TH-200901 ]
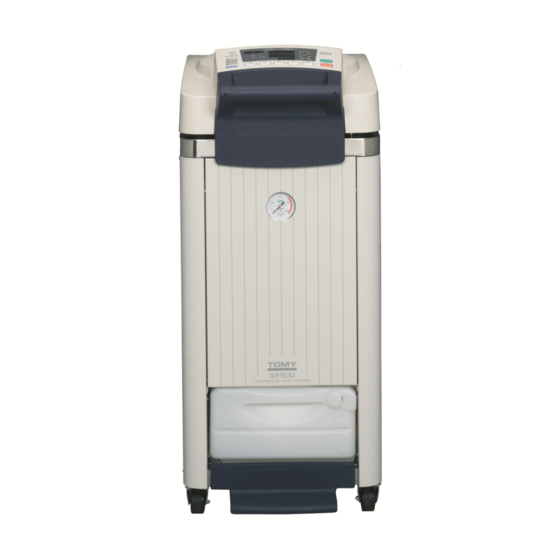
Autoclave
SX-300/500/700, SX-300E/500E/700E
TOMY SEIKO CO.,LTD.
TOMY DIGITAL BIOLOGY CO.,LTD.
3-14-17 Tagara,Nerima-ku,Tokyo 179-0073,Japan
e-mail:info@digital-biology.co.jp
URL:http://www.digital-biology.co.jp
phone:+81-3-5971-8160
fax:+81-3-3970-6036
Advertisement

Subscribe to Our Youtube Channel
Summary of Contents for Tomy SX-300
- Page 1 DEM15D335 Installation manual for thermal printer [ For Control PCB TH-200901 ] Autoclave SX-300/500/700, SX-300E/500E/700E TOMY SEIKO CO.,LTD. TOMY DIGITAL BIOLOGY CO.,LTD. 3-14-17 Tagara,Nerima-ku,Tokyo 179-0073,Japan e-mail:info@digital-biology.co.jp URL:http://www.digital-biology.co.jp phone:+81-3-5971-8160 fax:+81-3-3970-6036...
- Page 2 DEM15D335 1. Install the printer to the front panel Install Printer onto Front Panel. 1)take Front Panel ASSY and Printer ASSY. ※Front Panel ASSY and Printer ASSY is a separate packing. 2)Install Printer ASSY onto Front Panel ASSY. Mount screws(4 places) from back of Front panel. Front of Front Panel ASSY Back of Front panel ASSY Printer ASSY...
- Page 3 DEM15D335 2. Installing the back plate on the exhaust bottle cover 1) Pull the exhaust bottle out of the autoclave and remove the exhaust hose. 2) Remove the front panel *Keep the autoclave lid open before removing the panel. *Unscrew the two screws securing the front panel and pull the panel out to remove it. Front panel Screw locations...
- Page 4 DEM15D335 3. Remove the control PCB and install control PCB 1)Remove the rear panel. 2)Disconnect each wiring harness and remove the control PCB. 3)Put in the Dot-impact printer programed Control PCB with Option PCB and reconnect wires same as before. Control PCB TH200901 Exchange Option PCB...
- Page 5 1) Remove the left side panel of the main unit. 2) Temporarily place the front panel of the printer ① near its final mounting location and connect each harness coming out of the front panel. (Refer to the SX-300/500/700 and SX-300E/500E/700E wiring diagram.) Harnesses to be wired ①...
-
Page 6: Function Key
DEM15D335 Wire connected to the terminal block Destination of the ground wire from the printerʼs front panel Wire connected to the option 5. Pressure display and adjustment Temperature display TEMPERATURE setting ▲ ▼ keys Time display CHECK key Warming/Timer display TIME setting ▲... - Page 7 DEM15D335 6. Selecting the printer a.) Turn the power switch on while pressing down the FUNCTION , STERILIZE/LIQUID ,and STERILIZE/NORMAL keys simultaneously to activate the maintenance mode. b.) Using the temperature setting ▲ and ▼ keys, select the maintenance code [ (change of system parameters ) and press the START key.
-
Page 8: Setting Item
DEM15D335 8. Setting the manufactureʼs serial number (the last 6 – 9 digits) a.) Turn the power switch on while pressing down the FUNCTION , STERILIZE/LIQUID ,and STERILIZE/NORMAL keys simultaneously to activate the maintenance mode. b.) Using the temperature setting ▲... - Page 9 Reference : The illustration on the right indicates a printed image. b.) Make sure that the serial number, date and time set according to the procedure 4. are correct. 11. Completing and returning the validation report to TOMY - 8 -...
- Page 10 Make sure that the product functions normally. Validation Report To: TOMY Digital Biology Co., Ltd. I hereby represent that we have validated the custom product for its compliance with the custom details described above at user’s site, and report the validation result.


Need help?
Do you have a question about the SX-300 and is the answer not in the manual?
Questions and answers