
Related Manuals for Yo-Yo Desk PRO 1


Summary of Contents for Yo-Yo Desk PRO 1
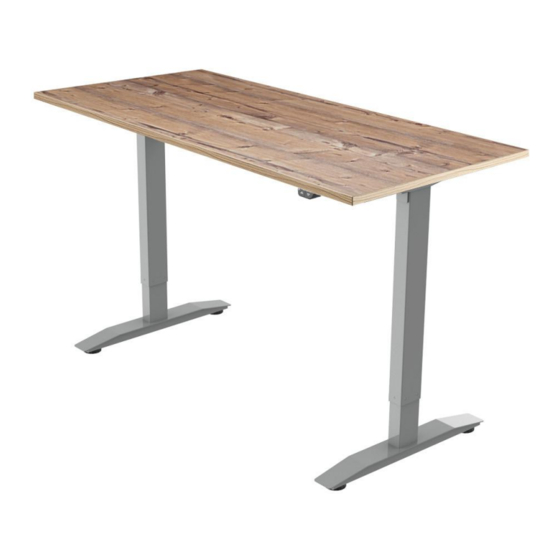
- Page 1 USER ASSEMBLY GUIDE CONTACT YO-YO DESK Keep Moving Telephone: +44 (0) 1793 575 082 Email: info@yo-yodesk.com Website: yo-yodesk.com...
-
Page 2: What's In The Box
WHAT’S IN THE BOX 2.5x2.5 ALSO REQUIRED TO ATTACH THE TABLE TOP, CONTROL BOX AND CONTROL PANEL CROSSHEAD SCREWDRIVER DRILL OR BRADAWL (ESSENTIAL) (RECOMMENDED) -
Page 3: Assembly Outline
ASSEMBLY OUTLINE... - Page 4 STEP 1: STEP 2: Attach the feet ( x2) to the legs ( )with 8x 1. Loosen screws on then extend the support beam to the size of your desk top. 2. Attach the supporting beam to legs ( ) then tighten screws( 3.
- Page 5 STEP 3: STEP 4: 2.5x2.5 2.5x2.5 Install the transmission rod ( Attach supporting arms ( x2) to legs ( ) with 2x Tighten Loosen Rotate Insert Insert Tighten Rotation must not exceed one third of a circle.
- Page 6 STEP 5: STEP 6: Attach adapter holder ( ) to the supporting beam ( Attach the baffles ( ) to the supporting beam ( ) using 4x Screw frame and control switch ( ) to the desk top. Slide the power adapter ( ) into its holder (...
- Page 7 STEP 7: Attach power cable ( ) to the adapter ( Attach the control switch ( ) to the adapter ( ) and the motor ( Tidy cables using the cable ties (...
- Page 8 USING THE CONTROL SWITCH Attention Power supply: AC100V-240V,50/60HZ Service Environment: 0-40°C Unplug the power plug before cleaning, wipe the dust on surface with slight wet dishcloth when cleaning, be careful not to let the drops into the internal parts, not loose the connector.
Need help?
Do you have a question about the PRO 1 and is the answer not in the manual?
Questions and answers