Table of Contents
Advertisement
Advertisement
Table of Contents

Related Manuals for Yo-Yo Desk PRO 2


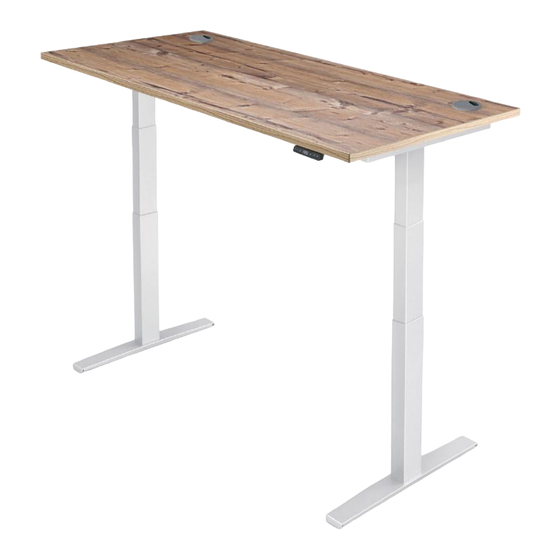
Summary of Contents for Yo-Yo Desk PRO 2
- Page 1 USER ASSEMBLY GUIDE Keep Moving...
- Page 2 WHAT’S IN THE BOX M6x15 ALLEN KEY 5MM M10x25 CONTROL BOX M5x20 CONTROL PANELS M6x40 ALSO REQUIRED TO ATTACH THE TABLE TOP, CONTROL BOX AND CONTROL PANEL GUIDE SLEEVES CROSSHEAD SCREWDRIVER DRILL OR BRADAWL PLUGS (ESSENTIAL) (RECOMMENDED)
- Page 3 ASSEMBLY OUTLINE...
- Page 4 STEP 1: STEP 2: STEP 3: Attach the legs ( Attach the crossbars ( Attach the end strut ( to the feet ( to the legs ( to the legs ( with 4x with 4x Guide Sleeves ( with 2x Guide Sleeves ( and 4x M6x15s( 2x M6x15s( ) and then push in the...
- Page 5 STEP 4: STEP 5: FRAME Attach the joining bars ( x2) by sliding Slide the other end of the joining bars( Your PRO frame is now ready for them into the crossbars ( ) and into the crossbars ( ) of the other legs, the installation of your table top and attach them using 4x with...
- Page 6 STEP 6: STEP 7: STEP 8: Attach your table top to the frame by Once your table top is secured, still looking On the underside of your table top, position lining it up with the edge. (It can be at the underside, place the Control Box your Control Panel on the front edge, around easier to turn the frame upside down, you...
- Page 7 STEP 9: STEP 10: STEP 11: On the underside of your desk, connect Connect the Message Cables Connect the Power Cable to the the Information Cable to the the Control Box and then to the Motor Control Box and then to a mains plug Control Box and then to the Control Panel.
- Page 8 MEMORY SETTINGS CONTROL PANEL DISPLAY SCREEN DOWN...
- Page 9 1. INITIALISATION PROCEDURE STEP 1: Press and hold simultaneously for The legs will start to move down at half the more than 6 seconds. speed of normal operation. STEP 2: The legs will start to move down to the lowest Keep holding down position and rebound 2-5mm, then stop.
- Page 10 3. SET MEMORY POSITIONS STEP 1: Press and hold and then release. Move the legs to your desired standing height. STEP 2: Press the button, then press button within The height of position 1 is saved. 6 seconds. STEP 3: To save other heights, repeat steps 1 and 2 The heights of positions 2 and 3 are saved.
- Page 11 6. MEMORY KEY ONE-CLICK LIFTING FUNCTION STEP 1: Hold the key for over 5 seconds. Subtitles flashing on the screen “- - -” STEP 2: “H - 0” or “H - 1” shows on the screen, Release the key then, hold key indicating the lock or unlock of the one-click 3 seconds.
- Page 12 8. CORRECT DISPLAY HEIGHT TO OFFICE TABLE HEIGHT STEP 1: Set the table at any height, the bottom Measure the table’s actual height and write position is recommended. down the number in inches or centimeters. STEP 2: Hold the key hold key for over 3 seconds.
- Page 13 9. SET UP STROKE LIMIT OF RISING AND LOWERING 9.1 Lock up the rising stroke STEP 1: Press and and then release the key. Run the column to your desired height. STEP 2: The caption “- L -” will display on the screen, Hold the key, then hold key indicating that the current height is locked as...
- Page 14 9. SET UP STROKE LIMIT OF RISING AND LOWERING 9.2 Lock up the lowering stroke STEP 1: Press and and then release the key. Run the column to your desired height. STEP 2: The caption “- L -” will display on the screen, Hold the key, then hold key for at least 3...
- Page 15 11. ERROR CODES 1. Check to see if the link cable between the columns Column Linkage between columns and control and the control box is disconnected. malfunction box disconnected. 2. Check to see if there is any part damaged in the columns.
- Page 16 12. ADJUSTING THE SENSITIVITY OF THE GYRO ANTI-COLLISION STEP 1: Press and hold the key for over 5 seconds. Subtitles flashing on the screen “- - -” STEP 2: “G - N” is displayed on the screen, indicating the Release the key then, press key current gyro anti collision sensitivity level within 3 seconds.
- Page 17 BASIC UP/DOWN CONTROL PANEL DOWN...
- Page 18 1. INITIALISATION PROCEDURE STEP 1: Press and hold simultaneously for The legs will start to move down at half the more than 3 seconds. speed of normal operation. STEP 2: The legs will start to move down to the lowest Keep holding down position and rebound 2-5mm, then stop.
- Page 19 1. FAULT PROTOCOL STEP 1: Fault Phenomenon Handling 1. Re-initialise the table After connecting the power, press up or down, 2. Check if the connection is correct or not the legs do not respond. 3. Please contact your supplier After connecting the power, press and hold 1.
- Page 20 CONTACT YO-YO DESK Telephone: +44 (0) 1793 575 082 Email: info@yo-yodesk.com Website: yo-yodesk.com Keep Moving...
Need help?
Do you have a question about the PRO 2 and is the answer not in the manual?
Questions and answers