Table of Contents
Advertisement
Quick Links
Advertisement
Table of Contents

Subscribe to Our Youtube Channel
Related Manuals for OPTICOM LCDI-15A


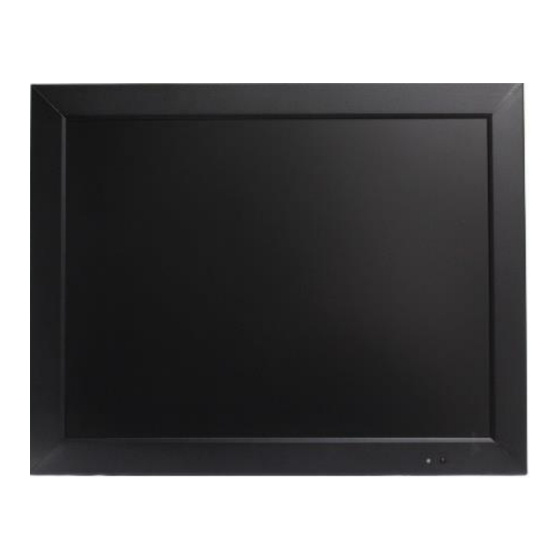
Summary of Contents for OPTICOM LCDI-15A
- Page 1 TFT LCD MONITOR USER MANUAL LCDI-104H LCDI-15A LCDI-17A LCDI-19A...
-
Page 2: Table Of Contents
Table Of Contents Table of contents/ Warning…………………………………………………………...….…2 Precautions …………………………………………………………………………....3 About this user manual / Items included in the delivery ……………………….…..….…4 1. IR-remote control ………………………………………………………………..….……..5 2. LCD monitor mounting ………………………………………………………….…..…..7 3. Monitor controls …………………………………………………………………..…..……9 4. Connections..………………………………………………………………………..…..11 5. Monitor settings via OSD menu ……………………………………………………..….12 5.1 Picture ………………………………………………………………………………..…..12 5.2 Sound ……………………………………………………………………………….……12 5.3 OSD Setup ……………………………………………………………………………..13... -
Page 3: Precautions
Precautions Safety--------------------------------------- Installation--------------------------------------- Should any liquid or solid object fall into the Do not install the unit in an extremely hot or cabinet, unplug the unit and have it checked humid place or in a place subject to excessive by the qualified personnel before operating it dust or mechanical vibration. -
Page 4: About This User Manual / Items Included In The Delivery
This device complies with Part 15 FCC Rules. Operation is subject to the following two conditions: (1) This device may not cause harmful interference. (2) This device must accept any interference received including interference that may cause undesired About this user manual This manual aims at assisting the user on how to operate the monitors described in this manual. -
Page 5: Ir-Remote Control
1. IR remote control (1). Power: Press this button to turn the monitor on/off. (2). Zoom: Press this button to toggle between the different picture formats: Full/Zoom1/Zoom2/14:9/Panorama/4:3 (3). Mute: Press this button to disable the sound. Press this button again to turn the sound on again. (4). - Page 6 3:Press “Left” or “Right” key to select the JPEG/MP3/DRIVE function. 4:Press”Up/Down” Key to select play file. 5:Press”Right” Key to into the file 6:Press”Up/Down” Key to select the play file and press Right key to play. And press ”Menu” to stop play. Then press” Catalog” return the menu. And press “Menu”...
-
Page 7: Lcd Monitor Mounting
7:Press” PC/HD,AV1/AV2;SV to exit the USB function. 2 LCD monitor Mounting Guide Desktop Adjust the viewing angle of LCD to fit most comfortable monitoring status. Wall mount Free your space with wall mount design. Please follow the fix-hole size in back panel to install the LCD to the wall. 1-800-578-1853 www.opticomtech.com... -
Page 8: Monitor Controls
C. VESA Bracket LCDI-104H LCDI-15A LCDI-17A LCDI-19A 3 Monitor controls 10.4” Aluminum 15’/17”/19” Plastic 1-800-578-1853 www.opticomtech.com... -
Page 9: Connections
(1). Power Turn the monitor on/off. LED: Green Monitor on LED: Red Standby mode (no input signal) (2./3). Adjust Up / Down ▲/▼ Increase or decrease the values in the OSD menu: Up: Increase the values. Down: Decrease the values. (4). -
Page 10: Monitor Settings Via Osd Menu
5. Monitor settings via OSD menu Various monitor settings can be made using the OSD menu (On Screen Display). Press the Menu/OK button to call-up the OSD main menu. Here you can make adjustments to the following items: Picture Sound OSD Setup Advance PC (at PC input signal) -
Page 11: Osd Setup
5.3 OSD Setup ▲▼ buttons to select adjusts item, Use the and press source button to confirm. ▲▼ buttons to increase/decrease the values, Then use the or use “source” button to change the values. Press the menu button to return to the previous menu item. Item Description Language... -
Page 12: Special Features
5.6 PC ▲▼ buttons to select adjusts item, Use the and press source button to confirm. ▲▼ buttons to increase/decrease the values, Then use the or use “source” button to change the values. Press the menu button to return to the previous menu item. Item Description ▲▼... -
Page 13: Technical Specifications
7. Technical specifications Monitor model LCDI-104H LCDI-15A LCDI-17A LCDI-19A System PAL / NTSC 10.4” 17” LCD panel 15“ 19” Visible area (mm) 211.2 x 158.4 304 x 228 304 x 228 376x301 Picture format 4 : 3 Max. resolution 1024 x 768... - Page 14 3. Make sure the audio cable has been but no sound 3. Is the audio cable connected to the properly connected to the unit. unit? Please contact Opticom Tech at 1-800-578-1853 with any questions that you may have. 1-800-578-1853 www.opticomtech.com...
Need help?
Do you have a question about the LCDI-15A and is the answer not in the manual?
Questions and answers