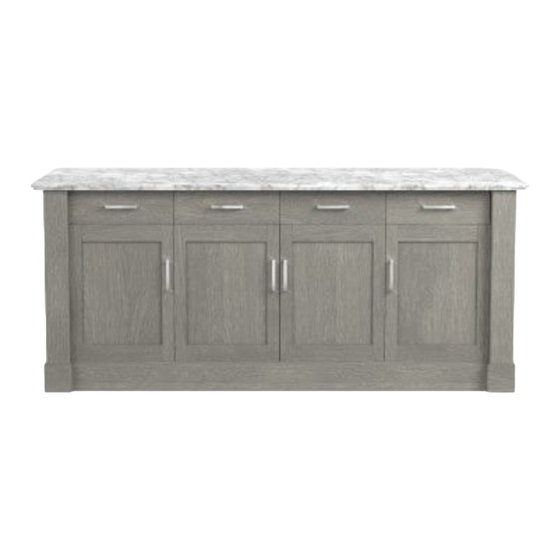
Summary of Contents for Williams-Sonoma SAUSALITO KITCHEN ISLAND
- Page 1 SAUSALITO KITCHEN ISLAND Date: 2016-June-26 www.williams-sonoma.com Page 1 of 7 Rev:...
- Page 2 4x110mm -1x 5/16" x 1-1/4" - 4x 5/16" x 1-3/4” - 8x (5) Wood Dower (4) Flat Washer (4) Spring Washer 20 x 35mm - 2x 5/16"x16x2mm - 12x 5/16"x13x2mm - 12x Date: 2016-June-26 www.williams-sonoma.com Page 2 of 7 Rev:...
- Page 3 4. Insert 8 sets of: Allen Bolt (3), Spring Washer (4), and Flat Washer (5) from the interior of the base frame and into the pre-installed metal insert on the left and right side panels, as seen in the illustration below. 5. Tighten all bolts with Allen Key (1). Do not over tighten. Date: 2016-June-26 www.williams-sonoma.com Page 3 of 7 Rev:...
- Page 4 Note: The base must be leveled before assembling the Marble Top (A). 8. Attach the Marble Top (A) to the Base Frame (B) by aligning the holes underneath the Marble Top with the Wood Dowels (6) as seen in the illustration below. Date: 2016-June-26 www.williams-sonoma.com Page 4 of 7 Rev:...
- Page 5 9. Attach the Base Frame (B) to the Marble Top (A) using insert 4 sets of: Allen Bolt (2), Spring Washer (4), and Flat Washer (5) from the interior of the left and right side panels and into the pre-installed metal insert on the base frame, (as seen in Diagram A & B) Date: 2016-June-26 www.williams-sonoma.com Page 5 of 7 Rev:...
- Page 6 B. Place the Knobs over the pre-drilled holes on the Drawer Front. Insert the original Machine Screws through the holes from the inside of the Drawer Box and into the Knobs, "Diagram DD". C. Tighten the Machine Screws using a Philips Head Screwdriver (not included). Date: 2016-June-26 www.williams-sonoma.com Page 6 of 7 Rev:...
- Page 7 -as they may damage the finish. The marble is not treated and is porous, which can stain particularly with dark liquids. Hardware may loosen over time. Periodically check to make sure all connections are tight. Re-tighten if necessary. Thank you for your purchase Stores | catalog Date: 2016-June-26 www.williams-sonoma.com Page 7 of 7 Rev:...


Need help?
Do you have a question about the SAUSALITO KITCHEN ISLAND and is the answer not in the manual?
Questions and answers