Table of Contents
Advertisement
Quick Links
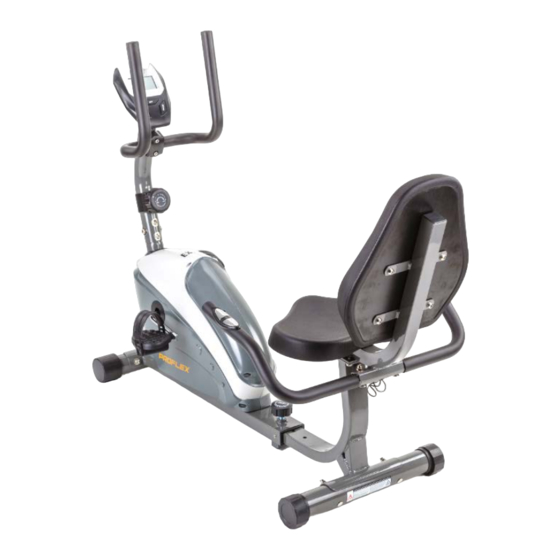
EXB1 Recumbent Exercise Bike
User Manual
[Revision 6.0 April 2017]
[Note: Colour and branding may vary from the image above]
READ THIS MANUAL CAREFULLY BEFORE USE – FAILURE TO DO SO MAY RESULT IN INJURY, PROPERTY
DAMAGE AND MAY VOID WARRANTY. • KEEP THIS MANUAL FOR FUTURE REFERENCE • Products covered by
this manual may vary in appearance, assembly, inclusions, specifications, description and packaging.
Advertisement
Table of Contents

Related Manuals for HPF PROFLEX EXB1

Summary of Contents for HPF PROFLEX EXB1
- Page 1 EXB1 Recumbent Exercise Bike User Manual [Revision 6.0 April 2017] [Note: Colour and branding may vary from the image above] READ THIS MANUAL CAREFULLY BEFORE USE – FAILURE TO DO SO MAY RESULT IN INJURY, PROPERTY DAMAGE AND MAY VOID WARRANTY. • KEEP THIS MANUAL FOR FUTURE REFERENCE • Products covered by this manual may vary in appearance, assembly, inclusions, specifications, description and packaging.
-
Page 2: Safety
• Before using the equipment, check that all visible fasteners are sufficiently tightened and secure. • Handle or move the equipment with due care to avoid personal injury or damage to the equipment. E&OE © 2017 HPF/Proflex... -
Page 3: Table Of Contents
Setting a Pre-Set Session Time / Distance / Calorie / Pulse ............12 Adjusting Resistance ..........................12 Care, Maintenance and Troubleshooting ..................13 Cleaning ..............................13 Storage ..............................13 Troubleshooting ............................. 13 Specifications ........................... 13 Warm-Up and Cool-Down Routine ....................14 E&OE © 2017 HPF/Proflex... -
Page 4: Parts Identification
Fasteners / Tools: 2 M6 Screw Pedal (left and right) 2 M6 Washer Seat Brace 2 M6 Acorn Nut 2 Pedal Strap Handlebar 1 Bracket Cover Vertical Handlebar Multi-Tool Front Mounting Tube 6mm Allen Key Seat E&OE © 2017 HPF/Proflex... -
Page 5: Assembly
Bring the seat bracket (8) into position on top of the upright section of the centre frame so that the connection plates (C) are aligned. Attach the parts using 4 M8 screws (9) and washers (10). Use the Allen key to firmly tighten (rotate right) the screws. E&OE © 2017 HPF/Proflex... - Page 6 Ensure that the cable connection bracket and wiring remains in position by itself and does not slip back inside the tube. Then, carefully slide the front mounting tube (14) over the main body tube – ensure that the front mounting tube slot (E) is E&OE © 2017 HPF/Proflex...
- Page 7 Ensure that no cables etc are caught between the adjuster and tube. Place the adjuster clamp (J) on the opposite side of the tube, then secure the parts using the pre-assembled screw (18). E&OE © 2017 HPF/Proflex...
- Page 8 It is critical that you follow the pedal arm to crank attachment procedure carefully to ensure correct assembly. • During assembly, do NOT use excessive force to screw the pedals into the crank arms – this may indicate misalignment of the pedals or mis-matched threads. E&OE © 2017 HPF/Proflex...
- Page 9 16. Repeat steps 14 to 15 for the left-hand pedal (has an "L" on the end of the pedal bolt thread and on the underside of the pedal), noting that the pedal bolt and crank arm thread is left-hand (rotate left / anti-clockwise to tighten). E&OE © 2017 HPF/Proflex...
- Page 10 The unit can be tilted onto its front foot rotating caps for easy moving and storage. Firmly grasp the vertical handlebar with both hands. Next, carefully tilt the equipment forward until it rolls freely on the rotating caps. E&OE © 2017 HPF/Proflex...
-
Page 11: Operation
When exercising, shows the current time elapsed for the session. SCAN - When exercising, automatically steps the display between each function every 4 seconds. Press to activate "setting" mode and to increase the current value when setting target values (for example, time, distance etc). E&OE © 2017 HPF/Proflex... -
Page 12: Setting A Pre-Set Session Time / Distance / Calorie / Pulse
The resistance of the crank to being rotated can be adjusted. Increased resistance requires more effort and, therefore, uses more energy. To adjust crank resistance, rotate the knob on the central brace – 1 = least resistance, 8 = greatest resistance. E&OE © 2017 HPF/Proflex... -
Page 13: Care, Maintenance And Troubleshooting
C. Replace console. When to Call for Help This equipment is designed with user safety as a priority. In the event of equipment failure, call an authorized service centre or technician for servicing. Specifications Weight Capacity 120kg E&OE © 2017 HPF/Proflex... -
Page 14: Warm-Up And Cool-Down Routine
Inner Thigh Stretch Sit with the soles of your feet together and your knees pointing outward. Pull your feet as close to your groin as possible, then gently push your knees toward the floor. Hold for 15 seconds. E&OE © 2017 HPF/Proflex... - Page 15 Keep your left leg straight and the right foot on the floor; then bend the right leg and lean forward by moving your hips toward the wall. Hold, then repeat on the other side for 15 seconds. E&OE © 2017 HPF/Proflex...
- Page 16 ©2017 HPF and Proflex. All rights reserved. No part of this document, including descriptive content, concepts, ideas, diagrams or images may be reproduced or transmitted in any form or by any means, electronic or mechanical, including photocopying, scanning or recording, or any information storage and retrieval system, without express permission or consent from the publisher.
Need help?
Do you have a question about the PROFLEX EXB1 and is the answer not in the manual?
Questions and answers