Table of Contents
Advertisement
Quick Links
Advertisement
Table of Contents

Related Manuals for Von Racer 8351


Summary of Contents for Von Racer 8351
-
Page 3: Assembly Guide
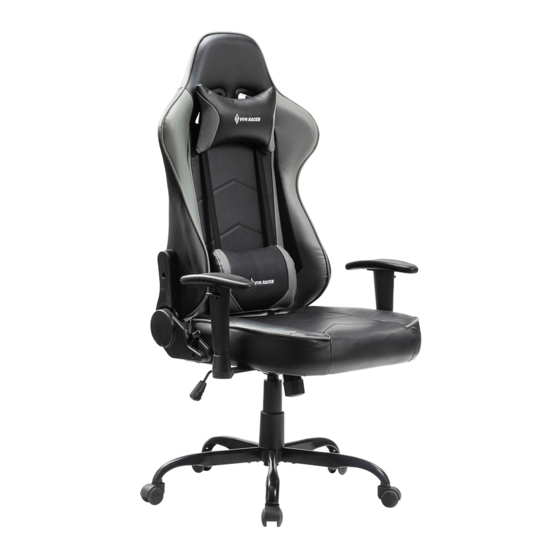
ASSEMBLY GUIDE Congratulation s, you are now the owner of a brand new Von r ace r chair! Before enjoy the comfort chair, you have to put it together.This Assembly Guide will take you through the basic assembly process. To make sure your assembly goes smoothly, please follow the assembly instructions, 迎旦... -
Page 4: Package List
PACKAGE LIST 尸 _ © @ ® * ' � � Casters Star Base Gas Lift Quantity: 5 Quantity: 1 © Quantity: 1 © 二 勹 门 丿 勹 二 Left Plastic Cover Set Right Plastic Cover Set Lift Cover Quantity: 1 Quantity: 1 Quantity: 1... - Page 5 ASSEMBLY INSTRUCTIONS Step 1 : Connect Star Base and five base legs with M6*10mm Bolts, then turn the Star Base upside down, and press the Casters into the holes at the end of each base leg. 。 ' . 上 丿...
- Page 6 ASSEMBLY INSTRUCTIONS STEP 3 : Remove All M8x25mm Bolts from the seat and back. -@ - e - aao ® 。 M8*25mm @ STEP 4 : Attach the arms to the seat cushion with four M8X25m m bolts, using the Wrench. 』...
- Page 7 ASSEMBLY INSTRUCTIONS STEP 5 : Align the seat plate to the bottom of the seat cushion, make sure that the front of the seat plate is facing the front of the seat cushion. Attach the seat plate to the seat cushion using four M8X25mm bolts, tighten all the bolts with the wrench.
- Page 8 ASSEMBLY INSTRUCTIONS S TEP 7 : Using A djusters to attach Seat Cushion and Back Cushion, align the adjusters over the pre-drilled holes underneath the seat cushion and back cushion with M8x25mm Bolts, tighten all the bolts with the wrench. Note: Do not tighten the bolts fully at this step.
- Page 9 STEP 10: Attach the Plastic Cover on right and left side with six M5X8mm bolts, using the wrench. ® Congratulations!You've assembled your Von racer chair. If you have any problems during installation or other issues, please contact us service@vonracer.net , we will reply your email in...
- Page 10 INSTRUCTIONS FOR USE Seat Height: Paddle-shaped lever on right side To raise: While taking your weight off chair, lift lever up. To lower: While seated, lift lever up. * At the proper height, your feet should rest flat on the floor. 匿i 。...
- Page 11 INSTRUCTIONS FOR USE I Operating the tilt lockout 图 To let your chair tilt back, pull the control handle out. To stop your chair from tilting, sit forward, then push the control handle in. 匮l Backrest Recline Pull the lever FULLY and lean back slowly until desired angle is achieved, then slowly return the lever to its starting position,...
- Page 12 INSTRUCTIONS FOR USE 瞿3 1 D-Function Armrest Up and Down...
-
Page 13: Safety And Maintenance
SAFETY AND MAINTENANCE • Do not stand on the chair, Do Not use the chair as stepladder. • Use this product for seating one person at a time. • Do not use the chair unless all bolts and screws are firmly secured. Avoid contact with sharp objects to prevent puncturing the fabric. -
Page 14: Limited Warranty
LIMITED WARRANTY VON RACER promises to repair or replace any VON RACER chair that is found to be defective in material or workmanship within one (1) and year from the date of original purchase so long as you, the original purchaser, still owns it. - Page 15 LIMITED WARRANTY Returned products must be returned in the same condition as they were sent and they must be sent in its original packaging. If the product is not faulty, (i.e. if you changed your mind or if you are unhappy with the product for some other reason), the cost of shipping will fall on you.
Need help?
Do you have a question about the 8351 and is the answer not in the manual?
Questions and answers