Advertisement
Quick Links
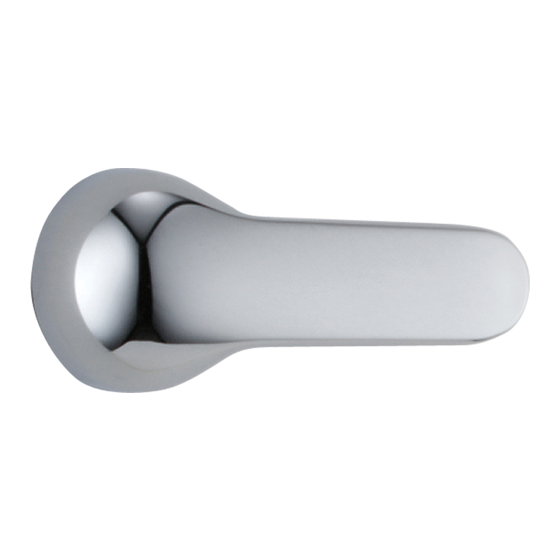
H78
1/8" (3.18mm)
Wrench not included.
La llave de tuercas no está incluida.
Clé non incluse.
H79
1/8" (3.18mm)
Wrench not included.
La llave de tuercas no está incluida.
Clé non incluse.
H72
3/32" (2.38mm)
H77
3/32" (2.38mm)
H75
3/32" (2.38mm)
H74
3/32" (2.38mm)
H73
If you are installing any of these handle kits please read the instructions that follow
for proper handle operation.
If dimension (A) of trim sleeve (1) is approximately 2-3/8" discard spacer (2).
If dimension (A) of trim sleeve (1) is approximately 2-7/8" use spacer (2).
To install spacer: Remove trim sleeve and position spacer inside of the
sleeve. Replace trim sleeve.
Si usted está instalando cualquiera de estos equipos de manijas lea las instruc -
ciones siguientes para obtener un funcionamiento correcto de manijas.
Si la dimensión (A) de la manga del accesorio (1) es aproximadamente 2 3/8"
descarte el separador (2).
Si la dimensión (A) de la manga del accesorio (1) es aproximadamente 2 7/8"
use el separador (2). Para instalar el separador: Quite la manga del acceso
rio y coloque el separador dentro de la manga. Coloque de nuevo la manga
del accesorio.
Si vous installez un de ces kits de poignées, veuillez lire les instructions suivantes
pour connaître le bon fonctionnement des poignées .
Si la dimension (A) du manchon (1) est d'environ 2 3/8 po, jetez la cale (2).
Si la dimension (A) du manchon (1) est d'environ 2 7/8 po, utilisez la cale
(2). Pour poser la cale, enlevez le manchon et introduisez la cale dans celui-
ci.Reposez ensuite le manchon.
HANDLE INSTA L L AT I O N
INSTALLACIÓN PARA MANIJA
INSTALLATION DES POIGNÉES
H71
2
1
10/6/97
Rev.-
Advertisement

Related Manuals for Delta H78


Summary of Contents for Delta H78
- Page 1 HANDLE INSTA L L AT I O N INSTALLACIÓN PARA MANIJA INSTALLATION DES POIGNÉES 1/8" (3.18mm) Wrench not included. La llave de tuercas no está incluida. Clé non incluse. 1/8" (3.18mm) Wrench not included. La llave de tuercas no está incluida. Clé...
- Page 2 H71, H71PB RP18341 RP20542, RP18343 RP20542PB RP6369 RP6119 RP6369 RP29569 RP29569 RP152 RP25620 RP26851 RP26853 RP29569 RP29569 RP26865 RP26865 RP26853 RP26853 RP26852 RP29569 WA R N I N G : D ow Bathroom Cleaner with Scrubbing Bubbl e s and Lysol Foaming Basin Tub and Tile Cleaner must not be used on the clear knob handles and leve r s.