
Related Manuals for Premium PRF047XW


Summary of Contents for Premium PRF047XW
- Page 1 Service Manual for Single Door Fridge PREMIUM MODEL PRF047XW PRF071XW PRF3X PRF3XT...
-
Page 2: Table Of Contents
Content Table Main feature and product appearance---------------------2 Unit Specification----------------------------------- 3 Safety during maintenance or service ------------- 3 Electrical Diagram ------------------------------- 4 Cooling System Diagram --------------------------- 5 Part Lists and explanation ---------------------------- 5 Disassembling and replacing of the components ---------6 Check the breakdowns of the cooling system --------------7 Table for quick answer for the field problem ------9 Note of the cooling system maintenance with R134a refrigerant -------------------------------13... -
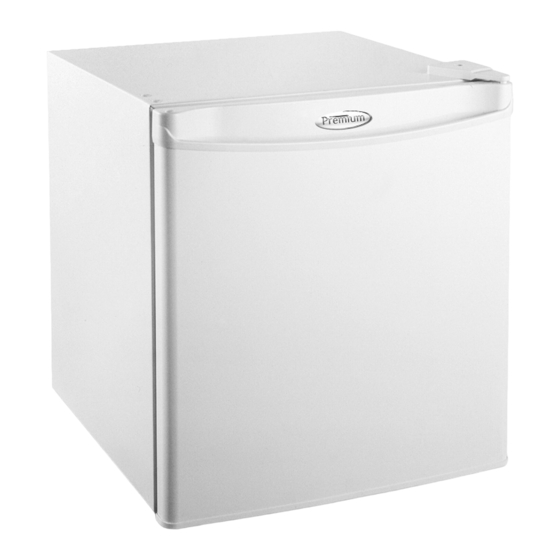
Page 3: Main Feature And Product Appearance
Recessed door Plastic Foaming Door internal tank with gasket seal, material, with painting One shelf and cotton ginning, and PRF047XW easy to be simple sheet metal and one drip tray unitary plastic PRF071XW discharged simple ,beautifu inside linear mouth. It has and cleaned. -
Page 4: Unit Specification
Unit Specification: Model PRF047XW PRF071XW/PRF3X-3XT Net Capacity ( L) Voltage(V) Frequency(Hz) Refrigerant R134a R134a Refrigerant Amount (g) Safety during maintenance or service: In order to be safety during maintenance, must obey the following basic attention: 1) During service: Pay attention to the flame or ignition nearby, particually after welding using gas too, must turn off the flame first, then can do other maintenance work, because the refrigerant will produce the toxic air when it touch with flame, sparkle or capacitor. -
Page 5: Electrical Diagram
Ensure to use the appropriate service tool right. Otherwise it will cause bad electrical contact or loose fixing, and the incidence will happen. 6).Wiring connection: When re-connecting the cut wire, be sure to use soldering method or terminal connection, and then wrap the connection point with insulation tape, ensure the good connection. -
Page 6: Cooling System Diagram
5. Cooling System Diagram: Capillary Dry Filter Condenser Evaporator Air Suction Pipe Compressor Note: Arrow direction means the flowing direction of the refrigerant. 6. Part Lists and explanation: PRF047XW/PRF071XW/PRF3X/PRF3XT... -
Page 7: Disassembling And Replacing Of The Components
Parts Name PRF047XW PRF071XW/PRF3X-3XT Door Hinge Shelf Freezer Cabinet Thermostat cover Compressor base Condensate Water Drain Fixing feet 7、Disassembling and replacing of the components: When replacing the components, must unplug the unit first, in order to be safety. 1). Replace the thermostat:... -
Page 8: Check The Breakdowns Of The Cooling System
8. Check the breakdowns of the cooling system: Following the next illustration to check the problem:... - Page 9 Problem and check point Cause Solution Compressor On the Repair the welding, Leakage Cut off the low pressure Vacuuming and Leakage Refrigerant pipe joint clean the pipe and pipe and spurt out the point ? recharging check again Leaks replace the dry filter residual refrigerant No refrigerant Check the frost...
- Page 10 Check the frost on the cabinet liner surface, if find like following: 1) No frost, then do the leakage detecting. A). If the leakage point is found, then first cut off the low pressure pipe to discharge the left refrigerant in the system, then clean the pipe, replace with a new dry filter and welding again, again recharge the refrigerant and do the leakage detecting.
- Page 11 9、Table for quick answer for the field problem: Item Phenomenon Check point and the detail Caused by No power supply Field power neighbor supply is cut off. house Power indicator is other Main fuse is cut Check that other appliances off.
- Page 12 Measure insulation resistance meg-ohm meter, The winding is if the insulation burnt. resistance < 1 MΩ,the unit can’t be used for long time. The voltage is Compressor can’t start too low. Power supply voltage (Maybe lower because of under than 175V) voltage.
- Page 13 runs but Thermostat is set at higher temperature Set it to lower cooling (lower digit)? temperature effect is not There is too more food in cooling Too more food good. compartment, too crowded, ensure good air circulation inside freezer Hot temperature food temperature Is there high temperature food, like hot...
-
Page 14: With R134A Refrigerant
Check the electrical parts touch with the Electricity metal enclosure or not, and the grounding leakage lead is not grounded properly Check it have static electricity influence Static electricity influence There is sound Check the compressor has abnormal Compressor inside compressor sound or not. -
Page 15: The Performance Testing Requirement After Service
Special requirement during service process: (a). Duration of from opening of compressor to vacuuming process must be less than 10 minutes, and for other parts not more than 12 minutes. (b). Vacuuming duration should not loess than 20 minutes. (c). If refrigerant leakage happens, it need to replace the compressor. Before welding, dry the cooling system by the nitrogen air. -
Page 16: Maintenance Parts List
5)、Leakage checking: After running for 24 hours, check one by one of welding point by using halogen leakage detecting device or suds. If leakage happens again, then should service again. Maintenance parts list: Parts name PCS/unit Note Compressor Thermal protector compressor PTC starter Feet of compressor...
Need help?
Do you have a question about the PRF047XW and is the answer not in the manual?
Questions and answers