Advertisement
Quick Links
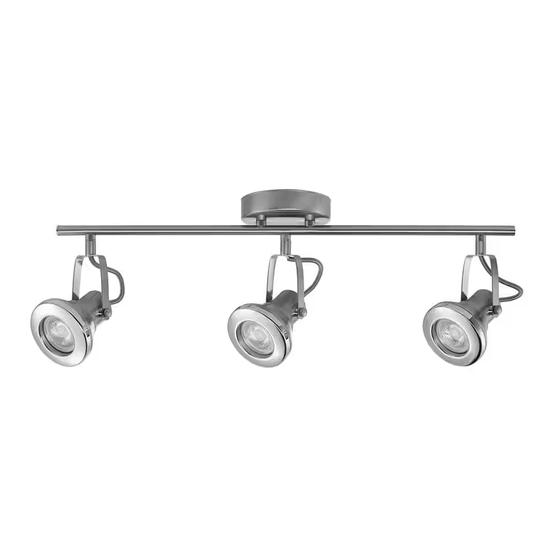
Item #1002 089 232
Model #59118
USE AND CARE GUIDE
3-LIGHT LED TRACK BAR
Questions, problems, missing parts? Before returning to the store,
call Hampton Bay Customer Service
8 a.m. – 7 p.m., EST, Monday – Friday, 9 a.m. – 6 p.m., EST, Saturday
1-855-HD-HAMPTON
HAMPTONBAY.COM
THANK YOU
We appreciate the trust and confidence you have placed in Hampton Bay through the purchase of this LED light fixture. We strive to continually create quality
products designed to enhance your home. Visit us online to see our full line of products available for your home improvement needs. Thank you for choosing
Hampton Bay!
Advertisement

Related Manuals for HAMPTON BAY 59118


Summary of Contents for HAMPTON BAY 59118
- Page 1 THANK YOU We appreciate the trust and confidence you have placed in Hampton Bay through the purchase of this LED light fixture. We strive to continually create quality products designed to enhance your home. Visit us online to see our full line of products available for your home improvement needs. Thank you for choosing...
-
Page 2: Table Of Contents
Table of Contents Table of Contents ............2 Installation ..............5 Safety Information............2 Care and Cleaning............7 Warranty ..............2 Troubleshooting ............7 Pre-installation ............3 Safety Information IMPORTANT SAFETY INSTRUCTIONS. SAVE THESE INSTRUCTIONS. WARNING: When replacing fuses, turn off the main power first. -
Page 3: Pre-Installation
Pre-installation PLANNING INSTALLATION Compare all parts with the Hardware Included and Package Contents sections. If any part appears missing or damaged, do not install this product and contact the Customer Service Team at 1-855-HD-HAMPTON. TOOLS REQUIRED Safety Phillips Ladder Electrical tape goggles screwdriver Gloves... - Page 4 Pre-installation (continued) PACKAGE CONTENTS Part Description Quantity Fixture body Decorative nuts LED GU10 bulb, 50W equivalent Shade Cover...
-
Page 5: Installation
Installation Installing the mounting crossbar Preparing the mounting crossbar assembly □ Screw the mounting screws (BB) into the mounting crossbar □ Make sure the power is off. (AA), as shown. □ Pull the supply wires down out of the outlet box. □... - Page 6 Installation (continued) Making the electrical connections Attaching the fixture to the ceiling □ Attach the ground wire from the outlet box to the ground screw □ Raise the fixture (A) to the outlet box and align the mounting on the mounting crossbar (AA), which is green and marked screws (BB) with the holes in the canopy of the fixture body (A) "GND".
-
Page 7: Care And Cleaning
Installation (continued) Installing the bulbs □ Screw the bulbs (C) into the lamp socket of the fixture (A) Attach shade cover (D) to the track head, align with the fastening screw to secure the shade cover to the track head. This fixture uses LED GU10, 50W equivalent bulbs Care and Cleaning To clean the fixture, first disconnect the power to the fixture by turning off the circuit breaker of by removing the fuse at the fuse box. - Page 8 Questions, problems, missing parts? Before returning to the store, call Hampton Bay Customer Service 8 a.m. – 7 p.m., EST, Monday – Friday, 9 a.m. – 6 p.m., EST, Saturday 1-855-HD-HAMPTON HAMPTONBAY.COM Retain this manual for future use.