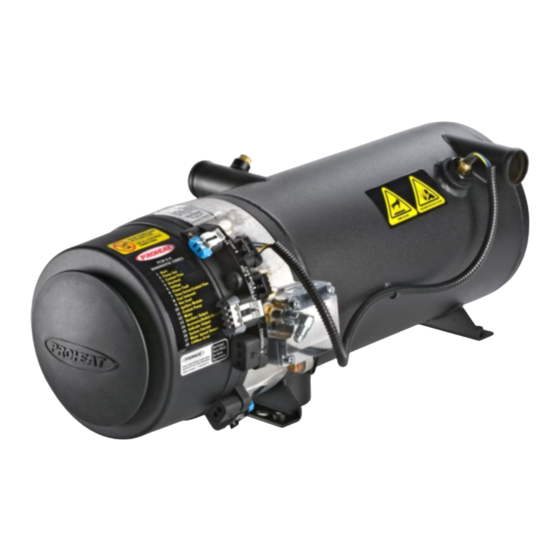
Proheat M Series Installation Instructions
Diaphragm replacement kit
Hide thumbs
Also See for M Series:
- Service bulletin (4 pages) ,
- Installation instructions manual (9 pages)
Advertisement
Disassembly Instructions
NOTICE
DO NOT discard any component unless
directed to do so. All mounting hardware
will be re-used during the installation
of the compressor kit.
1
4
Figure A.
WARNING
To avoid the risk of shock, ensure to
disconnect power to the heater unit
during disassembly/reassembly.
7
6
5
Figure B.
© 2010 Marine Canada Acquisition Inc. DBA SEASTAR SOLUTIONS 3831 No. 6 Road, Richmond, B.C. Canada V6V 1P6
INSTALLATION INSTRUCTIONS
Copy Part# 206500, Rev. C
Date: 05/2017
M-SERIES DIAPHRAGM
REPLACEMENT KIT
Part# 200685K
1. Disconnect all harnesses at the PCM.
2. Disconnect the fuel supply line.
3. Referring to figure A, loosen and back out the burner head
mounting bolts (item 1) allowing enough room to rotate the
burner head 15° counter-clockwise and remove.
4. Turn the Burner head over as shown in figure B. Remove the
ignition electrode (item 16) then the flame shield (item 17).
5. Remove the valve cover (item 7) by removing the four M5 screws
(item 5) and lock washers (item 6), then remove the cylinder head
(item 10).
6. Remove and discard the two O-rings (items 8 and 9) from the
valve cover (item 10), and the two O-rings (item 15) from the
burner head flange (item 4).
7. Remove the #8 screw (item 11) from the connecting rod assembly
(item 21), then remove the intake disk (item 12), diaphragm (item
13) and compression disk (item 14).
12
9
8
10
17
18
6
19
14
13
15
11
Page 1 of 4
16
4
21
Tel: 604.270.6899
Web: www.proheat.com
Advertisement
Table of Contents

Related Manuals for Proheat M Series


Summary of Contents for Proheat M Series
- Page 1 To avoid the risk of shock, ensure to disconnect power to the heater unit during disassembly/reassembly. Figure B. © 2010 Marine Canada Acquisition Inc. DBA SEASTAR SOLUTIONS 3831 No. 6 Road, Richmond, B.C. Canada V6V 1P6 Tel: 604.270.6899 Web: www.proheat.com...
- Page 2 2. Install two O-rings (item 26) into the burner head flange (item 4). DIAPHRAGM OPENING NOTE ORIENTATION NOTE ORIENTATION NOTE ORIENTATION TORQUE: 25 ± 3 IN-LBS Figure C. © 2010 Marine Canada Acquisition Inc. DBA SEASTAR SOLUTIONS 3831 No. 6 Road, Richmond, B.C. Canada V6V 1P6 Tel: 604.270.6899 Web: www.proheat.com...
- Page 3 7. Install the heat shield (item 17) and ignition electrodes (item 16). 8. Set Compressor Pressure (refer to figure F). Refer to M-Series Service Manual SL9150 at www.proheat.com for detailed instructions. Air filter and nozzle must be clean for compressor setting. Inspect air passages of fuel block and clean as required.
- Page 4 Page 4 of 4 Date: 05/2017 GAUGE (P/N PK0067) NOTICE PK0067 Pressure Test Gauge is required to complete the rebuild. It is NOT Figure F. supplied in the rebuild kit. Go to www.proheat.com for more information. PRESSURE ADJUSTMENT SCREW DECREASE PRESSURE INCREASE PRESSURE 9.
Need help?
Do you have a question about the M Series and is the answer not in the manual?
Questions and answers