Advertisement
ROWERG WITH TALL LEGS ASSEMBLY - PAGE 2
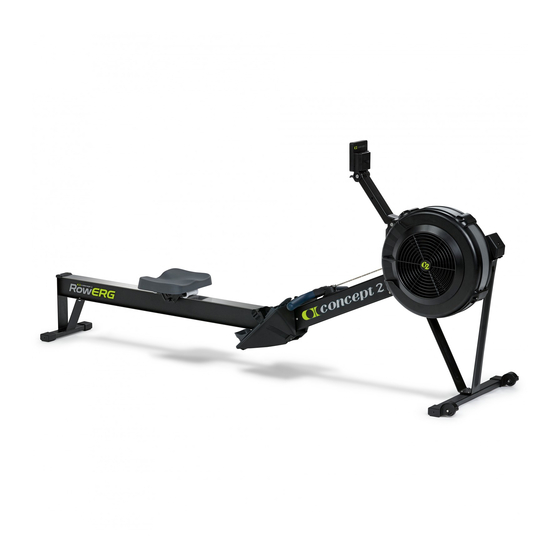
WITH TALL LEGS
RowErg Assembly
BOX 1
3.25" (8.26 cm)
Questions? Comments? Problems?
Contact Concept2 directly at 800.245.5676 (US and Canada)
Or visit us online: concept2.com
TALL LEGS RETROFIT - PAGE 4
DEVICE HOLDER PARTS
Not to scale
x 1
x 1
Knob
PN 7101
PN 7099
PN 1224
Concept2, Inc. 105 Industrial Park Drive Morrisville, Vermont USA 05661 concept2.com/contact
ASSEMBLY INSTRUCTIONS
Weight: 68 lb (31 kg)
Dimensions: 8 ft x 2 ft (244 cm x 61 cm)
Space Required for use: 9 ft x 4 ft (274 cm x 122 cm)
Weight Capacity: 500 lb (227 kg) as tested by Concept2*
*300 lb (135 kg) as tested per European Stationary Fitness
Equipment Testing Standard EN 20957-7
RowErg Assembly & Tall Legs Retrofit
BOX 2
T-27 DRIVER
PN 2230
3/4" (1.9 cm)
Not to scale
PN 2233
*Two PN 2395 and two PN 2394 will be used for RowErg Assembly.
*Four PN 2395 and four PN 2394 will be used for Tall Legs Retrofit.
PN 2960
PN 7109
*
*
x 8
x 4
x 4
5/8" (1.58 cm)
PN 2394
PN 2395
PN 2453
1
0621
Advertisement
Table of Contents

Related Manuals for concept 2 ROWERG


Summary of Contents for concept 2 ROWERG
- Page 1 PN 7101 PN 7099 PN 1224 PN 2395 *Two PN 2395 and two PN 2394 will be used for RowErg Assembly. *Four PN 2395 and four PN 2394 will be used for Tall Legs Retrofit. PN 2453 PN 2960 PN 7109 Questions? Comments? Problems? Contact Concept2 directly at 800.245.5676 (US and Canada)
- Page 2 3 reuse in step 4 IMPORTANT Two screws and two nuts will be reinstalled in step 6. from step 3 (2) 5/8” (1.58 cm) PN 2395 (2) PN 2394 from step 3 RowErg with Tall Legs Assembly Instructions...
- Page 3 ASSEMBLY INSTRUCTIONS WITH TALL LEGS How to Use the Device Holder PN 7101 insert device Loosen knob to slide lower Pinch and bracket up or release to down. remove PN 7099 device. Important: Tighten knob when device is in place. PN 1224...
- Page 4 TALL LEGS RETROFIT INSTRUCTIONS (Refer to page 1, “Box 2” for parts list) 7/16” Socket Wrench Not Included (4) 3/4” (1.9 cm) PN 2233 *reuse in ASSEMBLY TIP step 4 Do not fully tighten screws until all screws are in place. X = do not reuse (4) 3/4”...
Need help?
Do you have a question about the ROWERG and is the answer not in the manual?
Questions and answers