Sign In
Upload
Download
Table of Contents
Contents
Add to my manuals
Delete from my manuals
Share
URL of this page:
HTML Link:
Bookmark this page
Add
Manual will be automatically added to "My Manuals"
Print this page
×
Bookmark added
×
Added to my manuals
Manuals
Brands
ILD Manuals
Stove
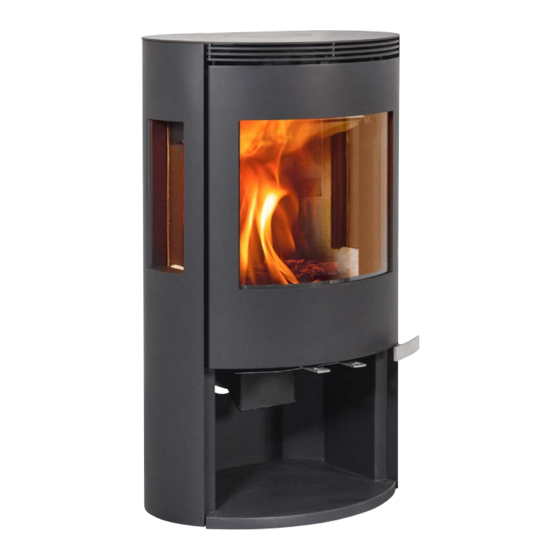
9 ECO
Manual
ILD 9 ECO Manual
Hide thumbs
1
2
Table Of Contents
3
4
5
6
7
8
9
10
11
12
13
14
15
16
17
18
19
20
21
22
23
24
page
of
24
Go
/
24
Contents
Table of Contents
Troubleshooting
Bookmarks
Table of Contents
Table of Contents
Technical Data Sheet
Before the Installation
Packing
First Time Use
Mounting
Flue Connection Pipe Top/Rear
Accessories
Wearing Parts
Closed Combustion System
Chimney & Flue Connecting Piece
Stoking and Overloading
Fuel
Refueling on to a Low Fire Bed
Environmental Use
Using Your Stove under Various Weather Conditions
Primary Air Control
Secondary Air Control
Ash Drawer and Bottom Grate
Cutting out Ash Residues
Dampers Left Open
General Rules
Lighting the Stove Using a "Top-Down"-Lighting
Cleaning and Maintenance
Measurements
Safety Distance
Installations Examples
Distance to Flammable Materials
Distance to Firewall
Troubleshooting
Advertisement
Quick Links
Download this manual
ENGLISH
ILD 9 ECO, ILD 10 ECO and ILD 11 ECO
EN 13240 - NS 3058/3059
Manual
VERSION NO. 2, 27.01.2021
Model ILD 9 ECO, ILD 10 ECO and ILD 11 ECO
Table of
Contents
Previous
Page
Next
Page
1
2
3
4
5
Advertisement
Table of Contents
Need help?
Do you have a question about the 9 ECO and is the answer not in the manual?
Ask a question
Questions and answers
Related Manuals for ILD 9 ECO
Stove ILD 6 Manual
(27 pages)
Stove ILD 15 ECO Manual
(25 pages)
Stove ILD 12 ECO Manual
(24 pages)
This manual is also suitable for:
10 eco
11 eco
Table of Contents
Print
Rename the bookmark
Delete bookmark?
Delete from my manuals?
Login
Sign In
OR
Sign in with Facebook
Sign in with Google
Upload manual
Upload from disk
Upload from URL


Need help?
Do you have a question about the 9 ECO and is the answer not in the manual?
Questions and answers