
Related Manuals for Aquacal HP9

Summary of Contents for Aquacal HP9
- Page 1 ® AquaCal APPLICATION BULLETIN #0005 CONNECTING AND USING A JANDY VARIABLE SPEED CIRCULATION PUMP REQUIRED FIRMWARE - EQUIPMENT Heat Pump with an HP9 Control Board Firmware Version 2.000 or higher AB0005 REL 1 - (project rel 8.00)
-
Page 2: Table Of Contents
Table of Contents 1 - Connecting The Jandy Circulation Pump To The Heat Pump 2 - Manually Configuring The Heat Pump To Use The Circulation Pump 3 - Add The Circulation Pump To A Group 4 - Appendix 4.1 Viewing System Information... -
Page 3: Connecting The Jandy Circulation Pump To The Heat Pump
If unsure about firmware version, see " " on page 8. The firmware can be upgraded if necessary. Check with an AquaCal Customer Support representative for a USB firmware upgrade drive if needed. 3. At least one equipment group needs to exist in order to use a circulation pump. If an equipment group does not exist, see document #LTP0167 (Expansion Board Upgrade Manual) for information on creating groups. - Page 4 1. Turn off power to heat pump and circulation pump at breaker panel. Figure 3 - Circulation Pump 2. Remove circulation pump top access cover. See Figure 4 . Figure 4 - Top Access Cover 3. Remove inner wire cover. See Figure 5 and Figure 6 . Figure 5 - Inner Wire Cover Removal Figure 6 - Inner Wire Cover Removed Page - 2...
- Page 5 4. Connect wire to run to the heat pump from connection points "2" and "3". The first (power) wire and fourth (ground) wire will not be used. See Figure 7 . Run wires to the heat pump through the circulation pump chassis per circulation pump recommendations.
- Page 6 8. Route the wires from the circulation pump to the heat pump's electrical enclosure. Figure 9 - Wires to Port "B" on HP9 9. Connect the wire to the heat pump's control board (RS-485 Port "B") as specified below. See Figure 9 .
-
Page 7: Manually Configuring The Heat Pump To Use The Circulation Pump
2 - Manually Configuring the Heat Pump to use the Circulation Pump Circulation Pump Settings Chart Use this chart when entering parameters in the configuration. PLEASE NOTE Some circulation pumps will not allow for an address other than address "1". Review circulation pump documentation for capabilities of changing circulation pump addresses (and dip switches) if needed. - Page 8 USE ARROWS TO ENTER TO SELECT USE ARROWS TO MENU "PUMP" DEVICE NAME ENTER TO SAVE USE ARROWS TO ENTER TO SAVE SELECT PUMP TYPE USE ARROWS TO ENTER TO SELECT USE ARROWS TO SET SELECT DEVICE'S PORT MINIMUM RPM SPEED ENTER TO SAVE USE ARROWS TO SET ENTER TO SAVE...
-
Page 9: Add The Circulation Pump To A Group
3 - Add the Circulation Pump to a Group The example below shows the "POOL" group being edited to add a variable speed circulation pump. If a group does not exist, see document # LTP0167 (Expansion Board Upgrade Manual) for information on creating groups. -
Page 10: Appendix
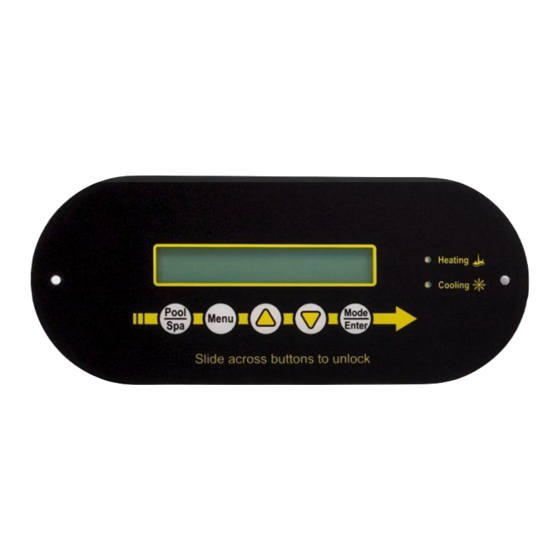
4 - Appendix 4.1 Viewing System Information The heat pump model, serial number, and firmware version can be viewed in the information menus. IF UNIT IS ASLEEP, PRESS MENU USE ARROWS TO SWIPE TO WAKE UP BUTTON "SYSTEM" PRESS "ENTER" USE ARROWS TO MENU PRESS ENTER TO VIEW "INFORMATION"...
Need help?
Do you have a question about the HP9 and is the answer not in the manual?
Questions and answers