Advertisement
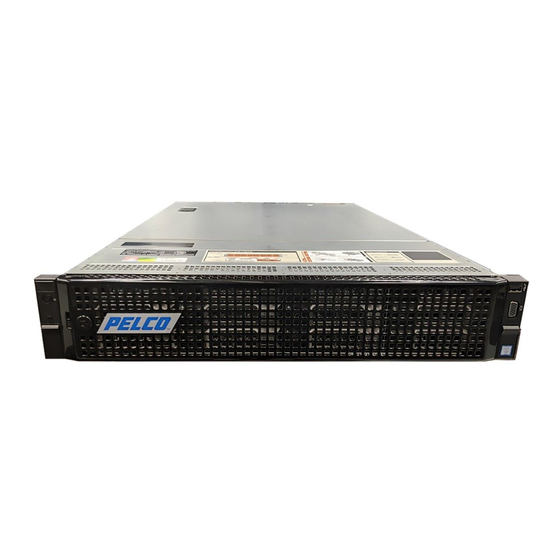
This document provides instructions to upgrade an NSM5300 to a VXS5300.
Preparing for Installation
To avoid damaging the server, perform the following steps before you begin working inside the server.
1. Ensure that the work surface is flat and clean to prevent the server cover from being scratched.
2. Power off the server.
3. Disconnect all network cables from the server.
Caution : To disconnect a network cable, first unplug the cable from the server, and then
unplug the cable from the network device.
4. Disconnect the server and all attached devices from their electrical outlets.
5. Press and hold the power button while the server is unplugged to ground the system board.
Caution : To avoid electrostatic discharge, ground yourself by using a wrist grounding strap or
by periodically touching an unpainted metal surface simultaneously as touching a connector
on the back of the server.
Upgrading the Server
1. Remove the system cover.
a. Use a Phillips screwdriver to rotate the lock on the latch and release the lock [1].
b. Pull the latch to release the top cover [2].
Note : The position of the latch varies depending on the configuration of your server.
c. Lift the top cover away from the server [3].
C6688M-A | 03/21
NSM5300 to VXS5300™ Upgrade
Migration Guide
1
Advertisement
Table of Contents

Summary of Contents for Motorola solutions PELCO NSM5300
- Page 1 NSM5300 to VXS5300™ Upgrade Migration Guide This document provides instructions to upgrade an NSM5300 to a VXS5300. Preparing for Installation To avoid damaging the server, perform the following steps before you begin working inside the server. 1. Ensure that the work surface is flat and clean to prevent the server cover from being scratched. 2.
- Page 2 NSM5300 to VXS5300™ Upgrade Migration Guide 2. Locate the internal USB drive. 3. Remove the USB stopper. 4. Remove the internal USB key from the USB port. 5. Install the server cover. a. Ensure that all internal cables are routed correctly and are connected. b. Lift the release latch on the top cover [1]. c.
- Page 3 NSM5300 to VXS5300™ Upgrade Migration Guide The release latch [1] automatically locks the top cover to the system. d. Use a Phillips screwdriver to rotate the lock on the latch to the locked position [3]. 6. Apply the Windows Server 2019 license sticker to the server. 7.
- Page 4 NSM5300 to VXS5300™ Upgrade Migration Guide Note : Do not remove the recovery USB drive because it will be booting to it again. g. While the server is powering-on, press F11 to launch the Boot Manager. h. Select One-shot BIOS Boot Menu, and then press Enter. i.
- Page 5 NSM5300 to VXS5300™ Upgrade Migration Guide Pelco, Inc. 625 W. Alluvial Ave., Fresno, California 93711 United States (800) 289-9100 Tel (800) 289-9150 Fax +1 (559) 292-1981 International Tel +1 (559) 348-1120 International Fax www.pelco.com Pelco, the Pelco logo, and other trademarks associated with Pelco products referred to in this publication are trademarks of Pelco, Inc. or its affiliates.


Need help?
Do you have a question about the PELCO NSM5300 and is the answer not in the manual?
Questions and answers