Table of Contents
Advertisement
Quick Links
Advertisement
Table of Contents

Related Manuals for StyleWell DS5001


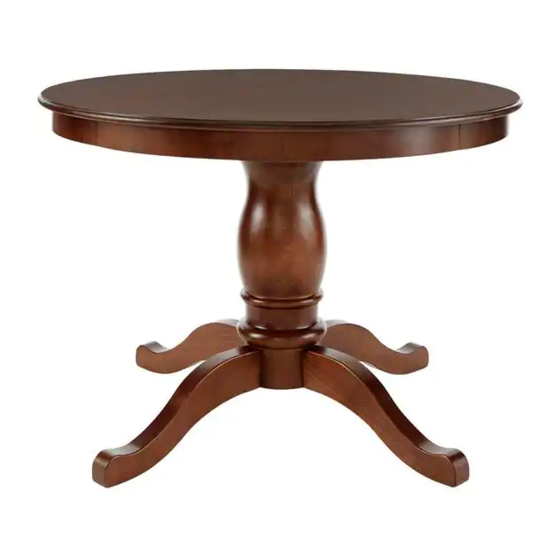
Summary of Contents for StyleWell DS5001
-
Page 2: Table Of Contents
Table of Contents Tools Required ................. 3 Table of Contents ............2 Safety Information ............2 Hardware Included ..............3 Warranty ................. 2 Pre-assembly (continued) ..........4 1 Year Warranty ................ 2 Package Contents ..............4 What is Covered ............... 2 Assembly ............... -
Page 3: Pre-Assembly
Pre-assembly PLANNING ASSEMBLY Remove all Packaging materials , staples and packing straps form the carton . Refer to Parts List and Hardware List , and ensure parts and hardware are correct before assembly . Contact customer service for missing parts . Place all wooden parts on a clean , flat , and soft surface (e.g.carpet or rug) to prevent scratch and damage to parts . -
Page 4: Pre-Assembly (Continued)
Pre-assembly (continued) PACKAGE CONTENTS Part Quantity Descrlption Table Top Support Bar Pedestal Pillar Support Bar... -
Page 5: Assembly
Assembly Connect 4 legs to pedestal pillar Turn pedestal pillar (C) over , insert 4 legs (D) to the hole in pedestal pillar (C) with wooden dowel (GG) . HOMEDEPOT.COM Please contact 1-877-527-0313 for further assistance. - Page 6 Assembly (continued) Fasten 4 legs pedestal pillar Put the washer (CC&DD) with nut (EE) to the screw on legs (D) . Use wrench (GG) to tighten nut (EE) . Connect support bar (B) and support bar (E) as shown . HOMEDEPOT.COM Please contact 1-877-527-0313 for further assistance.
- Page 7 Assembly (continued) Connect cross support bar to pedestal base from step 3 Put the support bar (B) and support bar (E) to pedestal base top , make sure the 4 holes on support bar holes to be line up on the same axis where pedestal base as shown . Insert the 4 screws (BB) ,tighten them with allen key (FF) .
- Page 8 Assembly (continued) Assemble table top to the base frame from step 6 Put the table top (A) to the base frame from step 6 ,make sure the holes line up with the holes on support bar (B) & (E)as shown Use 8 screws (AA) tighten the table top (A) and the support bar (B) with allen key (FF) .
-
Page 9: Maintenance
Maintenance Keep the product away from direct heat and sunlight . Prolonged exposure to heat sources may cause scorching, or even cause color to fade . Regular vacuuming or light brushing helps to remove dirt and prevent soil build-up, which increases the appearance of wear . Periodically (every 90 days) make sure that the screws arefully tightened . - Page 10 Questions, problems, missing parts? Before returning to the store, call Customer Service 8 a.m. – 7 p.m., EST, Monday – Friday, 9 a.m. – 6 p.m., EST, Saturday 1-877-527-0313 HOMEDEPOT.COM Retain this manual for future use.
Need help?
Do you have a question about the DS5001 and is the answer not in the manual?
Questions and answers