Advertisement
INSTRUCTIONS AND WARRANTY
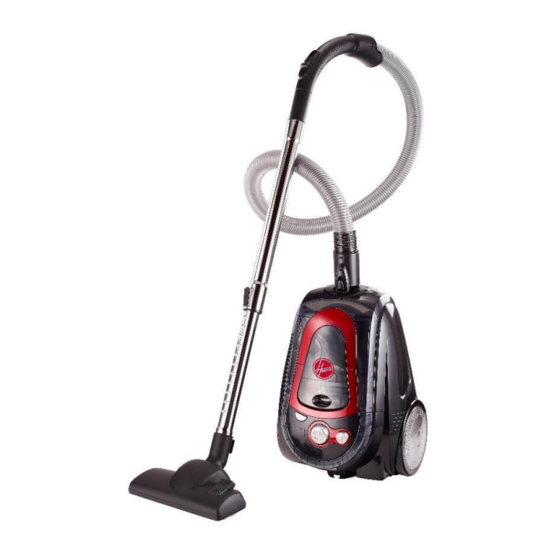
MODEL: HC1600
HOOVER CANISTER VACUUM
Congratulations on purchasing our Hoover Canister Vacuum. Each unit is manufactured to
ensure safety and reliability. Before using this appliance for the first time, please read the
instruction manual carefully and keep it for future reference.
FEATURES OF THE HOOVER CANISTER VACUUM
● Power: 1600W
Advertisement
Table of Contents

Subscribe to Our Youtube Channel
Related Manuals for Hoover HC1600


Summary of Contents for Hoover HC1600
- Page 1 MODEL: HC1600 HOOVER CANISTER VACUUM Congratulations on purchasing our Hoover Canister Vacuum. Each unit is manufactured to ensure safety and reliability. Before using this appliance for the first time, please read the instruction manual carefully and keep it for future reference.
-
Page 2: Package Contents
● Accessories: ● Metal telescopic tube ● Metal floor brush ● Sofa Brush ● Crevice Tool PACKAGE CONTENTS ● HC1600 Vacuum ● Extension Tubes ● Flexible hose ● Floor brush ● Brush Nozzle ● Sofa brush ● Crevice Tool ● Instruction manual IMPORTANT SAFEGUARDS 1. - Page 3 8. Check the power cord and plug regularly for any damage. If the cord or the plug is damaged, it must be replaced by the manufacturer or a qualified person in order to avoid an electrical hazard. 9. Do not use the appliance if it has been dropped or damaged in any way. In case of damage, take the unit in for examination and/or repair by an authorised service agent.
- Page 4 25. In case of technical problems, switch off the machine and do not attempt to repair it yourself. Return the appliance to an authorised service facility for examination, adjustment or repair. Always insist on the use of original spare parts. 26.
- Page 5 Power On/Off & Power level control 2 Cord rewind 3 Dust Container 4 Handle 5 Handle release 6 Hose 7 Suction control Telescopic tube 9 Accessories storage 10 Floor brush ASSEMBLING THE PRODUCT Connecting the hose to the vacuum cleaner Insert flexible hose into the air-intake: Press the knob until it clicks into the position Remove the flexible hose:...
- Page 6 1.) A yellow mark on power cord shows the ideal cable length. Do not expend the cable beyond the red mark. To rewind the power cord, press the rewinder pedal with one hand and guide the cord with the other hand. 2.) Press the power switch to switch the appliance on.
-
Page 7: Servicing The Appliance
Replacing the motor filter: Replacing the outlet filter: SERVICING THE APPLIANCE There are no user serviceable parts in this appliance. If the unit is not operating correctly, please check the following: ● You have followed the instructions correctly ● That the unit has been wired correctly and that the wall socket is switched on. ●... - Page 8 Should the need arise to change the fitted plug, follow the instructions below. This unit is designed to operate on the stated current only. Connecting to other power sources may damage the appliance. Connect a three-pin plug as follows: The wires in this mains lead are coloured in accordance with the following code: Green/Yellow = Earth Blue = Neutral...
- Page 9 IN THE EVENT OF A CLAIM UNDER WARRANTY THIS RECEIPT MUST BE PRODUCED. W A R R A N T Y 1. Home of Living Brands (Pty) Limited (“Home of Living Brands”) warrants to the original purchaser of this product (“the customer”) that this product will be free of defects in quality and workmanship which under normal personal, family or household use and purpose may manifest within a period of 1 (one) year from the date of purchase (“warranty period”).
Need help?
Do you have a question about the HC1600 and is the answer not in the manual?
Questions and answers