Table of Contents

Related Manuals for iGenix IG355X


Summary of Contents for iGenix IG355X
- Page 1 USER MANUAL 55cm Under Counter Freezer IG355X PO Number Please read these instructions carefully before use and retain for future reference Before switching on your appliance, always check for any damage which may have been caused in transit...
-
Page 2: Table Of Contents
Important Safety Instructions ..........3-6 Technical Specification ...............7 Appliance Overview ..............8 Installation ................8-12 Operating Instructions ............12-15 Cleaning and Maintenance ..........15-16 Disposal Information ............... 16 Fuse Replacement ..............16 Trouble Shooting Guide ............17 Igenix Warranty Terms & Conditions ......18-19... -
Page 3: Important Safety Instructions
SAFETY INSTRUCTIONS Important: This appliance is not intended for use by persons including children with reduced physical, sensory or mental capabilities, or lack of experience and knowledge, unless they have been given supervision or instruction concerning use of the appliances by a person responsible for their safety. •... - Page 4 • Ensure that the refrigerant circuit is not damaged. • The refrigerant of this product is R600a which is flammable. • Ensure when moving the appliance or during installation that the cooling system does not get damaged. • DANGER: Risk of child entrapment - Before you dispose of your old refrigerator or freezer, remove the doors and leave the shelves in place so that children cannot easily climb inside.
- Page 5 WARNING: Risk of fire / flammable materials. • When positioning the appliance, ensure the supply cord is not trapped or damaged. • Do not locate multiple portable socket-outlets or portable power supplies at the rear of the appliance. • Children aged from 3 to 8 years are allowed to load and unload refrigerating appliances.
- Page 6 The table below contains general guidelines on the storage of food in the refrigerator. Refrigerator Type of food location Fridge door • Foods with natural preservatives, such as jams, juices, drinks, condiments. • Do not store perishable foods. Crisper bin (salad •...
-
Page 7: Technical Specification
TECHNICAL SPECIFICATION Supplier Name / Trade Mark Igenix Model Number IG355X Category Type Under Counter Freezer Energy Efficiency Class (Old) Energy Efficiency Class (New) EU Eco-Label Award Annual Energy Consumption 208kWa Freezing Capacity 4.4Kg/24h Fridge Storage Volume (Litre) and Applicable Star Rating... -
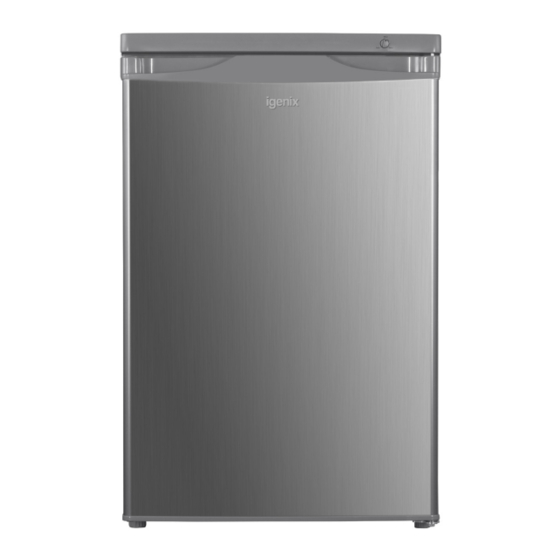
Page 8: Appliance Overview
APPLIANCE OVERVIEW Thermostat Control Dial Freezer Drawers Leveling Feet INSTALLATION Reversing the door The appliance door can be fitted to open to either the left or the right depending on its location. The appliance will have to be tilted and supported in order to carry this out. It is advisable to get some help during this procedure. - Page 9 Remove top cover and thermostat knob and place it aside. Unscrew top hinge and then remove door and place it on a soft pad to avoid scratching. Unscrew bottom hinge. Then remove the adjustable feet from both side. Unscrew and remove the bottom hinge pin, turn the bracket over and replace it. Screw Unscrew Refit the bracket fitting the bottom hinge pin.
- Page 10 Detach the Fridge and the Freezer door gaskets and then attach them after rotating. Place the door back on. Ensure the door is aligned horizontally and vertically, so that the seals are closed on all sides before finally tightening the top hinge. Put the top cover and fix it with 2 screws on the back.
- Page 11 Leveling the Unit To do this adjust the two leveling feet at the front of the unit. If the unit is not level, the doors and magnetic seal alignments will not be covered properly Positioning Install this appliance in a location where the ambient temperature corresponds to the climate class indicated on the rating plate of the appliance: Ambient Room Temperature Limits Class...
-
Page 12: Operating Instructions
Electrical Connection Before plugging in, ensure that the voltage and frequency shown on the rating plate correspond to your domestic power supply. The appliance must be earthed. The power supply cable plug is provided with a contact for this purpose. If the domestic power supply socket is not earthed, connect the appliance to a separate earth in compliance with current regulations, consulting a qualified electrician. - Page 13 Freezing Fresh Food • The freezer compartment is suitable for freezing fresh food and storing frozen and deep-frozen food for a long time. • Place the fresh food to be frozen in the bottom compartment • The maximum amount of food that can be frozen in 24 hours is specified on the rating plate •...
- Page 14 Storing Frozen Food When first starting up or after a period out of use, before putting the product in the drawer let the appliance run at least 2 hours on the higher settings. Important! In the event of accidental defrosting, for example the power has been off for longer than the value shown in the technical characteristics chart under ‘rising time,’...
-
Page 15: Cleaning And Maintenance
Hints for Storage of Frozen Food To obtain the best performance from this appliance you should: • make sure that the commercially frozen foodstuffs were adequately stored by the retailer, • be sure that frozen foodstuffs are transferred from the food store to the freezer in the shortest possible time, •... -
Page 16: Disposal Information
Defrosting of the Freezer The freezer compartment will become progressively covered with frost. This should be removed. Never use sharp metal tools to scrape off frost from the evaporator as you could damage it. However, when the ice becomes very thick on the inner liner, complete defrosting should be carried out as follows: •... -
Page 17: Trouble Shooting Guide
TROUBLESHOOTING If you are having problems with your appliance, please use our troubleshooting guide below. If you are unable to resolve the issue using this guide please ring our Customer Service Department on 0844 848 5861. Please have the model code and purchase information available. Problem Possible Cause Solution... -
Page 18: Igenix Warranty Terms & Conditions
Igenix Warranty Terms & Conditions This product is guaranteed for a period of 12 months as standard from the date of purchase against mechanical and electrical defects. You can extend your warranty for a further 12 months by registering your product. - Page 19 To qualify for the 2 year warranty you must register your product within 30 days of purchase. The full Terms & Conditions of our warranty policy are shown on the opposite page. They are also available on our website. www.igenix.co.uk...
- Page 20 38 Bluestem Road, Ransomes Europark, Ipswich, IP3 9RR Tel. 01473 271 272 Disclaimer: Igenix operate a policy of continual improvement and development. We therefore reserve the right to change/alter the specification and appearance of our appliances without prior notice. All diagrams and images shown in this manual are for illustration purposes only.
Need help?
Do you have a question about the IG355X and is the answer not in the manual?
Questions and answers