Advertisement
Table of Contents
- 1 Table of Contents
- 2 Checklist
- 3 Specification
- 4 Installation Instructions for Intel Pentium 4 Clips
- 5 Installation Instructions for AMD Athlon XP Clip
- 6 Installation Instructions for AMD Athlon 64 Clip
- 7 Power Installation and 3.5" Fan Speed Controller Installation
- 8 Power Installation and PCI Fan Speed Controller Installation
- Download this manual
Advertisement
Table of Contents

Related Manuals for Gigabyte 3D Cooler Ultra


Summary of Contents for Gigabyte 3D Cooler Ultra
- Page 1 Installation Guide for Intel Pentium 4 , AMD Athlon XP, Athlon 64 GH-PCU31-VH DATE:0223...
-
Page 2: Table Of Contents
Table of Content Checklist Specification Feature Installation Instructions for Intel Pentium 4 Clips Installation Instructions for AMD Athlon XP Clip Installation Instructions for AMD Athlon 64 Clip Power Installation and 3.5” Fan Speed Controller Installation Power Installation and PCI Fan Speed Controller Installation GH-PCU31-VH - 2 -... -
Page 3: Checklist
Checklist (1) GH-PCU31 -VH Cooler (2) GH-PCU31-VH user's manual (7) P4 Clips (3) Heat Sink Paste (ShinEtsu X-23-7762) (8) K7 Clip (4) Speed Control & 3.5” front panel (9) K8 Clip (6) Power cable (5) PCI rear panel (10) Screw Before use, please remove the bottom protective layer of the cooler. -
Page 4: Specification
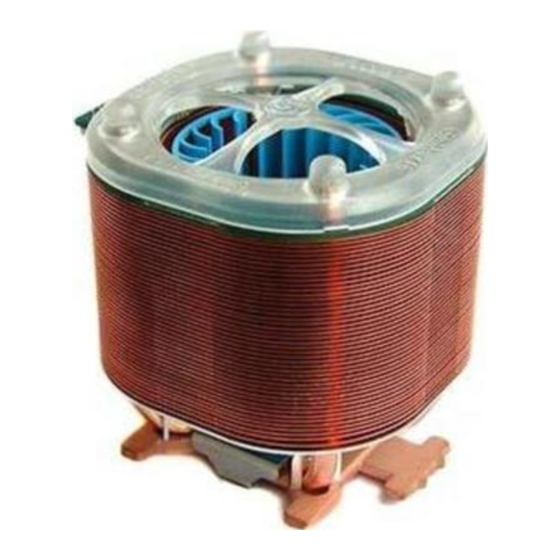
Specification — Heat Sink Dimension: 83 x 89 x 93mm — Rated Speed: 2000~4500 rpm — Rated Voltage: 4~12V — Noise:19.2~42.0 dBA — Bearing Type: 2 Ball Bearing Feature — Unique patent for K8, K7 and P4 platform designs — Smart IC controller for noise and cooling —... -
Page 5: Installation Instructions For Intel Pentium 4 Clips
Installation Instructions for Intel Pentium 4 Clips Figure 1 Please add an adequate layer of heat sink paste on the surface of the CPU. Figure 1 Figure 2 Figure showing the correct installation of the cooler atop the CPU. Figure 3 Hook the clip on one end of the cooler with the insert Figure 2 space at the CPU base (as seeing left Figure 3).Firmly... -
Page 6: Installation Instructions For Amd Athlon Xp Clip
Installation Instructions for AMD Athlon XP Clip Figure 1 Please add an adequate layer of heat sink paste on the surface of the CPU. The picture on the right shows the three insert spaces on the cooler bracket where the CPU Figure 1 clips attach. -
Page 7: Installation Instructions For Amd Athlon 64 Clip
Installation Instructions for AMD Athlon 64 Clip Figure 1 Please add an adequate layer of heat sink paste on the surface of the CPU. Figure 1 Figure 2 Figure showing the correct installation of the cooler atop the CPU. Figure 3 Align the three insert spaces of the clip with the three juts Figure 2 on the CPU socket and then push firmly downwards to... -
Page 8: Power Installation And 3.5" Fan Speed Controller Installation
Power Installation and 3.5” Fan Speed Controller Installation Figure 1 Connect the power cable of the power supply to the end of the 4-pin connector cable provided. Figure 1 Figure 2 Connect the other end of the 4-pin connector cable to the PCB 4-pin connector on the cooler. -
Page 9: Power Installation And Pci Fan Speed Controller Installation
Power Installation and PCI Fan Speed Controller Installation Figure 1 Disassemble the turn knob, bolt and fan speed controller from the 3.5” front panel and reassemble these parts onto a Figure 1 PCI rear panel in sequence. Figure 2 Place the PCI rear panel with the fan speed controller in the selected PCI slot.
Need help?
Do you have a question about the 3D Cooler Ultra and is the answer not in the manual?
Questions and answers