Advertisement
Quick Links
Advertisement

Related Manuals for iFactory3D One Extension


Summary of Contents for iFactory3D One Extension
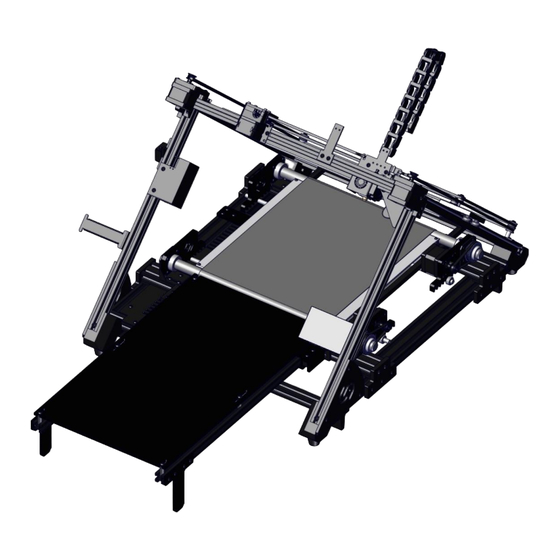
- Page 1 One Extension...
- Page 2 Step 1 Dismantle the M4x20 screws in the scraper. Remove the scraper and the metal plates with holes.
- Page 3 Step 2 Slide the profile holder with the profiles on the square bars.
- Page 4 Step 3 Fasten the holders to the square bars with the M4x20 screws from the scraper.
- Page 5 Step 4 Put a silicon spacer in every countersink of the 20x20 profiles.
- Page 6 Step 5 Place the plate on the spacers and fasten it with M5x35 screws to the 20x20 profiles.
- Page 7 Step 6 Slide the feet into the outer notch of the 20x20 profiles.
- Page 8 Step 7 Fasten the feet at the rear end of the 20x20 profiles as shown in the picture. Mount the profile covers at the end of both 20x20 profiles, if you don’t want to use a second extension.
- Page 9 Second Extension Step 1 Pull out the extendable feet. Fasten them if two sliding blocks are in the profile end while the other two are outside.
- Page 10 Second Extension Step 2 Slide the 20x20 profile onto the feet until it touches the 20x20 profile from the first extension and fasten it there.
- Page 11 Second Extension Step 3 Slide the feet from the second extension into the 20x20 profiles and fasten them.
- Page 12 Second Extension Step 4 Put a silicon spacer in every countersink of the new 20x20 profiles.
- Page 13 Second Extension Step 5 Place the plate over the spacers and fasten it with M5x30 screws to the 20x20 profiles.
- Page 14 Adjustments Make sure that the extension/s are at the same level as the belt. Use the M5x35 screws to adjust the level of the extension. We highly recommend using a spirit level for this purpose. Also make sure, that the floor of the machine is level.
Need help?
Do you have a question about the One Extension and is the answer not in the manual?
Questions and answers