Table of Contents
Advertisement
Quick Links
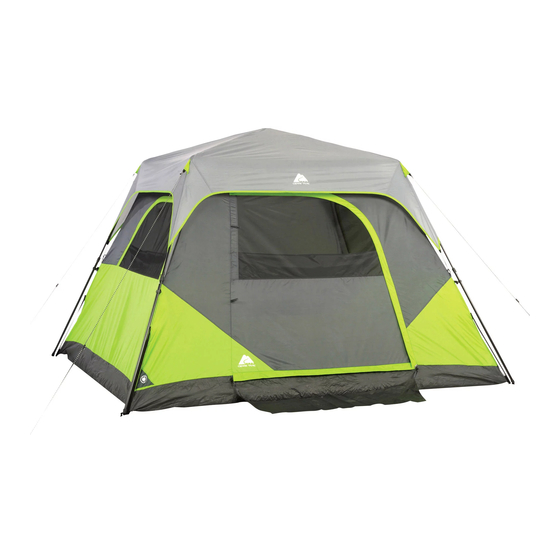
6 PERSON INSTANT CABIN TENT - 10 x 9
Before you begin
Read all instructions thoroughly before beginning set up.
• Select a level site clear of rocks, branches, and other hard or sharp objects, to set up your tent.
WARNING: Keep clear of overhead power lines.
• Do not set up your tent under trees because of potential lightning strikes or falling tree limbs
in inclement weather.
• For best results in windy conditions, position narrow end of tent into the wind.
• Secure with all stakes and guylines provided to prevent property damage or personal injury.
• Two people can easily setup this tent in 60 seconds or less. Scan the QR code to view our
60 second setup video.
Setup Instructions:
Extend Tent Frame
1
CAUTION: Avoid pinch points when
opening or closing the tent frame.
• Unfold and spread out tent. (Fig. 1)
Lift Roof Poles
2
• Lift up on ARM JOINT and ROOF POLE. The tent will partially raise
when ARM JOINT is fully extended. (Fig. 2 & 3)
• Repeat step above for the remaining 3 ROOF POLES.
ROOF POLES
ARM JOINT
DOOR
HUB ASSEMBLY
ROOF POLES
ROOF POLES
Fig. 1
ROOF
POLE
ARM JOINT
ROOF POLES
ARM JOINT
Fig. 3
STITCH LINE
3
Extend Telescoping Leg Poles
• Moving to front 2 corners of tent; extend TELESCOPING LEG POLES until the silver LOCKING BUTTONS
"click" into locked position. (Fig. 4)
• Repeat above step for 2 back TELESCOPING
LEG POLES. (Fig. 5)
NOTE: You can now
easily move your
tent to its fi nal
position
before installing the
Rainfl y and securing
with stakes
and guylines.
4
Attach Rainfl y
• Drape RAINFLY over tent as shown. (Fig. 6)
• Clip HOOK attached to SHOCKCORD of Rainfl y onto FABRIC LOOP on tent. (Fig. 7)
• Secure RAINFLY to both LEG POLES with HOOK & LOOP FASTENERS
(located on underside of Rainfl y). (Fig. 8)
HOOK & LOOP
FASTENER
Fig. 8
Fig. 2
Fig. 6
To Secure Tent:
Stake Tent
• Locate WEBBING LOOPS sewn into the corners at the base of your tent.
• Slide STAKE through WEBBING LOOP at each location; then gently extend out before securing. (Fig. 9)
NOTE: Floor of tent should be taut when staked properly.
Secure Guylines
• Locate GUYLINES attached to the tent and unroll.
• Slide STAKE through loop at each location, extend out and drive in to secure. (Fig. 10)
NOTE: Four corner GUYLINES should extend out at a 45º angle from tent & awning.
• Tighten GUYLINES as needed by adjusting the SLIDER up the cord.
Item No. CV1009IN
Model No. 30006
TELESCOPING
LEG POLES
LOCKING
DOOR
BUTTON
Fig. 4
GUYLINES
RAINFLY
DOOR
WEB
LOOP
SLIDER
Fig. 9
(continued on other side)
TELESCOPING
LEG POLES
Fig. 5
RAINFLY
CORD &
HOOK
FABRIC
LOOP
Fig. 7
Fig. 10
Advertisement
Table of Contents

Related Manuals for Ozark Trail 30006


Summary of Contents for Ozark Trail 30006
- Page 1 STITCH LINE Item No. CV1009IN 6 PERSON INSTANT CABIN TENT - 10 x 9 Model No. 30006 Extend Telescoping Leg Poles Before you begin • Moving to front 2 corners of tent; extend TELESCOPING LEG POLES until the silver LOCKING BUTTONS Read all instructions thoroughly before beginning set up.
- Page 2 STITCH LINE Tent Features: WARNING: KEEP ALL FLAME AND HEAT SOURCES AWAY FROM THIS TENT FABRIC Welcome Mat Organizer • Attach Welcome Mat by This tent is made of fl ame-resistant fabric which meets CPAI-84 specifi cations. IT IS NOT FIRE-PROOF. The •...
Need help?
Do you have a question about the 30006 and is the answer not in the manual?
Questions and answers