
Related Manuals for FUJIDENZO IJWA-1050T

Summary of Contents for FUJIDENZO IJWA-1050T
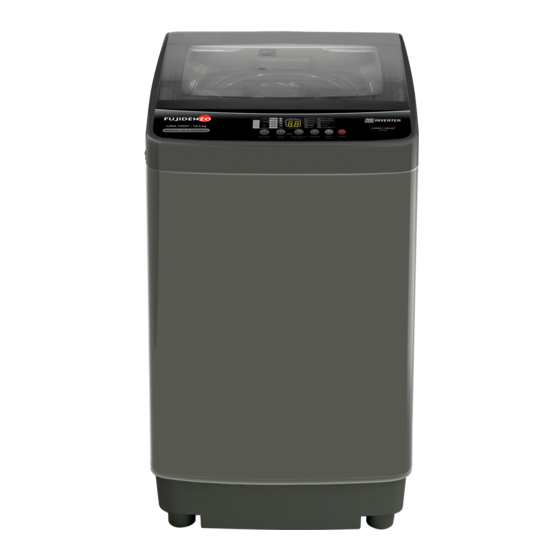
- Page 1 Service Manual Washing machine Note: Before serving the unit,please read this at first, Always contact with your service center if meet problem.
-
Page 2: Table Of Contents
Control panel instruction.........3 The points for installation, adjustment and disassembly..........4-7 Fault diagnosis..........8-15 Specification Specification Model IJWA-1050T Rated voltage and frequency 220V~ 60Hz Rated capacity of wash and spin 10.5kg (dry laundries weight) 10/78L 9/74L 8/70L 7/65L 6/60L 5/56L 4/52L 3/48L... -
Page 3: The Circuit Diagram/Parts Name
The circuit diagram The circuit diagram Parts name Parts name Top lid Top frame Feed valve Detergent box Lint filter Lint filter1 Power cord Control panel Inner tub Back cover Pulsator balancing apparatus Drainpipe connector Body Earthing wire Base Adjustable foot Foot wheel(2pcs) Fixing foot(2pcs) -
Page 4: Control Panel Instruction
Control panel instruction Control panel instruction... -
Page 5: The Points For Installation, Adjustment And Disassembly
The points for installation, adjustment and disassembly The points for installation, adjustment and disassembly Please install and adjust the machine according to the requirements of the manual. It is very important to your safety and correct operation. Unpacking Unpack the carton and take out the bottom panel. Open the top lid of washing machine and take out all of the accessories. - Page 6 The points for installation, adjustment and disassembly The points for installation, adjustment and disassembly Install drainpipe Set drainpipe clip into the drainpipe to 2-3cm (from the drainpipe end that without pothook to set), then install the drainpipe into the right drianpipe connector and fix the drainpipe and drianpipe connector with the clip,after that put up the drainpipe clip on the cabinet.
- Page 7 The points for installation, adjustment and disassembly The points for installation, adjustment and disassembly Tap selection Not suitable tap Suitable tap The front end should be longer than 10mm The tap exit end face should be flat and smooth, if not file it to avoid leakage Connect the inlet hose connector with the tap 1 Press the lower end of the lock lever and push down the slider, take off the inlet hose connector from the inlet hose, see illustration 1.
- Page 8 The points for installation, adjustment and disassembly The points for installation, adjustment and disassembly Connect the inlet hose with the washing machine 1. Do not take off the water absorption cushion. Please check if the cushion is dropped or damaged before each usage.
-
Page 9: Fault Diagnosis
Fault diagnosis Fault diagnosis Fault Diagnosis(I) the following cases,sometimes it is not a malfunction,please confirm before call the after-service Possible reason Phenomena Settlement Insert the plug tightly Plug is not inserted tightly Control panel has no any display Check the socket or change to another socket No electricity in the socket Press power switch Power switch is not turned on... - Page 10 Fault diagnosis Fault diagnosis Fault Diagnosis(II) If you change the program controller without examining the condition of other parts carefully whenrepair, it may lead to damaging the program controller furtherly. Therefore, please assure that other relevent parts work well 1. No action(The indicator light is off) Make sure no power failure, power plug connect tightly and the switch is on Measure the program controller,...
- Page 11 Fault diagnosis Fault diagnosis 3.No water switch on, press start/stop bottom pemove the foreign matter of inlet make sure the action valve's filter or increase to 0.03mpa sound of inlet valve to 0.85 mpa and strat again measure the voltage change inlet valve across of inlet valve measure program controller...
- Page 12 Fault diagnosis Fault diagnosis 5.Don't rotate start exclusive water washing process and wash without water Work Carefully inspect check the action of motor the drive system Whether it is normal or not that the bearing part locks the clutch measure the voltage across of motor whether motor find the cuse pritection work...
- Page 13 Fault diagnosis Fault diagnosis 7.Non-stop don't plug in and turn on the tap inlet valve waters change inlet valve plug in and don't press start/stop bottom inlet valve waters change program controller check whether inletvalve works well check the wire connects PCB change wire assy and water level sensor well S tart with less or low water level...
- Page 14 Fault diagnosis Fault diagnosis 8.Loud noise when drain noise in motor change motor whether the motor is installed firmly fasten motor whether bearing of reducer change retractor works well whether ratchet and adjust the angle and distance pawl separate well of retractor and pawl whether fuselage and adjust and balance the airfarme...
- Page 15 Fault diagnosis Fault diagnosis 9.Dad waterfall normal wash gentle may soft current not have waterful start till power low voltage voltage recover loose belt change belt and pulley belt and pulley wear heavily change belt or pulley single-rotation time is too long when change PCB normalwashing pulsator lining is worn away...
- Page 16 Fault diagnosis Fault diagnosis 10.Drake timeout no-load brake time exceeds 5 seconds full-load brake time exceeds 12seconds braking torque of reducer less change braking torque than 7N/M reducer reset spring matterss adjust and reset spring when check drain make sure paw; the gap between the truss arm of drain cam disengage ratchet wheel valve and brake arm of reducer...
Need help?
Do you have a question about the IJWA-1050T and is the answer not in the manual?
Questions and answers