Table of Contents
Advertisement
Advertisement
Table of Contents

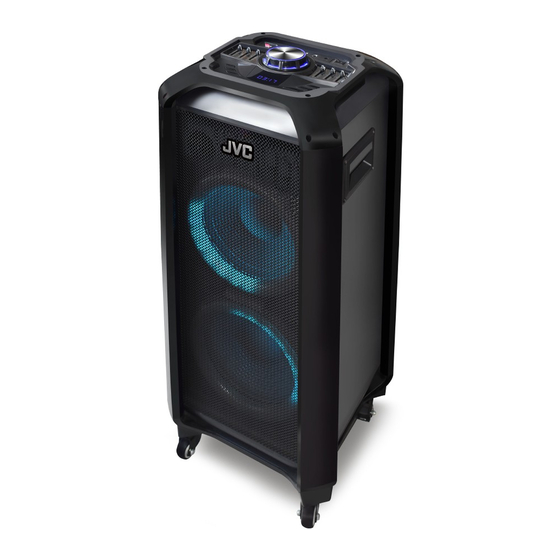
Summary of Contents for JVC XS-N6111PBA
- Page 1 User Manual...
- Page 2 Important Safety Instructions 1. Read all instructions before use. Retain for future use. 2. No user-serviceable parts inside. Do not dismantle. 3. Do not immerse the unit in water or other liquids. Do not use in very humid or dusty environments. 4.
- Page 3 Specifications: Speaker Unit: 10inch x 2 + 3inch Input Sensitivity: 700~1000mV Frequency Response: 20Hz~20kHz FM: 87.5~108MHz Power Output: 2x30W (stereo output) Power Consumption: 65W Power Supply: 100-240V~50/60Hz Battery: Lead acid rechargeable battery DC 12V, 7Ah Built-in Input: DC 15V, 2A Separation: 64dB Bluetooth transmission distance (without obstacle): 10m Signal/Noise Ratio: S/N>80dB...
- Page 4 Product Overview:...
- Page 5 1. Power On/Off 2. USB Input 3. microSD (TF) Input 4. AUX Input 5. Microphone 1 Input 6. Microphone 2 Input 7. Instrument Input 8. Charging Port DC15V, 2A (Connect adaptor here for charging) 9. Microphone Echo Effect Adjustment 10. Microphone Volume Adjustment 11.
- Page 6 Remote Control: The remote control uses 2x AAA batteries (provided separately). Please ensure correct polarities when inserting batteries. Note: The On/Off Switch on the unit must be set to the On position for the remote control buttons to work. MODE SCAN NEXT PREV...
- Page 7 1. Mute Button 2. Power (On/Stand by) Button 3. 0-9 Track Select 4. Record/ Scan Button 5. Mode Button (Switch between BT/AUX/USB/microSD/FM) 6. Song Loop (Repeat song) 7. Previous Folder/ Loop(Repeat) Folder/ Next Folder 8. Previous/Next 9. Play/Pause 10. Volume +/ Volume - 11.
- Page 8 speaker. It is recommended that you set the volume to minimum before connecting a device. 6. You are now ready to use the speaker. Connecting your BLUETOOTH Device: Your speaker can play almost all Bluetooth devices by simply pairing the device to the speaker. Please follow these steps to properly pair your device to your speaker.
- Page 9 Connecting your guitar (or other ¼" instrument) (not included): 1. Connect your ¼" plug from your guitar (or other instrument) into the ¼" instrument Input. 2. Make sure your guitar (or other instrument) is in the ON position. 3. Adjust the instrument volume to your desired volume level. 4.
- Page 10 7. The maximum size of the device that can be connected is 32GB. Connecting your microSD (TF) Card: 1. Insert your (FAT 32 formatted) microSD card into the microSD input. 2. The LCD display will show "TF". 3. Your speaker's built-in MP3 player will automatically play the next MP3 song on your microSD card.
- Page 11 Playing music from the built-in FM Radio: 1. Press the mode button until "FM" appears on the LCD display. 2. Press the Play/Pause Button on the unit or the Scan Button on the remote control to have the speaker scan and store all available FM radio stations in your area.
- Page 12 Register your product at jvctv.com.au/warranty-registration...


Need help?
Do you have a question about the XS-N6111PBA and is the answer not in the manual?
Questions and answers
THE SPEAKER TURNS ITSELF OFF IMMEDIATELY I SWITCH IT ON. THE MODE SWITCH DOES NOT OPERATE
The JVC XS-N6111PBA speaker may turn off immediately after being switched on and the mode switch may not operate due to a low or uncharged battery. The manual advises charging the battery before first use and whenever the low battery indicator lights up. Ensure the power adaptor is connected properly and the battery is fully charged before use.
This answer is automatically generated