Advertisement
Quick Links
Advertisement

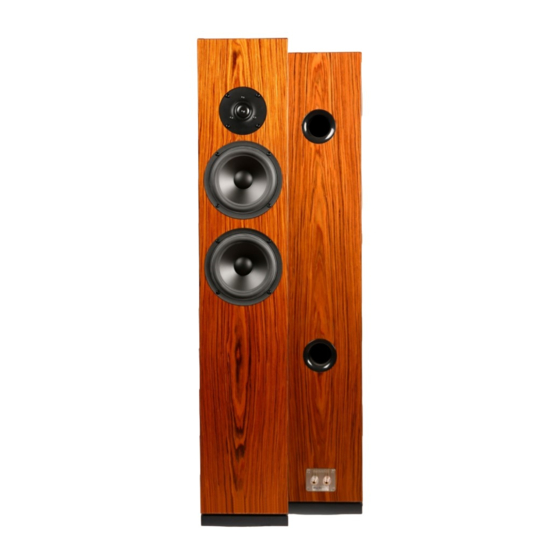
Summary of Contents for SB Acoustics Arya
- Page 1 Arya | User Manual...
- Page 2 Arya | User Manual Technical Specications: Frequency range : 44-28000 Hz +/-3 dB Sensitivity (2.83V / 1m) : 87.5 dB Nominal impedance : 4Ω Max SPL : 107 dB Recommended amplier : 50-200W Cross-over frequency : 3000 Hz Speaker type : 2½-way Floor Stand...
- Page 3 Arya | User Manual...
- Page 4 Arya | User Manual Mechanical Drawing (dimensions in mm)
- Page 5 Arya | User Manual...
- Page 6 Arya | User Manual...
- Page 7 Arya | User Manual...
- Page 8 Arya | User Manual Damping Material Position (dimensions in mm)
- Page 9 Arya | User Manual...
- Page 10 - High frequency driver SB29RDAC-C000-4 (sold separately) .... 1 pc - Low frequency driver 6” SB17MFC35-8 (sold separately) ....2 pcs - Arya crossover kit (sold separately) ..........1 pc - Hex socket screw M4 x 20mm (for drivers) ........12 pcs - Hex socket screw M4 x 30mm (for pedestal) .........
- Page 11 Arya | User Manual Assembly Instructions: 1. Unpack the cabinet from the packaging and take out the raw damping material from inside the cabinet. 2. Cut the raw damping material to 12 pieces of damping according to the cutting diagram.
- Page 12 Arya | User Manual 4. Detach the pedestal by removing the four screws in each corner. 5. Place the crossover on top of the pedestal, with the orientation of the input cable towards the rear terminals and the speaker wires towards...
- Page 13 Arya | User Manual 6. Pass the three pairs of speaker wires through each hole in the bottom panel of the cabinet. 7. Seal all the cable holes with hot melt glue. 8. Pass the input cable through the terminal hole on the rear of the cabinet, then connect to the binding posts.
- Page 14 Arya | User Manual 9. Mount the terminal panel into the terminal hole at the rear. 10. Mount the pedestal to the cabinet using all 10 screws. 11. Pull the three pairs of cables through the holes in each cabinet bracing.
- Page 15 Arya | User Manual 12. Hook up the cables to the woofers and tweeter terminals. 13. Mount the drivers to the cabinet and carefully tighten the screws. 14. Reapeat the steps for the other speaker and you have completed your SB ACOUSTICS Arya speakers.
- Page 16 Rev.0: (07.06.21)

Need help?
Do you have a question about the Arya and is the answer not in the manual?
Questions and answers