Table of Contents
Advertisement
Quick Links
EN
QUICK-START GUIDE
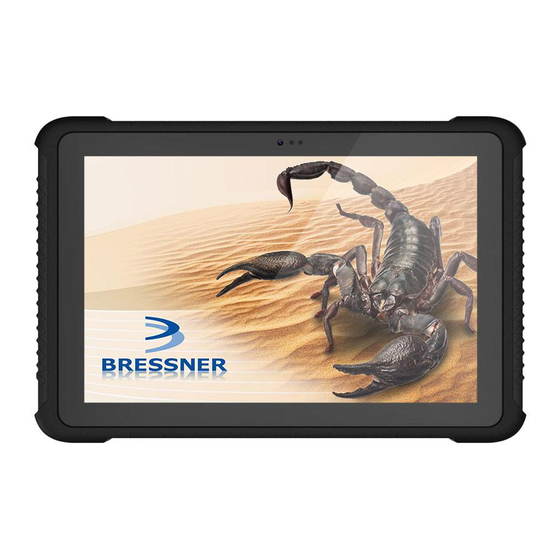
SCORPION
"
PLUS
Rugged Tablet PC
BRESSNER Technology GmbH
Industriestrasse 51
For more information about the product and a detailed
82194 Groebenzell
description, please visit:
Phone: +49 (0) 8142 47284-76
https://www.scorpion-rugged.de/en/products/scorpion-10-plus/
E-mail: scorpion@bressner.de
Advertisement
Table of Contents

Subscribe to Our Youtube Channel
Summary of Contents for SCORPION 10" PLUS
- Page 1 QUICK-START GUIDE SCORPION " PLUS Rugged Tablet PC BRESSNER Technology GmbH Industriestrasse 51 For more information about the product and a detailed 82194 Groebenzell description, please visit: Phone: +49 (0) 8142 47284-76 https://www.scorpion-rugged.de/en/products/scorpion-10-plus/ E-mail: scorpion@bressner.de...
- Page 2 SCOPE OF DELIVERY This package includes: SCORPION 10" PLUS - Rugged Tablet 3-in-1 AC power adapter USB 5V/3A (EU, UK, US) USB charging cable (Micro USB Male to USB A-Male) Carrying strap USB OTG cable (Micro USB Male to USB A-Female)
- Page 3 FEATURES Kensington lock Audio-Out 3,5mm Mini-HDMI Micro USB OTG/Power USB 2.0 DC input Volume - Volume + Programmable button P Power On/O Scan button F 2MP front camera Corning® Gorilla® Glass Docking port DB-9 serial COM Speaker 5MP rear camera Barcode scanner (optional) Replaceable battery (SIM and SD card slot are located...
- Page 4 BATTERY REMOVAL Please follow the instructions, when removing battery! Step 1 Carefully remove the six screws on the back of the device with a flat-head screwdriver. Step 2 Carefully remove the battery cover and then unlock the two latches by sliding them apart as shown in the illustration. Step 3 Carefully remove the battery, insert a spare battery and reverse the steps to reseal the tablet.
- Page 5 SIM CARD How to insert the SIM card(s) correctly: In order to reach the SIM card slot the device’s battery must be removed first (please follow the instructions on the le side). A er removing the battery, insert the micro SIM card into its designated slot (see illustration), until it locks in. Please make sure that the gold contacts of the SIM card are on the bottom side.
- Page 6 SCANNER SETUP Honeywell 2D scanner N3680 (optional) Technical Details The N3680 barcode scan engine is a revolutionary, fully decoded, compact 2D imager from Honeywell. It inherits the legendary Adaptus™ 6.0 decoding performance in our most compact design. The N3680 2D imager represents a fine balance between size, performance and ease of integration –...
- Page 7 Frequently asked questions What should I do if the device or the scope of delivery does not meet my order or if individual components / accessories are missing? If you find that your order is incomplete or even faulty, our in-house support department will gladly attend to you. If you need help or assistance, please fill out the support form on our website to open a support case: https://www.bressner.de/en/support-en/ Alternatively, the form can also be completed as a PDF file and faxed to the following number:...
- Page 8 SAFETY INSTRUCTIONS Please read and observe carefully before using! Environment: Protect the device from temperatures outside the specified range. The device is protected against spray water but must not be submerged in water or be exposed to water jets. Do not expose the unit to strong magnetic fields or strong static electricity.

Need help?
Do you have a question about the 10" PLUS and is the answer not in the manual?
Questions and answers