
Subscribe to Our Youtube Channel
Related Manuals for Razer Tomahawk ATX


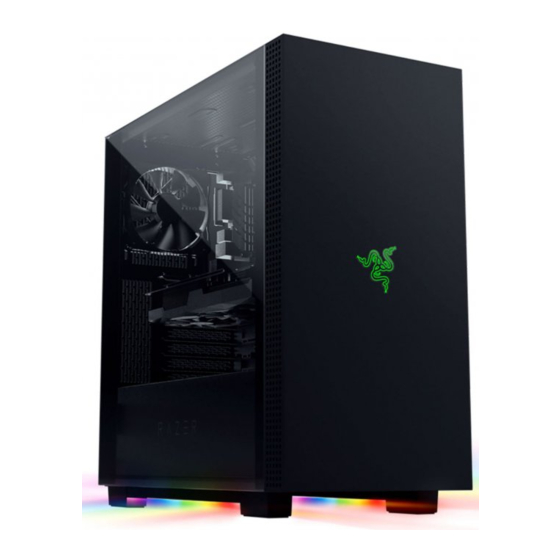
Summary of Contents for Razer Tomahawk ATX
- Page 1 1. Remove the front panel using the bottom release handle. 2. Open both detachable swivel glass doors, and then lift up to remove them. 3. Open the inner flip panel.
- Page 2 4. Remove the accessories box from the drive tray. 5. Detach the cable management cover and motherboard cover by removing their screws.
- Page 3 Use the included tool to screw in the standoff bolts, and then screw in the motherboard. If you are using an E-ATX motherboard, rotate the cable guide 180 degrees.
- Page 4 Loosen the screw and then slide the drive rack forward. Remove the foam then return the drive rack and screw to its original position. Insert the PSU from the left side of the case and then use the included screws to hold it in place.
- Page 5 Push the fastener to unlock and then carefully pull out the tray. Place the storage drive on the tray and then insert the included screws from the bottom if you are using a 2.5” or from the sides if you are using a 3.5” drives. You can adjust the position of the drive rack to give additional clearance for a radiator and/or fan.
- Page 6 Detach the 2.5” drive plate located at the left side of the chassis by removing its screw and sliding it up. Place the 2.5” drive on the plate, then insert the included screws from the bottom. Reattach the plate to the chassis then hold it in place using the screw.
- Page 7 The front of the chassis has an adjustable fan tray that can be positioned in 4 different styles.
- Page 8 Styles 1 and 2 can fit only 120mm fans while styles 3 and 4 can fit up to 140mm fans. To remove the fan tray, loosen the screws from both sides of the chassis and then pull it out.
- Page 9 You can also mount radiators on the fan tray however, you will need to remove the drive tray shroud to fit a 120x360mm radiator. To remove the cover, simply loosen the screw from the right side of the chassis. Two 120mm fans or two 140mm fans can be mounted on the top of the chassis. You can also mount a radiator depending on the size of your other components.
- Page 10 Up to two 120mm fans can be mounted on the top of the PSU shroud using the included screws. There are dust filters located at the top and bottom of the chassis. Keep your chassis in optimal temperature by cleaning these dust filters as often as possible.
Need help?
Do you have a question about the Tomahawk ATX and is the answer not in the manual?
Questions and answers