Table of Contents
Advertisement
Quick Links
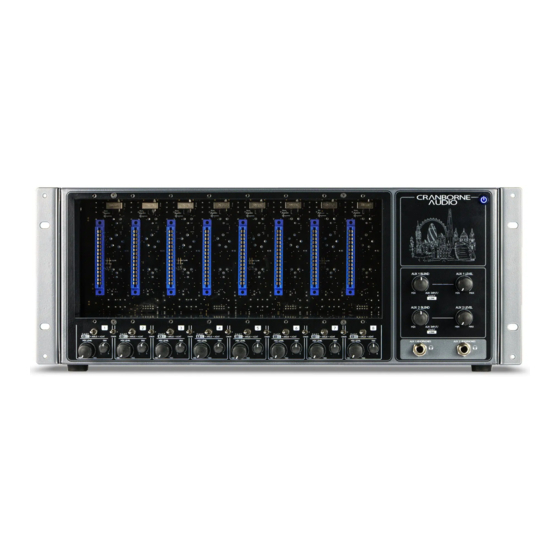
Congratulations on your purchase of 500ADAT and thank you for selecting Cranborne Audio to
be a part of your music creation process.
What we set out to achieve with 500ADAT was putting control back into the hands of
musicians and engineers. In a sea of products that rely on computer integration and a "virtual
emulation" mentality, we set out to offer an alternative that places a true, customisable, and
flexible analogue front-end at the forefront of music creation - after all, the feel and touch of a
musician is analogue and that's where the music begins.
Working in harmony with 500ADAT's analogue stages is its high-performance digital stages.
Each and every component inside 500ADAT has been carefully considered to ensure that every
nuance of your 500 series module is translated into the best possible digital signal to be
processed. We employ converters with specifications that rival that of the best standalone
units whilst being governed by our master reference-grade clock featuring less than 0.5
picoseconds of jitter.
Cranborne Audio, for us, means so much more than metal boxes with components in them.
These are our labours of love that embody and demonstrate our demand for excellence. By
distilling what matters and putting our soul into these tools, we hope to help other people
make magic and express themselves, and in some way, become part of our Cranborne Audio
family.
So welcome to our family. We care for our family. And we care about making your tracks,
albums, scores sound as good as they should.
500ADAT Quick Start Guide Rev02
-Page 1-
©2021 Cranborne Audio Ltd
Advertisement
Table of Contents

Related Manuals for Cranborne Audio 500ADAT


Summary of Contents for Cranborne Audio 500ADAT
- Page 1 What we set out to achieve with 500ADAT was putting control back into the hands of musicians and engineers. In a sea of products that rely on computer integration and a “virtual emulation”...
-
Page 2: Table Of Contents
RoHS Notice Instructions for disposal of WEEE by end users in the European Union Electromagnetic Compatibility Environmental Please download the full User Manual from the 500ADAT product page on the Cranborne Audio website www.cranborne-audio.com 500ADAT Quick Start Guide Rev02 -Page 2-... -
Page 3: Controls And Connectors
Stereo Linking only available between modules 1-2, 3-4, 5-6, and 7-8. [5] Power Switch: Safely powers on and off 500ADAT as well as any inserted 500 series module. Tap to power on, press and hold to power off. 500ADAT Quick Start Guide Rev02 -Page 3- ©2021 Cranborne Audio Ltd... - Page 4 [6] Word Clock I/O: Enables sending and/or receiving [13+14] Aux 1 & 2 Outputs: Connects balanced line word clock information to/from external digital outputs of 500ADAT’s Aux 1 and 2 Busses to devices. external monitoring devices or similar via 1/4”...
-
Page 5: Package Contents
Package Contents So now your 500ADAT is out of it’s packaging, you’re probably itching to get it powered on and making music! But before you get started, please read the sections below that will help guide you through the process of getting 500ADAT setup, plugged in, and ready-to-record as quickly... -
Page 6: Powering Procedures
Installing and Removing 500 Series Modules Installing Modules Ensure 500ADAT is powered off and the power connector has been removed. Wait 30 seconds before continuing. 2. Firmly touch the metal chassis of 500ADAT to discharge any built-up static electricity. -
Page 7: Hardware Setup
Hardware Setup This hardware setup diagram will get 500ADAT connected to your audio interface and ready for recording. 1) Connect mains power into the external PSU supplied in 500ADAT’s packaging and connect the power connector into 500ADAT’s power inlet. 2) Connect 500ADAT to your audio interface using Optical Cables with Toslink connectors: a) 500ADAT’s ADAT outputs should be connected to your audio interface’s ADAT... -
Page 8: Configuring Clock Source
Configuring Clock Source 500ADAT can be integrated into your studio as either a master or slave device by configuring its Clock Settings DIP switches. These DIP switches allow for direct control over 500ADAT’s internal clock and are divided into Sample Rate selection (switches 1-4) and Clock Source selection (switches 5-8). -
Page 9: Configuring Sample Rate
2 ADAT Input and 2 ADAT Output ports enable expansion of up to 8 channels at 44.1 to 96kHz, or 4 channels at 176.4 to 192kHz. The below table details the routing of ADAT I/O between the 4 ADAT ports and 500ADAT’s 500 series slots including the tradeoffs between high sample rates and the available I/O count:... -
Page 10: Safety Information
Do NOT modify this unit, altercations may affect performance, safety and/or international compliance standards. Cranborne Audio does not accept liability for damage caused by maintenance, repair or modification by unauthorized personnel. Installation notes When installing the apparatus either fit it into a standard 19” rack or place it on a secure level surface. -
Page 11: Power Safety
When servicing, disconnect all power sources before removing any panels. CE Certification This unit is CE compliant. Note that any cables supplied with Cranborne Audio equipment may be fitted with ferrite rings at each end. This is to comply with the current regulations and these ferrites should not be removed. -
Page 12: Rohs Notice
RoHS Notice Cranborne Audio complies with and this product conforms to European Union’s directive 2011/165/EU on Restrictions of Hazardous Substances (RoHS) as well as the following sections of California law which refer to RoHS, namely sections 25214.10, 25214.10.2, and 58012, Health and Safety Code Section 42475.2, Public Resources Code.
Need help?
Do you have a question about the 500ADAT and is the answer not in the manual?
Questions and answers