Advertisement
Quick Links
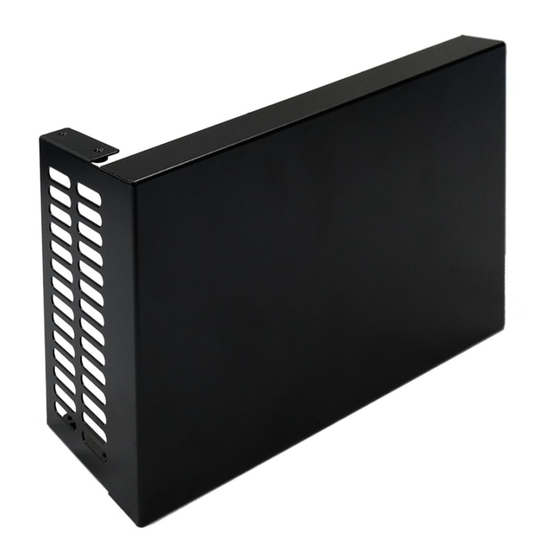
LR2530 / LC2535
ラックマウントアダプター / ブランクパネル
RACK MOUNT ADAPTER / BLANK PANEL
取扱説明書
Instruction Manual
お買い上げいただきありがとうございます。
この取扱説明書と付属の「製品を安全にご使用いただくために」をよくお読みのうえ、
製品を安全にお使いください。
Thank you for purchasing.
Please carefully read this instruction manual and the included "GENERAL SAFETY SUMMARY".
Please use the product safely.
Advertisement

Related Manuals for Leader LR2530


Summary of Contents for Leader LR2530
- Page 1 LR2530 / LC2535 ラックマウントアダプター / ブランクパネル RACK MOUNT ADAPTER / BLANK PANEL 取扱説明書 Instruction Manual お買い上げいただきありがとうございます。 この取扱説明書と付属の「製品を安全にご使用いただくために」をよくお読みのうえ、 製品を安全にお使いください。 Thank you for purchasing. Please carefully read this instruction manual and the included "GENERAL SAFETY SUMMARY". Please use the product safely.
-
Page 2: General Safety Summary
製品を安全にご使用いただくために GENERAL SAFETY SUMMARY 下記に示す使用上の警告、注意事項は、使用者の身体、生命に対する危険および製品の損傷、劣化などを 避けるためのものです。必ず下記の警告、注意事項を守ってご使用ください。 Review the following safety precautions to avoid operator’s injury and loss of life and prevent damage and deterioration to this instrument. To avoid potential hazards, use this product as specified. ■ 使用ねじに関する警告事項 Warning Concerning the Screws 使用ねじは、組み立て図に従って指定の種類および長さのものを使用してください。指定以外のねじを... - Page 3 LR2530 は、EIA(米国電子工業会)に準じた 19 インチラックに当社製品を取り付けるためのラッ クマウントアダプターです。 LC2535 は、LR2530 専用のブランクパネルです。 The LR2530 is a rack mount adapter used to attach Leader's products to a 19-inch EIA (Electronic Industries Alliance) standard rack. The LC2535 is a blank panel dedicated for the LR2530. 対応機種 Applicable Models...
- Page 4 外形寸法図 Mounting Dimensions ● LR2530...
- Page 5 ● LC2535...
- Page 6 構成内容 Contents 本製品は、以下の部品で構成されています。組み立てる前に、すべての部品が揃っていることを確認し てください。 The LR2530 / LC2535 consist of the parts indicated below. Before assembly, check that you have all the components. 機種 記号 図面 名称 数量 Model Symbol Figure Item Name Qty. 本体 Main Unit LR2530 バインド小ねじ M3×6 Binding-head Screw M3×6...
- Page 7 本製品は出荷状態で本体のバックプレートが LV5300 を取り付ける位置になっています。 バックプレートは取り付ける製品に応じて位置の変更が必要となる場合があります。 When the LR2530 is shipped, the back plate of the main unit is in the position to attach the LV5300. The position of the back plate needs to be changed according to the product to be attached.
- Page 8 3.2.1 LV5300 の場合 In the case of LV5300. ここでは例として、正面に向かって LV5300 を左側、ブランクパネルを右側に取り付ける手順を示 します。LV5300 を右側に取り付けたり、2 台の LV5300 を取り付けたりすることもできます。 As an example, this chapter describes how to install a LV5300 to the left side and attach a blank panel to the right side looking at the front of the rack. You can also install the LV5300 to the right side or install two LV5300s side by side.
- Page 9 3. 必要に応じて、ラックサポートの取り付け位置を変更します。 If necessary, change the rack support attachment position. ラックサポートの取り付け位置は 3 種類から選択できます。出荷時はⅠの位置に取り付けられて います。 You can select from three mounting positions for the rack support. It is attached at the position of Ⅰ at the time of shipment.
- Page 10 4. ブランクパネルを取り付けます。 Install the blank panel. 取り付け位置は 2 種類から選択できます。 a:ブランクパネルを前方に付ける場合、b:ブランクパネルを後方に付ける場合 You can select from the two available attachment positions. a: In case of blank panel position ahead. b: In case of blank panel position backward.
- Page 11 ブランクパネル、ラックサポートの取り付け位置に合わせ、ブランクパネルをラックサポートに 固定します。 Fit the blank panel to the rack support according to the mounting position of the blank panel and rack support.
- Page 12 5. 本体に LV5300 を取り付けます。 Install the LV5300 to the main unit.
- Page 13 3.2.2 LV5350 の場合 In the case of LV5350. ここでは例として、正面に向かって LV5350 を左側、ブランクパネルを右側に取り付ける手順を示 します。LV5350 を右側に取り付けたり、2 台の LV5350 を取り付けたりすることもできます。 As an example, this chapter describes how to install a LV5350 to the left side and attach a blank panel to the right side looking at the front of the rack. You can also install the LV5350 to the right side or install two LV5350s side by side.
- Page 14 3. LR2530 からラックサポートを取り外します。 Remove the rack support from the LR2530. 4. バックプレートを固定しているねじを取り外します。 Remove the screw that is attaching the back plate.
- Page 15 5. バックプレートを前方へ移動し、ねじで固定します。 Move the back plate forward and fix it with screws. 6. ラックサポートを取り付けます。 Install the rack support.
- Page 16 ラックサポートの取り付け位置は 3 種類から選択できます。 You can select from three mounting positions for the rack support. 7. ブランクパネルを取り付けます。 Install the blank panel.
- Page 17 取り付け位置は 2 種類から選択できます。 a:ブランクパネルを前方に付ける場合、b:ブランクパネルを後方に付ける場合 You can select from the two available attachment positions. a: In case of blank panel position ahead. b: In case of blank panel position backward. ブランクパネル、ラックサポートの取り付け位置に合わせ、ブランクパネルをラックサポートに 固定します。 Fit the blank panel to the rack support according to the mounting position of the blank panel and rack support.
- Page 18 8. 本体に LV5350 を取り付けます。 Install the LV5350 to the main unit.
- Page 19 製品に関するお問合せ 本社 国内営業部 電話 045-541-2122 Fax 045-541-2120 E メール sales@leader.co.jp 〒223-8505 神奈川県横浜市港北区綱島東 2 丁目 6 番 33 号 Contact Us Head office Sales Department Tel 81-45-541-2123 Fax 81-45-541-2823 Email sales@leader.co.jp 2-6-33 Tsunashimahigashi , Kohoku-ku , Yokohama-shi , Kanagawa , 223-8505 , Japan www.leader.co.jp...
Need help?
Do you have a question about the LR2530 and is the answer not in the manual?
Questions and answers