Advertisement
INSTALLATION
MASTER CONTROLLER & EXPANSION UNIT/S INSTALLATION
•
Find a suitable location to mount the control box. Ideally, as with all pool equipment, it should
be installed out of direct weather and no closer than 3 meters from the water's edge, at a
minimum 600mm above ground. The power cable is 1.8m long and should be plugged directly
into a general power outlet, not into an extension lead.
•
Fix the mounting bracket to a solid structure via screws and wall plugs kit provided, and slide
the controller on, locking into place.
•
To remove unit, lift and gently pull away from mounting bracket.
DO NOT TURN THE POWER ON TO THE MASTER CONTROLLER OR THE
EXPANSION UNITS UNTIL ALL THE FOLLOWING CRITERIA HAS BEEN MET.
•
Install Pool sensor as per instructions on page 3 of the manual.
•
Install Roof sensor (if option chosen) as per instructions on page 3 of the manual.
•
If required, fit and install any Valves Actuators that are required to run the system. Plug the
cable from the Valve Actuator/s into the Valve sockets located beneath the Master Controller
(see diagram located on p4 of the manual for location). Up to 4 Valve Actuators can be
installed and controlled.
•
If a Gas Heater or Heat Pump is installed, then connect either the Heater Interlock cable or
the Pump Call cable as per the instructions under HEATER CONTROL on p2 of the main
instruction booklet.
REMEMBER: If the heater's flow or pressure switch circuit is 240Vac, an external relay can be
purchased separately and is to be installed (KIT09) by a licensed electrician.
•
Plug the communication cable from Expansion Unit 1 (if optioned) beneath the Master
Controller. (see diagram on page 4]
•
Plug the communication cable from Expansion Unit 2 (if fitted) beneath the Expansion Unit
1. (see diagram on p4)
•
Plug in the Filtration Pump. If you have a variable speed pump, go to the next page to see
the required wiring diagram for the brand/series of pump to be used.
If the pump installed is a Reltech or Insnrg, a motor cable will need to be purchased separately.
If the filtration pump is a single speed pump, plug directly into one of the power sockets located
on either the Master Controller or on an Expansion Unit. The pump may be plugged into the
Sanitiser outlet and the Sanitiser plugged into the controller power outlet.
•
Plug all other appliance power cables that will be controlled by the OASIS SMART into the
power points located beneath the Controllers and ensure maximum current loads are not
exceeded.
INSTALLATION AND SET UP GUIDE
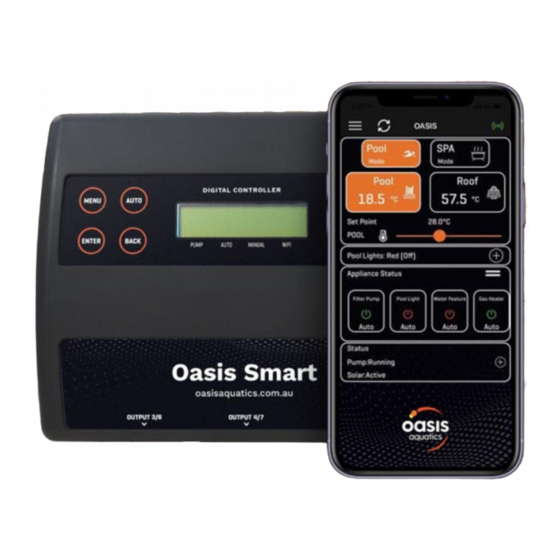
OASIS SMART
Advertisement
Table of Contents

Related Manuals for Oasis Aquatics OASIS SMART

Summary of Contents for Oasis Aquatics OASIS SMART
- Page 1 Sanitiser outlet and the Sanitiser plugged into the controller power outlet. • Plug all other appliance power cables that will be controlled by the OASIS SMART into the power points located beneath the Controllers and ensure maximum current loads are not...
- Page 2 None Brown Wire Black Wire None Red Wire INSNRG White/Orange None Orange Wire None None (SUPPLIED BY Stripe Wire INSNRG) INSNRG Brown/Brown None Brown Wire None None (CAT5 CABLE) Stripe Wire OASIS SMART INSTALLATION AND SET UP GUIDE info@oasisaquatics.com.au oasisaquatics.com.au...
- Page 3 If you don't go through the Installer Setup first, the Main Menu will be limited. Once the App has been installed and the QR code scanned, all settings can be changed via the App on a phone. OASIS SMART INSTALLATION AND SET UP GUIDE info@oasisaquatics.com.au oasisaquatics.com.au...
- Page 4 GETTING SET UP Before downloading the App for the OASIS SMART controller, please ensure that the controller has been turned on, the Wi-Fi indicator is slowly flashing, and the setup phone is connected to the 2.4 G home Wi-Fi. (setup will not work using 5 G) •...
Need help?
Do you have a question about the OASIS SMART and is the answer not in the manual?
Questions and answers