Table of Contents
Advertisement
Quick Links
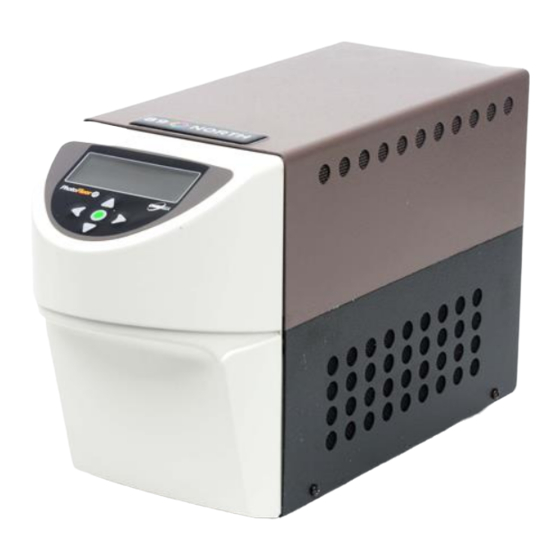
PhotoFluor
PhotoFluor II NIR
LAMP REPLACEMENT GUIDE
This manual contains important information. Please read the manual
in its entirety and heed all safety warnings before attempting to
replace the lamp.
®
The 89 North
NIR (10998-000-000) light sources are designed and tested in
accordance with ANSI/UL 61010-1, CAN/CSA C22.2 Number 61010-
1, CENELEC EN 61326-1:2006, and FCC Part 15 Subpart B, Class
B.
89 North customer service or your authorized 89 North distributor
should be informed immediately in the event of any damage or
malfunction in the equipment.
®
II and
Follow all safety precautions!
®
PhotoFluor
II (10999-000-000) and PhotoFluor II
89 North
1 Mill St. Unit 285
Burlington, VT 05401
877-417-8313
+1-802-881-0302
www.89North.com
®
U.S.A.
Rev B
Advertisement
Table of Contents

Subscribe to Our Youtube Channel
Related Manuals for 89 North PhotoFluor II Series

Summary of Contents for 89 North PhotoFluor II Series
- Page 1 ANSI/UL 61010-1, CAN/CSA C22.2 Number 61010- 1, CENELEC EN 61326-1:2006, and FCC Part 15 Subpart B, Class 89 North customer service or your authorized 89 North distributor should be informed immediately in the event of any damage or malfunction in the equipment.
- Page 2 Safety First The PhotoFluor II family of light sources use a powerful lamp that produces heat as well as visible and UV light. Proper care must be taken in the setup and operation to prevent injury. The lamp should only be handled wearing gloves and suitable eye protection.
- Page 3 LAMP EXPLOSION HAZARD - The lamp WARNING: contains toxic gasses under high pressure. In the event of an explosion, mercury vapor, high temperature gasses, and very fine glass may exit the unit. All persons should leave the surrounding area at once to prevent mercury inhalation. The area should be ventilated for 30 minutes.
- Page 4 And now . . . Replacing the Lamp The PhotoFluor II and PhotoFluor II NIR 200 Watt lamps must be properly installed to allow ignition, proper cooling and alignment to assure the longevity of the bulb. Your unit is shipped with the lamp installed.
- Page 5 STEP 1 DISCONNECT POWER Unplug the power cord before attempting to open the outer casing. STEP 2 REMOVE EXISTING BULB Remove the outer top cover by removing the four screws with a Phillips screwdriver and pulling the cover up and off. Next, remove the inner lamp chamber cover by removing the thumbscrew and sliding the plate off.
- Page 6 STEP 4 INSTALL NEW BULB While holding the white ceramic lamp base (Note: do not touch reflector surfaces), place the new lamp flush against the lamp mount’s recessed circular opening. The lamp power cable that connects to the rim of the lamp must be placed in the upright (12 o’clock) position.
- Page 7 Lamp power connector Figure 4: Lamp connector STEP 7 REATTACH the lamp chamber cover with the thumbscrew. Carefully reposition the outer cover and reattach the four screws. STEP 8 PLUG THE UNIT IN AND TURN ON the power switch. Reset the lamp hour counter by pressing and holding the up arrow button during warm-up.
- Page 8 1500 hours and will be replaced if they fail or provide poor performance during that time, provided they are handled as described herein. The liquid light guide is under warranty for one year from delivery. Contact Information: 89 North 1 Mill St. Burlington, VT 05401 U.S.A. 877-417-8313 +1-802-881-0302 www.89north.com...
Need help?
Do you have a question about the PhotoFluor II Series and is the answer not in the manual?
Questions and answers