
Subscribe to Our Youtube Channel
Related Manuals for Nokia NPL-3 Series


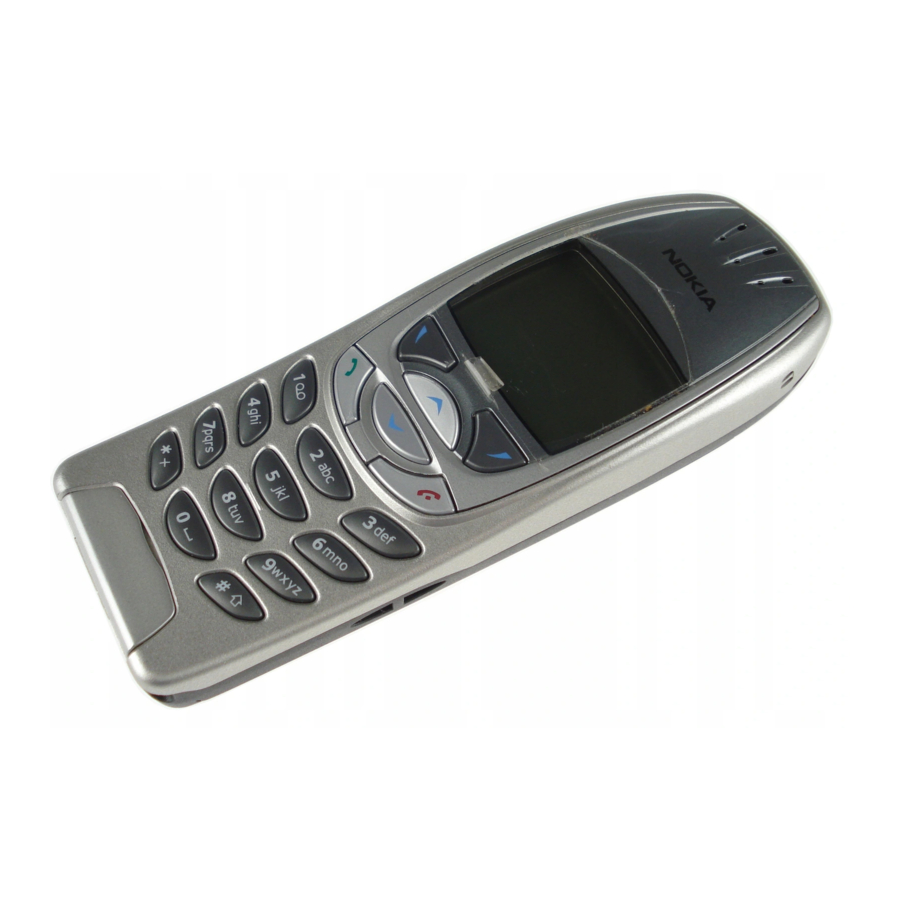
Summary of Contents for Nokia NPL-3 Series
- Page 1 Customer Care Solutions NPL-3 Series Transceivers NPL-3 Disassembly and Assembly Instructions Issue 1 3/03 ãNokia Corporation.
- Page 2 NPL-3 Company confidential NPL-3 Disassembly and Assembly Instructions CCS Technical Documentation Table of Contents Page No Disassembling NPL-3 ....................3 Assembling NPL-3....................... 10 ãNokia Corporation. Page 2 Issue 1 3/03...
- Page 3 - Protect the LCD with a foil whenever possible 1. Place the phone face down, press the Release Key and slide the battery cover downwards. 2. Flip gently the A-cover from down corner. Remove the A-cover. ãNokia Corporation. Issue 1 3/03 Page 3...
- Page 4 NPL-3 Company confidential NPL-3 Disassembly and Assembly Instructions CCS Technical Documentation 3. Remove the Keymat. 4. Spread the B-cover from both sides until snaps inside will release it. 5. Remove the B-cover. ãNokia Corporation. Page 4 Issue 1 3/03...
- Page 5 Do not touch the antenna plate inside without gloves. 7. Remove the screws (6pcs) to get the module out from C-cover. 8. Remove the module out from the C-cover. Note! Always use the specified tools. ãNokia Corporation. Issue 1 3/03 Page 5...
- Page 6 Be careful not to damage them. 10. Remove the microphone by pressing it from its edge, or take the tweezers between the frame and microphone and lift it out from the frame. ãNokia Corporation. Page 6 Issue 1 3/03...
- Page 7 13. To remove the LCD Module, keep it on a table by using soft cloth, and flip the LCD frame gen- tly until the LCD Module detaches. NOTE! Be careful not to damage the sensitive parts. Do not press the LCD module. ãNokia Corporation. Issue 1 3/03 Page 7...
- Page 8 NOTE! The UI Board is attached into the frame by adhesive tape. Therefore, it may not loose eas- ily. Be careful not to damage the LCD Frame. 15. Remove the Volume Key and the Power Key. 16. Remove the Vibra by lifting it out of its place. ãNokia Corporation. Page 8 Issue 1 3/03...
- Page 9 NOTE! Be careful not to damage the C-cover. 18. Lift the Release Spring by tweezers from its place 19. Remove the Release Key by pressing the snaps towards the center from inside. DISASSEMBLING COMPLETED! ãNokia Corporation. Issue 1 3/03 Page 9...
- Page 10 Reassembly takes place in reversed order compared with disassembly. 1. Press the Release Key downright into its place. 2. Put the Release Spring into its place. 3. Put the DC Jack into its place. ãNokia Corporation. Page 10 Issue 1 3/03...
- Page 11 NPL-3 Disassembly and Assembly Instruc- 4. Put the Vibra into its place. NOTE! Avoid touching the spring contacts. 5. Put the Volume Key into its place. 6. Put the Power Key into its place. ãNokia Corporation. Issue 1 3/03 Page 11...
- Page 12 NOTE! Do not touch the inside of the Antenna plate. 8. Put the UI Board into its place. 9. Place the LCD to the UI Frame. NOTE! Do not press the LCD as it may damage. ãNokia Corporation. Page 12 Issue 1 3/03...
- Page 13 Make sure the shield is properly locked on both sides to the frame. 11. Put the Speaker into the frame so that the guiding pin goes into its place. 12. Put the Microphone into the frame. NOTE! Do not touch the spring contacts. ãNokia Corporation. Issue 1 3/03 Page 13...
- Page 14 13. Place the UI Module and the engine together by closing the Display connector. 14. Put the unit into the C-cover. 15. Tighten the six screws by using following order. NOTE! Set 20Ncm/650rpm to your Torque driver before tightening. ãNokia Corporation. Page 14 Issue 1 3/03...
- Page 15 16. Place the B-cover into its place. Make sure the snaps on both sides are locked to the module. 17. Place the Keymat into its place. 18. Place the A-cover into its place. ãNokia Corporation. Issue 1 3/03 Page 15...
- Page 16 NPL-3 Company confidential NPL-3 Disassembly and Assembly Instructions CCS Technical Documentation 19. Slide the Battery cover into its place until the Release Key locks it. ASSEMBLING COMPLETED! ãNokia Corporation. Page 16 Issue 1 3/03...
Need help?
Do you have a question about the NPL-3 Series and is the answer not in the manual?
Questions and answers