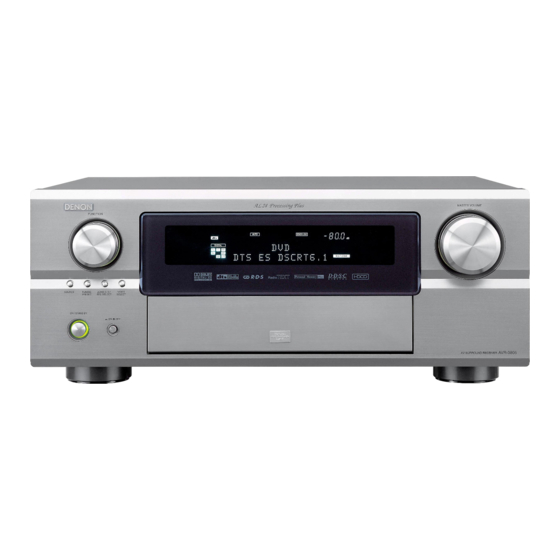
Denon AVR-3805 Specifications And Setup Procedure
Non-denon microphone use with auto setup and room eq function
Hide thumbs
Also See for AVR-3805:
- Service manual (121 pages) ,
- Operating instructions manual (120 pages) ,
- Code list (16 pages)
Advertisement
E L E C T R O N I C S ( U S A ) , L L C .
D E N O N
Specifications and Setup Procedure for Non-DENON Microphone Use for AVR-3805 Auto
Required Microphone Specifications for DENON Auto-Setup and Room EQ
Element : Electric Condenser Microphone
Polar Pattern : Omni-directional
Sensitivity : -40 dBV
Frequency Response : 20-20kHz Flat Response (Ex: BEHRINGER ECM-8000)
Required Microphone Amplifier Specification for DENON Auto-Setup Room EQ
Gain : 29 dB
Frequency Response : 10-30kHz Full Flat
Microphone Placement
Set the microphone using a microphone stand, or other method, at the prime listening
point
Point the top of the microphone toward the ceiling
Adjust the height so that the top of microphone to matches the height of your ear when
sitting
Setup and Room EQ Function
(0dB = 1V/1Pa)
Height
of
1
Microphone
Listening
Advertisement
Table of Contents

Related Manuals for Denon AVR-3805


Summary of Contents for Denon AVR-3805
- Page 1 E L E C T R O N I C S ( U S A ) , L L C . D E N O N Specifications and Setup Procedure for Non-DENON Microphone Use for AVR-3805 Auto Required Microphone Specifications for DENON Auto-Setup and Room EQ...
- Page 2 Connect all the speakers and the video monitor (for the on-screen display) with the AVR-3805 Connect the microphone with the microphone amplifier Turn on the AVR-3805 and the “microphone amplifier” Turn on the “Phantom Supply” on the microphone amplifier AVR3805...
- Page 3 E L E C T R O N I C S ( U S A ) , L L C . D E N O N Push the “SYSTEM SETUP” button on AVR-3805 Select “2. Speaker Setup” Select “3. Channel Level”...
- Page 4 Once the ‘Main Volume” as been set , connect the output of microphone amplifier to the RMS Volt Meter Adjust the “microphone amplifier’s gain” as the RMS Volt Meter becomes about 120[mV RMS] Once set, exit out of ‘System Setup’ and turn off the AVR-3805...
- Page 5 D E N O N How to use ‘Auto Setup and Room EQ’ with an External Microphone Amplifier Connect the output of the microphone amplifier to the AVR-3805’s front panel ‘V.AUX’ Left channel audio input – located behind Trap Door Turn on the AVR-3805 Push the “SYSTEM SETUP”...
- Page 6 E L E C T R O N I C S ( U S A ) , L L C . D E N O N Change the setting to “V.AUX L” Press the “SYSTEM SETUP” button on the remote or front panel Select “1.
- Page 7 E L E C T R O N I C S ( U S A ) , L L C . D E N O N Start “Auto-Setup” Once Auto Setup and Room EQ has completed, please continue with ‘System Setup’ as described in the Owner’s Manual.
Need help?
Do you have a question about the AVR-3805 and is the answer not in the manual?
Questions and answers