Table of Contents

Related Manuals for Buffalo FB864


Summary of Contents for Buffalo FB864
- Page 1 34Ltr 1800W Programmable Microwave Instruction manual Model • Modèle • Modell • Modello • Modelo • Malli: FB864 / FE142-E FB864_FE142-E_UK_A5_v1_20201102.indb 1 FB864_FE142-E_UK_A5_v1_20201102.indb 1 2020/11/2 13:41 2020/11/2 13:41...
-
Page 2: Safety Tips
Safety Tips To reduce the risk of fire, electric shock, injury to persons or exposure to excessive microwave oven energy when using your appliance, follow basic precautions, including the following: PRECAUTIONS TO AVOID POSSIBLE EXPOSURE TO MICROWAVE ENERGY Do not attempt to operate this oven with the door open, since this can result in harmful exposure to microwave energy. - Page 3 • Warning: It is hazardous for anyone other than a competent person to carry out any service or repair operation that involves the removal of a cover which gives protection against exposure to microwave energy. • Only use utensils suitable for use in microwave ovens. •...
- Page 4 • If the power cord is damaged, it must be replaced by a BUFFALO agent or a recommended qualified technician in order to avoid a hazard. • This appliance is not intended for use by persons (including...
-
Page 5: Pack Contents
• Instruction manual BUFFALO prides itself on quality and service, ensuring that at the time of packaging the contents are supplied fully functional and free of damage. Should you find any damage as a result of transit, please contact your BUFFALO dealer immediately. - Page 6 Stacking the appliance Note: To save space, a maximum of 2 appliances can be stacked together. For details, please follow below instructions. 1. Loosen the screws that fix the mounting plates. Then remove the mounting plates and re-tighten the screws in place (Step A). 2.
-
Page 7: Materials You Can Use In Microwave Oven
Materials you can use in microwave oven Utensils Remarks (Not included) Browning dish Follow manufacturer’s instructions. The bottom of browning dish must be placed smoothly on the ceramic board. Incorrect usage may the ceramic board to break. Dinnerware Microwave-safe only. Follow manufacturer’s instructions. Do not use cracked or chipped dishes. -
Page 8: Control Panel
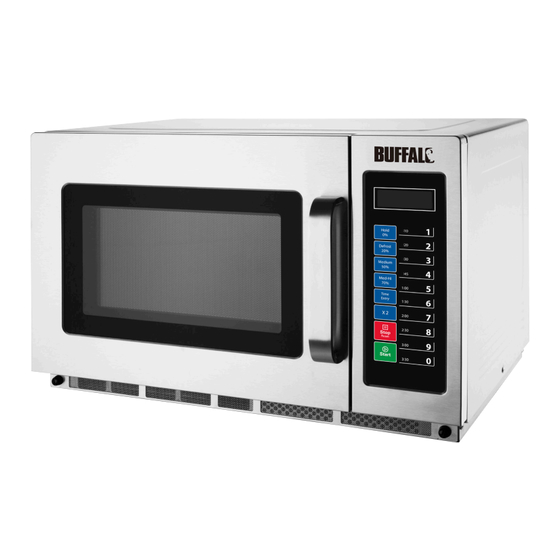
Knowing your appliance A) Control panel B) Observation window C) Safety interlock system D) Ceramic board Note: 1. DO NOT press the ceramic board forcibly. 2. Take and put utensils gently to avoid damage to the ceramic board. 3. After use, DO NOT touch the ceramic board with hand to avoid high temperature scalding. -
Page 9: Appendix A: User Options
Appendix A: User Options Values bolded in the table below are the default settings. Option Setting Description OP:10 3 seconds beep EOC Tone OP:11 Continuous beep OP:12 5 quick beeps, repeating OP:20 Beeper Off Beeper Volume OP:21 OP:22 Medium OP:23 High OP:30 Key beep Off... -
Page 10: Appendix B: Default Cooking Time
Appendix B: Default Cooking Time The oven will be shipped with the following Preset Cook Time unless otherwise noted in the product Specification. Number Button Display (Time in Minute) Power 0:10 100% 0:20 100% 0:30 100% 0:45 100% 1:00 100% 1:30 100% 2:00... - Page 11 4. Door Open Mode 1. When the door is open, the oven will enter Door Open Mode. This allows for entry into Programming Mode. 2. During this mode, the display is blank. The fan and oven lamp will work. 3. When the door is closed, if User Option OP:60 is selected and the oven was running a manual or preset cook cycle, the oven will enter Pause Mode.
- Page 12 7. End of Cook Cycle Mode 1. After a Manual Cook Mode or a Preset Program Cook Mode expires, the oven will enter End of Cook Cycle Mode. 2. During this mode, “DONE” is shown. 3. If User Option OP:11 or OP:12 is selected, the oven will continue to sound until the user acknowledges this by either opening and closing the door or pressing .
-
Page 13: Programming Mode
10. Programming Mode This mode allows the user to set cook time and power level to the preset programs of the number buttons. 1. Open the door. Then press the number button “1” for 5 seconds. The buzzer will sound once and enter Programming Mode. - Page 14 11. Double cooking time By using “X2” button, the user can easily set the doubled cooking time for a particular food item. 1. In Ready mode, press “X2” button first, then within 5 seconds press a number button (0-9). The oven will start cooking with the doubled cooking time.
-
Page 15: Service Mode
13. User Option Mode This allows the user to choose between various ways for the oven to operate. 1. Open the door and press “2” for 5 seconds to enter User option mode. 2. The display shows “OP: - -”. 3. -
Page 16: Cleaning, Care And Maintenance
Cleaning, Care & Maintenance • Warning: Switch off and disconnect from the power supply before cleaning and maintenance. • Always keep the oven clean! • Clean the door frame, seal and neighbouring parts carefully with a damp cloth when dirty. Cleaning the door and oven front face •... - Page 17 Cleaning the oil baffle The oven is featured with a removable oil baffle for easy and thorough cleaning. The baffle is located underneath the interior ceiling of the oven. • To remove the baffle, press and hold the 2 dents on the baffle front (Step A). Meanwhile push the whole baffle backward to release.
-
Page 18: Cleaning The Filter
Cleaning the filter The oven is featured with a removable filter for easy and thorough cleaning. • Loosen the fixing nails (Step A), then remove the filter (Step B). • Clean the filter with a soft brush. • Locate the filter in place and fix with the nails (Step C). FB864_FE142-E_UK_A5_v1_20201102.indb 18 FB864_FE142-E_UK_A5_v1_20201102.indb 18 2020/11/2 13:41... -
Page 19: Troubleshooting
Troubleshooting If your BUFFALO appliance develops a fault, please check the following table before making a call to the Helpline or your BUFFALO dealer. Fault Probable Cause Solution The unit is not The unit is not switched on Check the unit is plugged in correctly and... -
Page 20: Electrical Wiring
All rights reserved. No part of these instructions may be produced or transmitted in any form or by any means, electronic, mechanical, photocopying, recording or otherwise, without the prior written permission of BUFFALO. Every effort is made to ensure all details are correct at the time of going to press, however, BUFFALO reserves the right to change specifications without notice. - Page 21 FB864_FE142-E_UK_A5_v1_20201102.indb 21 FB864_FE142-E_UK_A5_v1_20201102.indb 21 2020/11/2 13:41 2020/11/2 13:41...
-
Page 22: Declaration Of Conformity
1800watt - UK & IE Programmable Commercial Microwave - 34Ltr 1800watt - EU (not IE) Model • Modèle • Modell • Modello • Modelo • Malli FB864 FE142-E Application of Council Directives(s) Low Voltage Directive (LVD) 2014/35/EU - recast of Toepassing van Europese Richtlijn(en) • Application de la/des 2006/95/EC directive(s) du Conseil •... - Page 23 +44 (0)845 146 2887 Eire 040 – 2628080 01 60 34 28 80 BE-NL 0800-29129 BE-FR 0800-29229 0800 – 1860806 901-100 133 vendas@nisbets.pt FB864_FE142-E_UK_A5_v1_20201102.indb 23 FB864_FE142-E_UK_A5_v1_20201102.indb 23 2020/11/2 13:41 2020/11/2 13:41...
- Page 24 FB864_FE142-E_UK_A5_v1_20201102 FB864_FE142-E_UK_A5_v1_20201102.indb 24 FB864_FE142-E_UK_A5_v1_20201102.indb 24 2020/11/2 13:41 2020/11/2 13:41...
Need help?
Do you have a question about the FB864 and is the answer not in the manual?
Questions and answers