Table of Contents
Advertisement
Quick Links
Advertisement
Table of Contents

Subscribe to Our Youtube Channel
Related Manuals for Leenders DAYNA


Summary of Contents for Leenders DAYNA
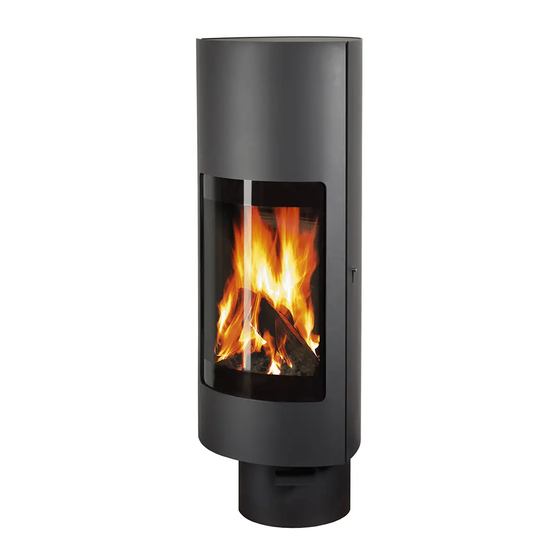
- Page 1 DAYNA INSTALLATION EN...
- Page 2 DAYNA LEENDERS Points of attention installation Dayna Transport Take the Dayna on a hand truck from the left side. To level Use the 4 adjustable feet. Remove transport guard Only remove the transit guard after the Dayna has been connected to the chimney.
- Page 3 (= too tight), the 4x adjustable feet need to be levelled. 2 x 30 degrees rotation (rear connection) Bovenaanzicht voet Dayna 2 x m8 Allen screw + lock nut at position A. 2 x 60 degrees rotation Place 1 x m8 Allen screw + lock nut at position B without allowing it to touch the base of the stove.
- Page 4 General instructions and regulations Installation To secure the warranty, the Dayna must be installed by a properly qualified person employed by a dealer recognized by Leenders. See leenders.nl for a current list of addresses of recognized dealers or contact the manufacturer.
Need help?
Do you have a question about the DAYNA and is the answer not in the manual?
Questions and answers