Advertisement
Quick Links
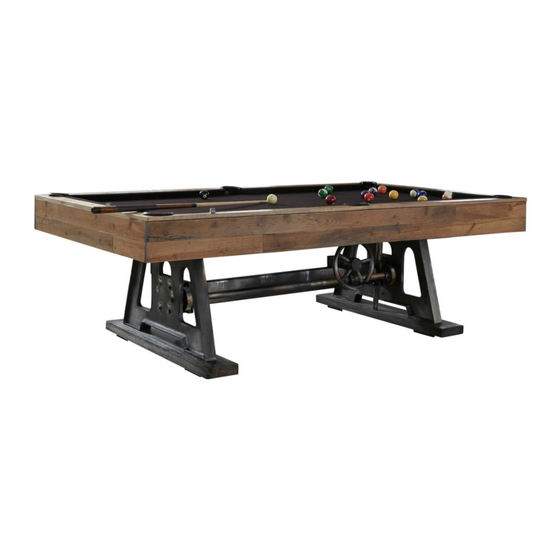
Da Vinci Billiard Assembly Instructions
:
Provided by American Heritage Billiards
**Please read entire Assembly guide prior to building the Da Vinci pool table.
Prior to Assembly, Check that there is 1 x assembled base, 1 x Rail Box, 1 x Side/End Blinds
Box, 1 x Accessory kit, and 1 set of framed slate inside the cabinet
Advertisement

Related Manuals for American Heritage Billiards Da Vinci Billiard

Summary of Contents for American Heritage Billiards Da Vinci Billiard
- Page 1 Da Vinci Billiard Assembly Instructions Provided by American Heritage Billiards **Please read entire Assembly guide prior to building the Da Vinci pool table. Prior to Assembly, Check that there is 1 x assembled base, 1 x Rail Box, 1 x Side/End Blinds...
- Page 2 Step 1: The base of the table should be received inside your crate as shown above, no further assembly is required to the base. There is no hardware required for this step. Step 2A: With a tape measure, measure the cross beam assembly diagonally from oppossing corners to make sure cross beam assembly is square.
- Page 3 Step 5: Remove any wax, dust and debris from the slate surface to prep it for the bedcloth. Layout bedcloth centering it over the slate surface. Starting at one end, staple cloth to slate framing working from center out toward the pockets stretch cloth toward pockets. Go to opposite end of table and repeat process but pull the cloth tight while stapling.
- Page 7 Step 8: Make sure rail blind is centered on the rails and flush at each end. Make sure the center pocket opening seam is tight. Secure long side blind to cleats using screws. Be absolutely sure to use only the enclosed blind screws when securing the blinds to each rail;...
- Page 8 Step 11: Take the two long rail/blind assemblies and position by lining up the rail bolt holes in the slate and the cooresponding threaded rods of the rail. Loosely hand tighten the rails using the domed washer and nut. (Dome of washer faces down) Step 12: Slide the end rail/blind assembly onto the table making sure both corners align with the side rail/blind assemblies.
- Page 9 Step 14: You may now hand tighten the end rails to the table as described in Step 11. Step 15: Once all rails/blinds are straight and flush, tighten all rail nuts with deep well socket. Step 13: NOTE: the side pockets and corner pockets ARE different and will only work correctly one way. To install the pockets, squeeze the top of the pocket and bring it up through the pocket opening from the bottom.
Need help?
Do you have a question about the Da Vinci Billiard and is the answer not in the manual?
Questions and answers