Table of Contents
Advertisement
Advertisement
Table of Contents

Related Manuals for Logik L03CTEL10


Summary of Contents for Logik L03CTEL10
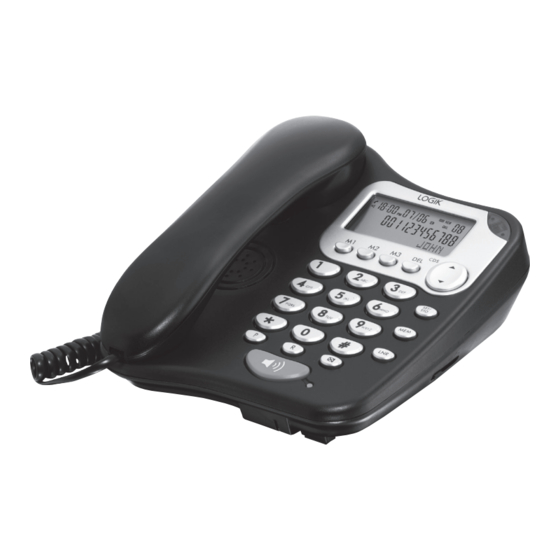
- Page 1 Instruction Manual Corded Desk Telephone with Speakerphone L03CTEL10...
-
Page 3: Table Of Contents
Contents Safety First ....................4 Unpacking ....................6 Getting Started ................... 7 Locating the Battery Compartment ..............7 Battery Installation and Replacement ..............7 Connecting the telephone line cable ..............8 Connecting the handset cable ................8 Mounting Stand (Optional) ................ 9 For Wall Mounting .......................9 For Desk Mounting .................... -
Page 4: Safety First
Safety First For your continued safety and to reduce the risk of injury or electric shock, please follow all the safety precautions listed below. • Read all instructions carefully before using the telephone and keep them for future reference. • Retain the manual. If you pass the telephone onto a third party, make sure to include this manual. - Page 5 CAUTION: Installation • Never install telephone wiring during a lightning storm. • Never install a telephone wall socket in wet locations unless it is specifically designed for wet locations. • Never touch uninsulated telephone wires or terminals unless the telephone line has been disconnected at the network interface.
-
Page 6: Unpacking
Thank you for purchasing your new Logik Corded Desk Telephone with Speakerphone. We recommend that you spend some time to read this Instruction Manual in order to fully understand how to install and operate it. Read all the safety instructions carefully before use and keep this instruction manual for future reference. -
Page 7: Getting Started
Getting Started Locating the Battery Compartment The battery compartment is located at the bottom of the unit. Before removing the battery compartment cover, always make sure the telephone is disconnected from the telephone line. Battery Installation and Replacement • Press and hold the battery compartment cover. • Lift the cover up. -
Page 8: Connecting The Telephone Line Cable
Connecting the telephone line cable Plug the telephone line cable into the socket on the base. Plug the other end into the telephone wall socket. To single-line telephone socket • If you want to use the phone on a desk or flat surface, press the telephone line cable into the groove on the underside of the base so that the phone sits flat. -
Page 9: Mounting Stand (Optional)
Mounting Stand (Optional) For Wall Mounting Before you drill any holes, make sure there is no electrical wiring or pipes hidden in the wall. 1. Drill 2 holes in the wall. 2. Insert the wall plugs into the holes. 3. Drive in the screws and make sure to leave approximately 5mm of the screw head from the wall to hold the base securely. -
Page 10: For Desk Mounting
For Desk Mounting Follow the diagrams below to remove the mounting stand from the bottom of the telephone. Insert the mounting stand onto the top of the telephone. -
Page 11: Control Overview
Control Overview SET/ Hook PQRS WXYZ rotate Recess 1. Switch Allows you to make a follow-on call without replacing the handset. 2. Wallmount hook If wall mounted, turn it 180° allow your handset to rest securely on the base. 3. Speaker This is where you will use it as speaker for the speakerphone function. - Page 12 6. M1, M2, M3 (Three One-Touch Memory) buttons Use them to store and automatically dial up to three numbers at the touch of one button. DEL (Delete) button Press it to return to stand by mode during Time/Date setting, LCD Contrast setting and Flash Time setting.
-
Page 13: Preparation
Preparation Setting up your phone SET/ Press the button to access the telephone setup menu. Then, press the button to cycle through the options. The telephone will time out if you leave more than 8 seconds between key presses. Setting up Time and Date To display the correct time and date, you will need to follow the steps below. -
Page 14: Setting Up Flash Time
SET/ 3. Press the button to confirm your selection. The LCD display screen will show “SET 2 LCD”. You may continue setting up the phone or press the DEL button to exit the setup menu. Setting up Flash Time This telephone allows you to use the special services which you have subscibed with your network provider. -
Page 15: Operation
Operation To Make a call 1. Lift the handset and wait for the dial tone. 2. Dial the telephone number. To Receive a call The telephone rings when you receive a call. Pick up the handset to answer the call. Alternatively, you can press the button to receive a call hands- free. -
Page 16: Use In A Pbx (Private Branch Exchange) System
Use in a PBX (Private Branch Exchange) system Press the P button for pausing and press the R button for recalling while you are using some switchboard systems and some BT Calling Features (e.g. Call Waiting). Storing a number in One-touch Memory (M1, M2, M3) 1. -
Page 17: Hints And Tips
Hints and Tips • Battery - To reduce the disk of fire or injury to persons, read and follow these instructions. Use only the battery(ies) specified. Do not dispose the battery(ies) in a fire. They may explode. Check with local council office for special disposal instructions. Do not open or mutilate the battery(ies). -
Page 18: Specifications
Specifications Product Dimension: (L20cm x W16cm x H11cm) Weight: 0.5kg Dialing Mode: Tone (DTMF) Operating Environment: 0 - 40°C Features and specifications are subject to change without prior notice. - Page 20 All trademarks are the property of their respective owners and all rights are acknowledged. DSG Retail Ltd. (co. no. 504877) 1 Portal Way, London, W3 6RS, UK IB-L03CTEL10-160602V7...
Need help?
Do you have a question about the L03CTEL10 and is the answer not in the manual?
Questions and answers