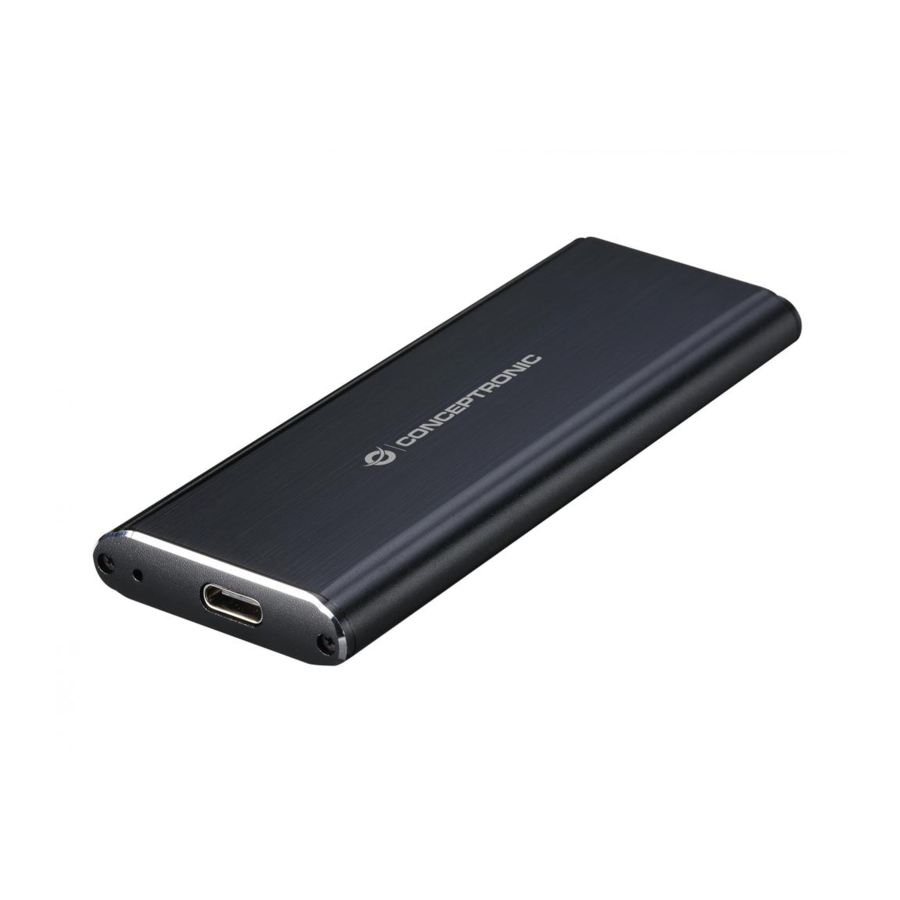
Summary of Contents for Conceptronic DDE01B
- Page 1 Multi Language Quick Guide M.2 PCIe NVMe SSD Enclosure USB-C 3.1 Gen 2 DDE01B V1.0...
-
Page 2: Assembly Guide
Assembly Guide Step 1 English : Remove the two screws out, and then remove the PCB. Deutsch : Entfernen Sie die beiden Schrauben und anschließ end die Leiterplatte. Français : Retirez les deux vis, puis retirez la carte de circuit imprimé. Español : Quite los dos tornillos y, a continuación, retire la placa de circuito impreso. - Page 3 Italiano : Installare M.2 PCIe NVMe SSD nella PCB e fissarla con una vite. Português : Instale o SSD M.2 PCIe NVMe na placa PCB e fixe-o com um parafuso. Polski : Zainstaluj dysk SSD M.2 PCIe NVMe na płytce drukowanej i dokręć go śrubą. ...
-
Page 4: Installation & Usage
English Conceptronic DDE01B Installation & usage Connect to computer Connect the USB Type-C cable to the enclosure and to a free USB port on your computer. The computer will automatically recognize and install the new hardware. No driver installation is required. - Page 5 Deutsch Conceptronic DDE01B Installation & Verwendung Mit Computer verbinden Verbinden Sie das USB-Type-C-Kabel mit dem Gehäuse und einem freien USB-Anschluss an Ihrem Computer. Der Computer erkennt und installiert automatisch die neue Hardware. Es ist keine Treiberinstallation erforderlich. Hinweis: Damit Sie von USB-3.1-Super-Speed bis 10Gb/s profitieren können, muss Ihr Computer mit integrierten USB-3.1-Ports oder einer USB-3.0-Host-PCI-E-Karte...
-
Page 6: Installation & Utilisation
FRANCAIS Conceptronic DDE01B Installation & Utilisation Connexion à l'ordinateur Raccordez le câble USB Type-C au boî tier et à un port USB libre sur votre ordinateur. L'ordinateur reconnaî t et installe automatiquement le nouveau matériel. Aucune installation de pilote n'est requise. - Page 7 ESPAÑ OL Conceptronic DDE01B Instalació n & Utilización Conectar su PC Conecte el cable USB Tipo-C a la carcasa y a un puerto USB libre de su PC. El equipo reconocerá e instalará automáticamente el nuevo hardware. No es necesario instalar ningún controlador.
-
Page 8: Installazione & Uso
ITALIANO Conceptronic DDE01B Installazione & Uso Collegamento al computer Collegare il cavo USB Tipo C all'alloggiamento e ad una porta USB libera sul computer. Il computer riconosce e installa automaticamente il nuovo hardware. Non è richiesta l'installazione del driver. - Page 9 PORTUGUÊ S Conceptronic DDE01B Instalação & Utilização Ligar ao computador Ligue o cabo USB Tipo C à caixa e a uma porta USB livre no seu computador. O computador irá reconhecer e instalar automaticamente o novo hardware. Não é necessário instalar qualquer controlador.
- Page 10 POLSKI Conceptronic DDE01B Instalacji & stosowanie Podłącz do komputera Podłącz kabel USB typu C do obudowy i do wolnego gniazda USB komputera. Komputer rozpozna i zainstaluje nowy sprzęt automatycznie. Nie jest konieczna instalacja sterownika. UWAGA: Aby móc korzystać z właściwej dla standardu USB 3.1 szybkości do 10Gb/s, komputer musi mieć...


Need help?
Do you have a question about the DDE01B and is the answer not in the manual?
Questions and answers