Advertisement
Table of Contents
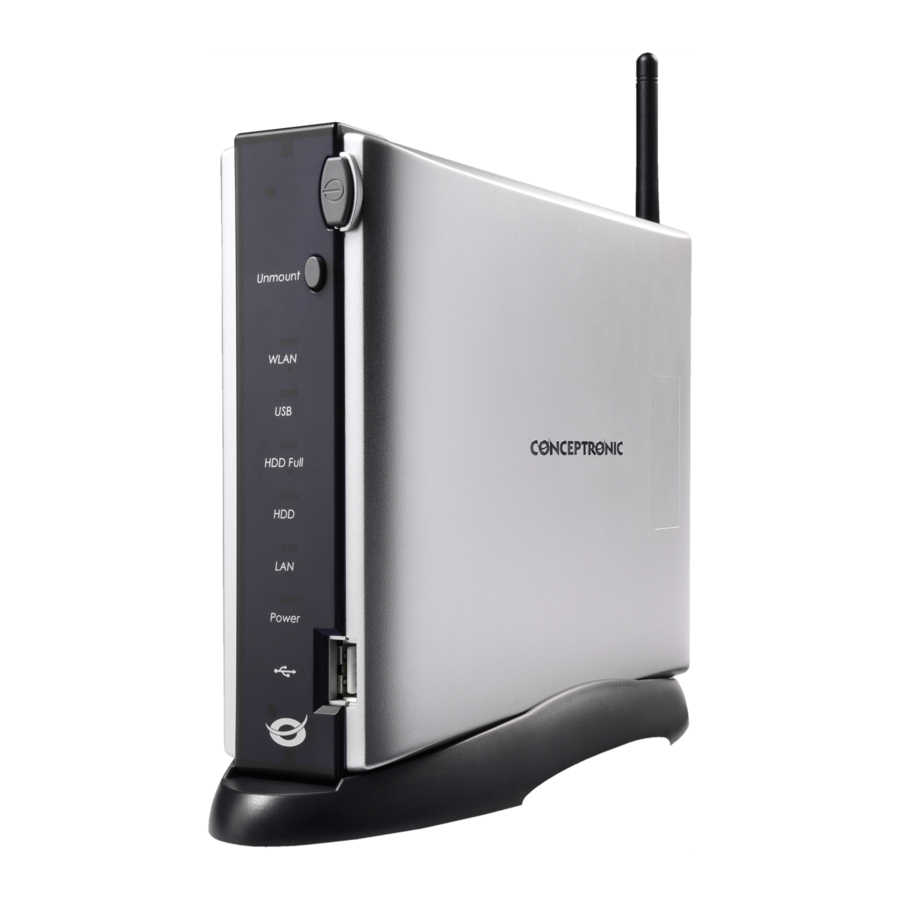
- 1 Conceptronic CH3WNAS Release Notes
- 2 1.05A - Fixed: Auto Update Issue from the Upnp AV Server.
- 3 1.05 - Fixed: Unable to Continually Copy a File.
- 4 1.04 - Fixed: Upnp AV Server Fails to Process 10.000+ Files.
- 5 1.03 - Added: Support for Playstation 3.
- 6 1.02BETA - Fixed: Scheduled Back-Up Does Not Start.
- 7 1.00 - Initial Release.
- Download this manual
Firmware update instructions for the Conceptronic CH3WNAS
1. Login to the CH3WNAS. The default settings are:
IP address
User name
Password
2. Press the 'Configuration' button.
3. Click on 'Tools' in the top menu bar.
4. Click on 'Firmware' in the left menu bar.
5. Click on the 'Browse' button to locate the firmware file. When done it will appear in
the 'File path' field.
6. Click 'Apply'.
7. The upgrade will start. Follow the instructions on your screen.
8. When the upgrade process is completed the CH3WNAS will reboot automatically.
9. A factory reset is needed to make sure the firmware becomes fully functional:
Note:
When a factory reset is initiated, all previous settings will be lost. As a result,
the CH3WNAS will need to be reconfigured afterwards.
-
Login to the CH3WNAS as described at point 1.
-
Click on 'Tools' in the top menu bar.
-
Click on 'System' in the left menu bar.
-
Click on 'Restore' under the 'Default' section and follow the instructions on
your screen.
10. The CH3WNAS is now fully updated and ready to be used. Don't forget to reconfigure
your CH3WNAS before use (if needed).
Copyright
:
http://192.168.0.30
: admin
: <empty>
®
2008 by Conceptronic – All rights reserved
www.conceptronic.net
Page 1 of 3
Advertisement
Table of Contents

Related Manuals for Conceptronic CH3WNAS


Summary of Contents for Conceptronic CH3WNAS
- Page 1 Click on ‘System’ in the left menu bar. Click on ‘Restore’ under the ‘Default’ section and follow the instructions on your screen. 10. The CH3WNAS is now fully updated and ready to be used. Don’t forget to reconfigure your CH3WNAS before use (if needed). ®...
- Page 2 The new UPnP AV Server requires a manual install of the UPnP AV Server through the new Easy Search Utility 3.9.0.0. Download the Easy Search Utility 3.9.0.0 through the download section of our website, select the CH3WNAS with the 1.04 firmware and click on the "UPnP AV Server" button to install the UPnP AV Server.
- Page 3 This update makes it possible to create a scheduled back-up from your computer (folder only). ‘Account’ (username and password) and ‘Anonymous’ computer login supported. Possible to make a scheduled back-up from the local disk of the CH3WNAS. ‘Folder’ and ‘File’ option supported.
Need help?
Do you have a question about the CH3WNAS and is the answer not in the manual?
Questions and answers