Advertisement
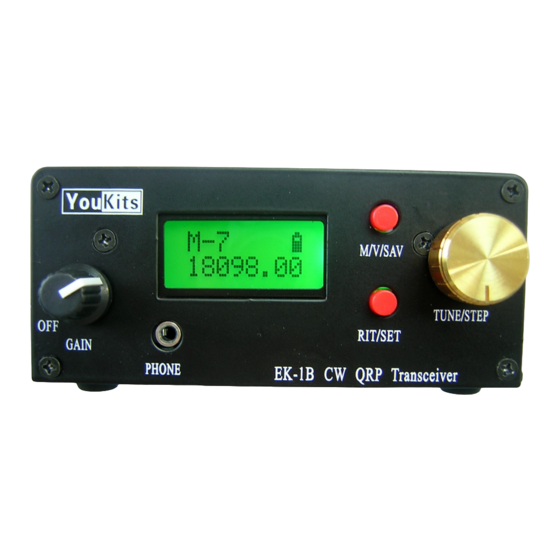
EK-1B 3 Band CW QRP Transceiver kit
Assemble manual
EK-1B 3 Band CW QRP transceiver kit is easy to build, it has SMD finished by the factory. There are
2pcs of PCB, the main board and display board. To guarantee the building success, the display
board and main board have been assembled and tested including the MCU, LCD and DDS.
Advertisement
Table of Contents

Related Manuals for YouKits EK-1B

Summary of Contents for YouKits EK-1B
- Page 1 EK-1B 3 Band CW QRP Transceiver kit Assemble manual EK-1B 3 Band CW QRP transceiver kit is easy to build, it has SMD finished by the factory. There are 2pcs of PCB, the main board and display board. To guarantee the building success, the display...
- Page 2 EK-1B part list Name Description Mark Encoder Volume adjustment 1K with on/off AF/SW Volume adjustment Q9 mounts Battery socket Power jack PHONE、KEY Headphone jack I-inductance 10uH Electrolytic capacitors 470uF C33、C37、C51 Electrolytic capacitors 100uF C35、C36 Polyester capacitors 0.01 Toroid Black core...
- Page 3 3 cores need to made by builder: Magnetic inductance L1: please use yellow enamel insulated wire, about 15cm, make 9 turns. Magnetic inductance L2: please use red enamel insulated wire, about 15cm, make 7 turns. As above. T1 transformer is 8:2, please use red enamel insulated wire, about 15cm, make 8 turns as primary. Use yellow enamel insulated wire, about 6cm, make 2 turns as secondary.
- Page 4 Plug your headphone to phone jack, put signal generator to ANT, put generator with a 5uV signal, adjust frequency to 21.100Mhz or close to this frequency, put EK-1B on same frequency, now adjust VC3 to receive a 700Hz beat frequency, then adjust VC1 to max the receiver sensitivity.
- Page 5 Adjust signal generator frequency to 14.100Mhz or close to frequency, put EK-1B on same frequency, now adjust VC2 to max the receiver sensitivity. Remove the signal generator then connect a dummy load to the antenna connection. Please plug your key to Key/Paddle jack, test key, if it’s OK then testing finished. Now we can finish the assemble.
- Page 6 V/M/SAV for 2 second, the screen display below release, push V/M/SAV again to end. The 10 memory position will also be reset back to factory when you do the DDS calibration. Youkits 2013-8-3...
Need help?
Do you have a question about the EK-1B and is the answer not in the manual?
Questions and answers