
Related Manuals for Alfresco Chef Milano

Summary of Contents for Alfresco Chef Milano
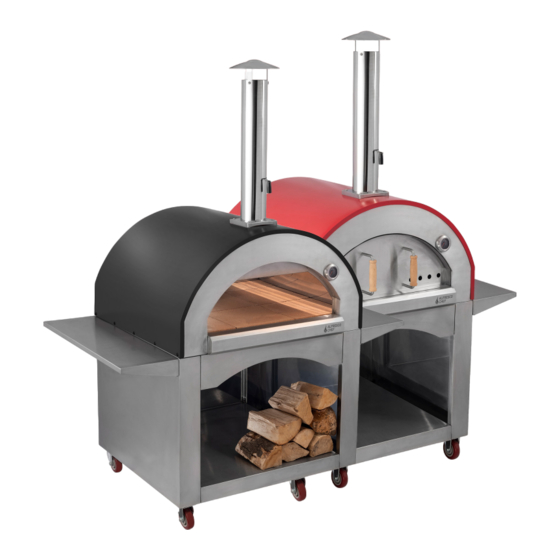
- Page 1 Milano PLEASE RETAIN THIS MANUAL FOR FUTURE REFERENCE Alfresco chef ® is a registered trademark of Innovative Food Ingredients Ltd.
- Page 2 • 4 x 37.5cm x 33cm • 2 x 37.5cm x 19cm *Subject to slight changes to features and design ESSENTIAL ITEMS FOR YOUR WOOD FIRED OVEN • 4pc Peel Set • Milano Oven Cover All accessories are available at www.thealfrescochef.co.uk...
- Page 3 COMPONENTS No. Part Quantity No. Part Quantity Chimney Cap Stand Bottom Plate M5*10 Screws Wheel Cover Chimney Wheel W/Brake M6*40 Screws M6*12 Screws Oven Body W/Tiles Door Stand Handle Stand Front Stand Bar Stand Left Hand Side Stand Back Plate Wheels Side Table Stand Right Hand Side...
- Page 4 ASSEMBLY INSTRUCTIONS This oven comes part assembled for your conveniance and instructions start from step 8. (Steps 1 to 7 are for reassembly should you dismantle it). Attach 4 x wheels and wheel cover to the legs using the 16 x M6*12 screws.
- Page 5 Attach the bottom shelf plate to the legs with 8 x M6*12 screws. Attach the stand back plate to step 2 part with 11 x M6*12 screws.
- Page 6 Attach the stand front plate to the front of the stand with 4 x M6*12 screws. Attach the stand bar to the front of stand with 8 x M6*12 screws.
- Page 7 Attach the handles to the body of the oven to aid lifting the top. Lift the oven top and place onto the stand. The handles attached in stage 6 can now be removed.
- Page 8 Use the 5 x M6*12 screws to attach each shelf. Attach the chimney cap to the chimney assembly with the 4 x M5*10 screws.
- Page 9 Attach the chimney to the body of the oven with 4 x M6*30 screws. Add the oven door.
- Page 10 Read and follow all safety warnings and instructions before assembling and using this oven. INTENDED USE: Alfresco Chef Ovens are intended for outdoor use only. • Do not use ovens indoors. Keep away from buildings, structures or proximity to any enclosed area.
- Page 11 LIGHTING THE OVEN Place a natural fire starter inside Place two medium sized logs the centre of the oven. We either side of the fire starter, and recommend using a Woodson two smaller ones directly above a Firestarter. natural fire starter. You may need to use some kindling around the base of the fire too.
- Page 12 PIZZAS Once the oven reaches 350°C, use an ember rake to push the wood to one side, then brush off the ash with the brass brush. Add more wood to push the temperature to 400°C. You can now start to place pizzas on the opposite side to your fire. Again, use the door to maintain/recover heat to cooking temperature (370°C+) if necessary.
- Page 13 oven maintenance STORING THE OVEN To prevent rusting and weather damage, we recommend that your oven is kept under a waterproof cover when not in use. When not in use for long periods of time, it is recommended that your oven is stored under a cover in a garage or shed.
- Page 14 TROUBLE SHOOTING IF YOU ARE HAVING TROUBLE LIGHTING THE OVEN This is a common occurrence on start up until the wood is fully ignited. If this continues follow these helpful tips: - Ensure that there is enough space around the logs to enable vivid flames in order to avoid choking the fire.
- Page 15 WARRANTY The Alfresco Chef guarantee the wood fired oven and its components to be free from defects in materials and workmanship for up to 3 years. Please retain your receipt, invoice or any other proof of purchase for the duration of your ownership and register your oven online at www.thealfrescochef.co.uk...
- Page 16 CUSTOMER SERVICE For questions on handling and functionality of our products, please contact our customer service team: Email: info@thealfrescochef.co.uk Website: www.thealfrescochef.co.uk Alfresco Chef ® is a registered trademark. Distributed in the UK by Innovative Food Ingredients Ltd, SK16 4RE. www.thealfrescochef.co.uk...
Need help?
Do you have a question about the Milano and is the answer not in the manual?
Questions and answers