
Related Manuals for Skyman CrossCountry2

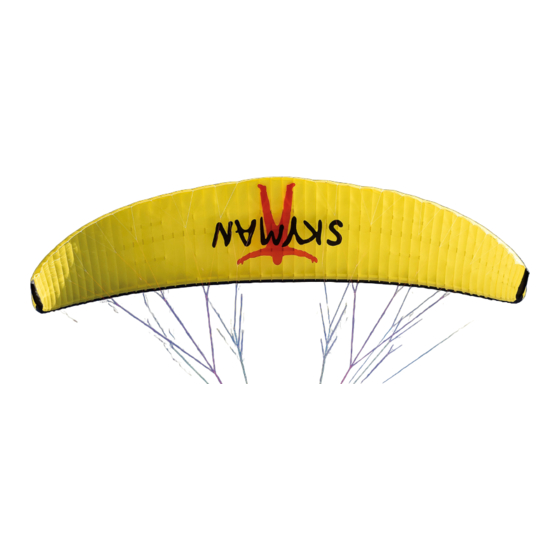
Summary of Contents for Skyman CrossCountry2
- Page 1 Owners Manual CrossCountry² Version 1.0 Stand 03.05.2019 Fly market GmbH & Co. KG Am Schönebach 3 D-87637 Eisenberg Tel.: +49 (0) 8364 9833-0 Fax: +49 (0) 8364 9833-33 Email: info@skyman.aero...
-
Page 2: Technical Drawing
Technical Drawing: Upper Surface Trailing Edge Lower Surface Leading Edge Riser Lines Wingtip Riser Stabilo Line Main Brake Line Brake Handle Main Hangpoint to Harness Carabiner... -
Page 3: Important Notes
1. Dear Skyman Pilot We are pleased to welcome you to the world of Skyman paragliders. The CrossCountry² was developed for those XC pilots who enjoy very good performance, high speed and high manoeuvrability and do not want to do without safety. - Page 4 4. Technical Describtion: Canopy construction: The canopy of the CrossCountry² is made of nylon fabric by Dominico Tex Corp. and NCV Industries. This synthetically manufactured fabric is woven with a reinforcing mesh to prevent tearing and increase tensile strength at the seams. The coating makes the fabric water repellent, UV resistant and air impermeable. The CrossCountry²...
-
Page 5: Technical Data
Functionality and handling: Before take-off, the brummel hooks are hooked into the brummel hook of the acceleration system of the harness's foot accelerator. Make sure that the suspended accelerator is running freely.The length of the foot accelerator must be set correctly before using it for the first time. This is done best in the simulator. The length is set correctly if the accelerator rope still has some slack and is not under tension when the accelerator is not in use. -
Page 6: Flight Operation
6. Harness The CrossCountry² has been tested and approved in the weight range up to 80 kg with harnesses of the LTF type GH with 42 cm chest strap width and > 80 kg with 46 cm chest strap width. Almost all harnesses available on the market are "GH"... - Page 7 Checklist: Paraglider: - Canopy without damage? - Risers without damage - Line links tightly closed? - Lines without damage? - all lines free and without entanglement and knots? Also brake lines? Harness: - Rescue system container closed? - Rescue system handle correctly attached? - all buckles and main carabiners closed? Take-off: - Risers not attached twisted?
-
Page 8: Accelerated Flight
9.4. Accelerated flight: When the acceleration system is operated by the feet, the angle of attack of the canopy changes and the CrossCountry² flies up to 16 km/h faster. Due to the higher speed the glider is more unstable and collapses more easily. -
Page 9: Winch Towing
10. Winch towing: The CrossCountry² is suitable for winch towing. We generally recommend using a towing aid for all paragliders, which activates the acceleration system during the towing process. This towing aid accelerates the paraglider during the towing process and thus not only simplifies the take-off procedure but also reduces the risk of deep stall and enables higher release heights. -
Page 10: Front Stall
12.3. Front stall: The collapse of the entire leading edge is usually caused by strong pulling on the A-belts, accelerated flying or sudden strong turbulence. Although this flight disorder looks spectacular, it is often not dangerous if the collapse depth is low. Often there are no turning movements, the glider usually opens quickly by itself and quickly picks up speed again. -
Page 11: Emergency Steering
of altitude. If the negative turn is held longer, the glider can accelerate and shoot forward on one side. This can result in an impulsive collapse or entanglement. 12.7. Wingover: Tight turns to the left and right are flown alternately. The cross slope is progressively increased. If the dynamics and lateral position of this flight manoeuvre is too high, the outer wing can relieve the load. - Page 12 13.2. Big Ears: The so called "big ears" manoever is an easy, but not very effective descent method where the forward speed is higher than the descent speed. It is more suitable to reduce the glide angle and to gain horizontal distance from a source of danger than to descend fast.
- Page 13 ! When folding up, please place the supplied textile bag underneath to avoid mechanical abrasion and damage of the sail. ! The lines should be bended as less as possible. ! After contact with salt water, rinse the equipment immediately with fresh water! ! Insects that got lost in the cells should be removed alive, not only because of animal love, but also because they secrete a corrosive liquid.
-
Page 14: Line Lengths
C-riser lines for trimming during aging Line names: All lines in Skyman paragliders are named according to the same scheme. When ordering replacement lines, please always determine the designation according to the following explanation and order it stating the type and size of glider! The first digit indicates the line level (A, B, C, D;... - Page 15 16.1. Single line length CrossCountry² XS - 23 A Riser 172.5 164.5 Baby A Riser B Riser 135.5 B Riser 294.5 B Riser 164.5 158.5 157.5 59.5 136.5 130.5 104.5 51.5 C Riser 55.5 297* C Riser 264* 100.5 83.5 85.5 54.5 176.5...
- Page 16 16.2. Single line length CrossCountry² M - 27 285.5 A Riser 320.5 Baby A Riser 183.5 B Riser B Riser 158.5 152.5 B Riser 175.5 174.5 69.5 179.5 152.5 146.5 118.5 C Riser C Riser 287.5* 322.5* 152.5 185.5 159.5 171.5 69.5 193.5...
- Page 17 17. Overall line length All line and riser lengths listed below are, in accordance with EN 926-2:2013, in conformity with the test specimen. The specified lengths have been checked by the testing laboratory and are within the tolerance permitted in the standard. Lengths measured from suspension point of riser to lower sail, brake lines to end of main steering line under 50 N tension 17.1.
- Page 18 18. Inspection instructions CrossCountry² Attention: Fly market GmbH & Co. KG is not liable for any errors made by the person (or service company) carrying out the inspection. This person (or company) always works on their own responsibility! If in doubt about the procedure of the inspection or the airworthiness of the equipment, always contact Fly market GmbH &...
- Page 19 18.5. Test procedures Identification of the equipment Once the paraglider has been handed over, an initial inspection is carried out and the paraglider is identified on the basis of the official manufacturer's documents. Check the type label and inscriptions for correctness, completeness and readability. Visual inspection of the canopy: The upper and lower sail, leading edge, trailing edge, ribs (including any V-ribs), cell partitions, seams, flares and line loops are examined for cracks, shearing, stretching, damage to the coating, repairs and other...
- Page 20 Control of line strength: The proof of line strength should be documented analogously to the proof required in the LTF for the type test: Main line: From each line level (A, B, C) a main line is removed from the centre of the glider and the breaking load is determined.
- Page 21 Checkflight: A check flight is only necessary after major repairs. During the check flight it must be determined whether the flight characteristics of the paraglider being tested have changed compared to a brand-new glider. The examiner must be capable of comparing the construction regulations with the flight behaviour of the paraglider to be tested and of determining any changes in the characteristics of the paraglider.
Need help?
Do you have a question about the CrossCountry2 and is the answer not in the manual?
Questions and answers