
Related Manuals for Classic Brands MORNINGTON BED FRAME


Summary of Contents for Classic Brands MORNINGTON BED FRAME
- Page 1 2.0 OWNERS MANUAL & ASSEMBLY INSTRUCTIONS MORNINGTON BED FRAME 121803-5230 121804-5230 121803-5250 121804-5250 121803-5260 121804-5260...
- Page 2 WARNING WARNING! • Due to the size of this bed we recommend assembling it in the room intended for use. • Check the packaging to make sure you have all the parts listed on this instruction. • Before use, make sure this bed is fully assembled. Do not over-tighten screws. •...
- Page 3 PARTS C-2X B-1X E-1X D-2X F-2X King-4X G-2X H-1X S-2X I-4X King-2X __________________________________________________________________________ J-5X M-2X 5mm-1X King-10X 4mm-1X...
- Page 4 ASSEMBLY INSTRUCTIONS STEP 1 • Lay parts (A) and (B) flat on the floor and attach plastic legs (I) underneath headboard and Footboard. • Acueste las partes (A) y (B) sobre el piso y acople las patas de plástico (I) por debajo de la cabecera y el pie de cama. •...
- Page 5 ASSEMBLY INSTRUCTIONS STEP 3 • Lift Assembly (C), (D), (G) above the pre-attached screws on the side of the headboard (A) and footboard (B). • Levante la parte armada (C), (D), (G) por encima de los tornillos previamente colocados del lado de la cabecera (A) y el pie de cama (B).
- Page 6 ASSEMBLY INSTRUCTIONS STEP 5 X 2 FOR KING • Place the two full assembles from previous step side by side. Attach the leg (H) with screws (J) from the top. • Coloque las dos partes armadas del paso anterior una al lado de la otra. Acople la pata (H) con los tornillos (J) de la parte superior.
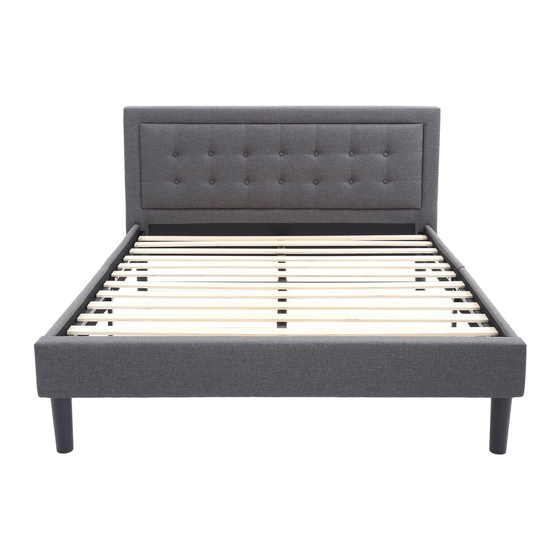
- Page 7 ASSEMBLY INSTRUCTIONS STEP 7 Full & Queen King • Lay Slats (S) on the sideboard and use Velcro to keep in place. • Acueste las tablillas (S) en la protección lateral y use cinta velcro para mantenerlas en su lugar. •...
- Page 8 ED AND DISCLAIMED. This Limited Warranty is made exclusively by Classic Brands and is not made on behalf of its distribu- tors or any other party and no one is authorized to assume or undertake for Classic Brands any other liability in connection with the sale of the product.
Need help?
Do you have a question about the MORNINGTON BED FRAME and is the answer not in the manual?
Questions and answers